标签:前端 index 安装环境 数据区 gcc-c++ 增强 control isa ems

[root@localhost ~]# yum install pcre-devel zlib-devel gcc gcc-c++ -y ##安装环境包

[root@localhost ~]# useradd -M -s /sbin/nologin nginx  ##创建程序性用户

[root@localhost ~]# mkdir /chen  ##创建挂载点
[root@localhost ~]# mount.cifs //192.168.100.23/LNMP /chen  ##挂载
Password for root@//192.168.100.23/LNMP:

[root@localhost chen]# tar zxvf nginx-1.12.2.tar.gz -C /opt/  ##解压

[root@localhost chen]# cd /opt/
[root@localhost opt]# ls
nginx-1.12.2  rh
[root@localhost opt]# cd nginx-1.12.2/
[root@localhost nginx-1.12.2]# ls
auto     CHANGES.ru  configure  html     man     src
CHANGES  conf        contrib    LICENSE  README

./configure \  ##安装nginx组件
--prefix=/usr/local/nginx --user=nginx --group=nginx --with-http_stub_status_module

[root@localhost nginx-1.12.2]# make && make install ##编译

[root@localhost nginx-1.12.2]# ln -s /usr/local/nginx/sbin/nginx /usr/local/sbin/ ##做软链接让系统能识别nginx的所有人命令
[root@localhost nginx-1.12.2]# nginx -t  ##检查语法错误
nginx: the configuration file /usr/local/nginx/conf/nginx.conf syntax is ok
nginx: configuration file /usr/local/nginx/conf/nginx.conf test is successful[root@localhost nginx-1.12.2]# cd /etc/init.d/ ##到系统启动脚本
[root@localhost init.d]# vim nginx ##写一个nginx脚本
#!/bin/bash
#chkconfig: - 99 20 #注释信息
#description: Nginx Service Control Script
PROG="/usr/local/nginx/sbin/nginx" #这个变量,指向我的命令文件
PIDF="/usr/local/nginx/logs/nginx.pid" #这个变量,指向nginx的进程号
case "$1" in
start)
$PROG
;;
stop)
kill -s QUIT $(cat $PIDF)
;;
restart)
$0 stop
$0 start
;;
reload)
kill -s HUP $(cat $PIDF)
;;
*)
echo "Usage: $0 {start|stop|restart|reload}"
exit 1
esac
exit 0
[root@localhost init.d]# chmod +x nginx ##给Nginx提升权限
[root@localhost init.d]# chkconfig --add nginx ##添加nginx
[root@localhost init.d]# service nginx start
[root@localhost init.d]# netstat -ntap | grep nginx
tcp 0 0 0.0.0.0:80 0.0.0.0:* LISTEN 17544/nginx: master
[root@localhost init.d]# systemctl stop firewalld.service
[root@localhost init.d]# setenforce 0[root@localhost ~]# vim /usr/local/nginx/conf/nginx.conf
gzip on; ##开启压缩功能
gzip_min_length 1k; ##超过1kb就会压缩
gzip_buffers 4 16k; ##缓存空间,大小为4个16k
gzip_http_version 1.1; ##压缩版本
gzip_comp_level 6; ##压缩比率,最小为1,处理速度快,传输慢,9最大压缩比,处理速度慢,传输快,适中我们选5或6
gzip_types test/plain application/x-javascript text/css image/jpg image/jpeg image/png image/gif application/xml test/javascript application/x-httpd-php application/javascript application/json;
##支持这些格式压缩
gzip_disable "MSIE [1-6]\."; ##配置禁用gzip条件,支持正则,ie6浏览器以下不启用gzip
gzip_vary on; ##对压缩的页面可以缓存到前端的服务器当中[root@localhost ~]# cd /usr/local/nginx/html/ ##到nginx站点中
[root@localhost html]# ls
50x.html index.html
[root@localhost html]# mount.cifs //192.168.100.23/LNMP /mnt ##挂载
Password for root@//192.168.100.23/LNMP:
[root@localhost html]# cd /mnt/
[root@localhost mnt]# ls
Discuz_X3.4_SC_UTF8.zip nginx-1.12.0.tar.gz php-7.1.20.tar.gz
fang.png nginx-1.12.2.tar.gz shu.jpg
mysql-boost-5.7.20.tar.gz php-7.1.10.tar.bz2
[root@localhost html]# cp /mnt/shu.jpg ./ ##到挂载目录
[root@localhost html]# ls
50x.html index.html shu.jpg
[root@localhost html]# vim index.html ##到站点网页,写入图片路径
15 <img src="shu.jpg"/>
[root@localhost html]# service nginx stop ##关闭nginx
[root@localhost html]# service nginx start ##开启nginx
[root@localhost html]# systemctl stop firewalld.service ##关闭防火墙
[root@localhost html]# setenforce 0 ##关闭增强功能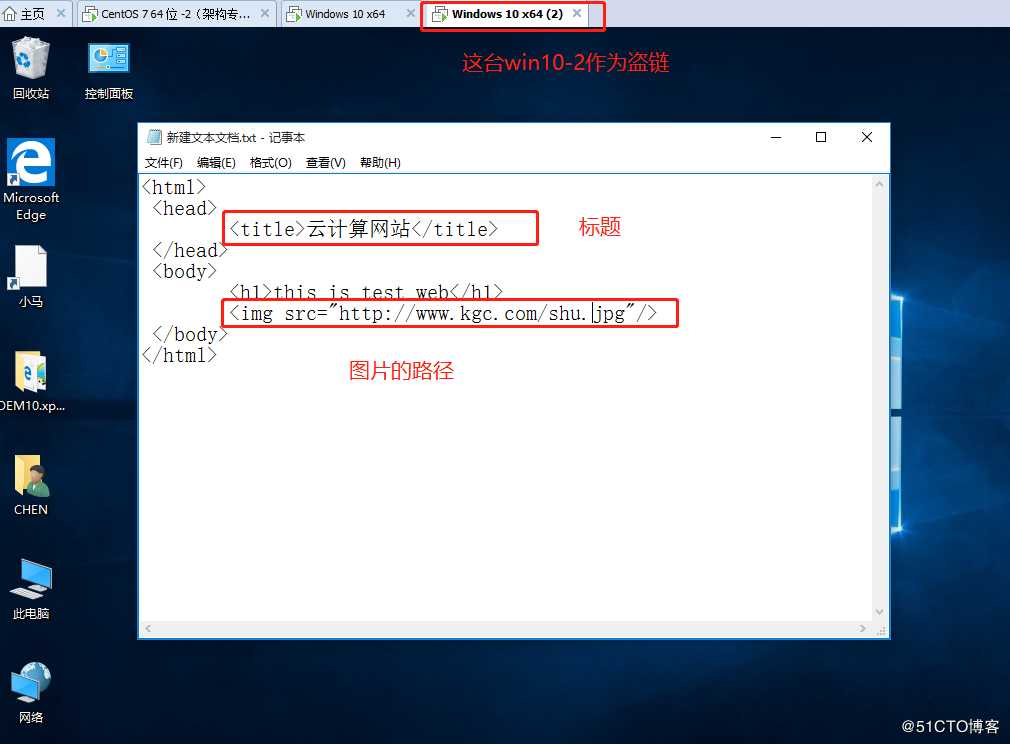


[root@localhost html]yum install bind -y ##安装DNS软件包
[root@localhost html]# vim /etc/named.conf ##配置主配置文件
options {
listen-on port 53 { any; }; ##监听所有地址
listen-on-v6 port 53 { ::1; };
directory "/var/named";
dump-file "/var/named/data/cache_dump.db";
statistics-file "/var/named/data/named_stats.txt";
memstatistics-file "/var/named/data/named_mem_stats.txt";
recursing-file "/var/named/data/named.recursing";
secroots-file "/var/named/data/named.secroots";
allow-query { any; }; ##允许所有人可以访问
[root@localhost html]# vim /etc/named.rfc1912.zones ##配置区域配置文件
zone "kgc.com" IN { type master; ##定义kgc.com域名
file "kgc.com.zone"; ##定义区域数据配置文件
allow-update { none; };
};
[root@localhost html]# cd /var/named/
[root@localhost named]# cp -p named.localhost kgc.com.zone ##复制模板到创建的新区域数据配置文件中
[root@localhost named]#vim kgc.com.zone ##编辑数据区域数据配置文件
$TTL 1D
@ IN SOA @ rname.invalid. (
0 ; serial
1D ; refresh
1H ; retry
1W ; expire
3H ) ; minimum
NS @
A 127.0.0.1
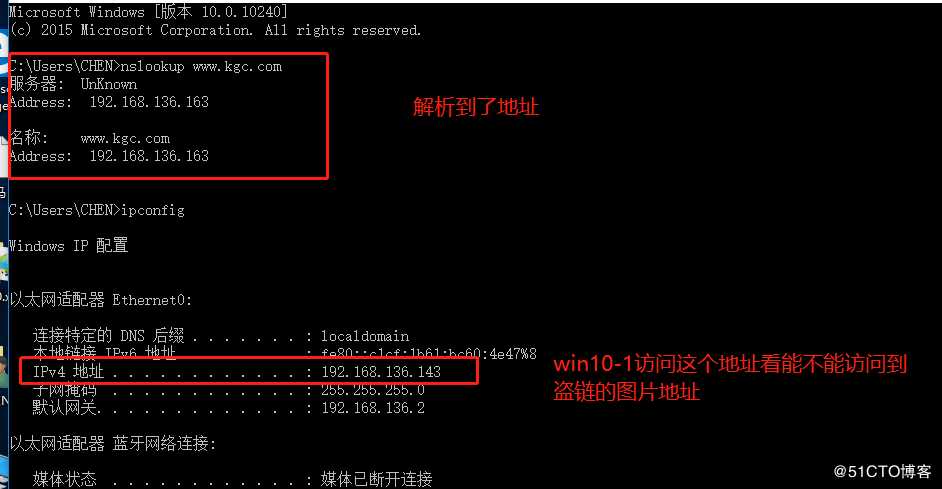
www IN A 192.168.136.163 ##主机名,地址
[root@localhost named]# systemctl start named ##开启dns服务


[root@localhost named]# vim /usr/local/nginx/conf/nginx.conf
 66         location ~*\.(jpg|gif|swf)$ {  ##带有这些格式为结尾的图片信息
 67             valid_referers none blocked *.kgc.com kgc.com; ##本地解析的就会去跳转相应的图片
 68             if ( $invalid_referer ) {  ##如果你不是本地解析的,以盗链访问
 69                rewrite ^/ http://www.kgc.com/fang.png;  ##就会跳转防盗链的图片给你
 70  }
  71    }
[root@localhost html]# service nginx stop

[root@localhost html]# service nginx start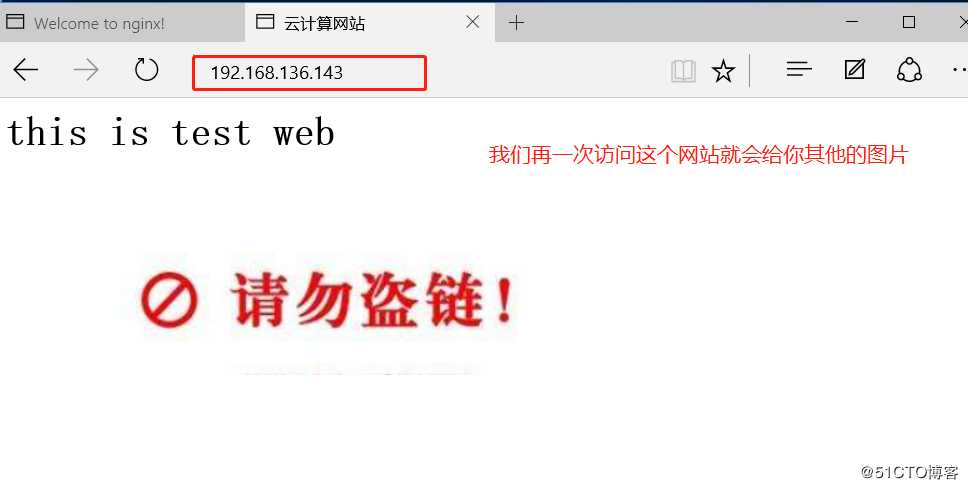
标签:前端 index 安装环境 数据区 gcc-c++ 增强 control isa ems
原文地址:https://blog.51cto.com/14449524/2450524