标签:login rip -- inf view child mic href 很多
一直以来想完成这个模板,今天刚完成一个基础模板。在刚开始着手的时候想过很多,有些合理有些不合理。同时也借鉴了大牛的文章。

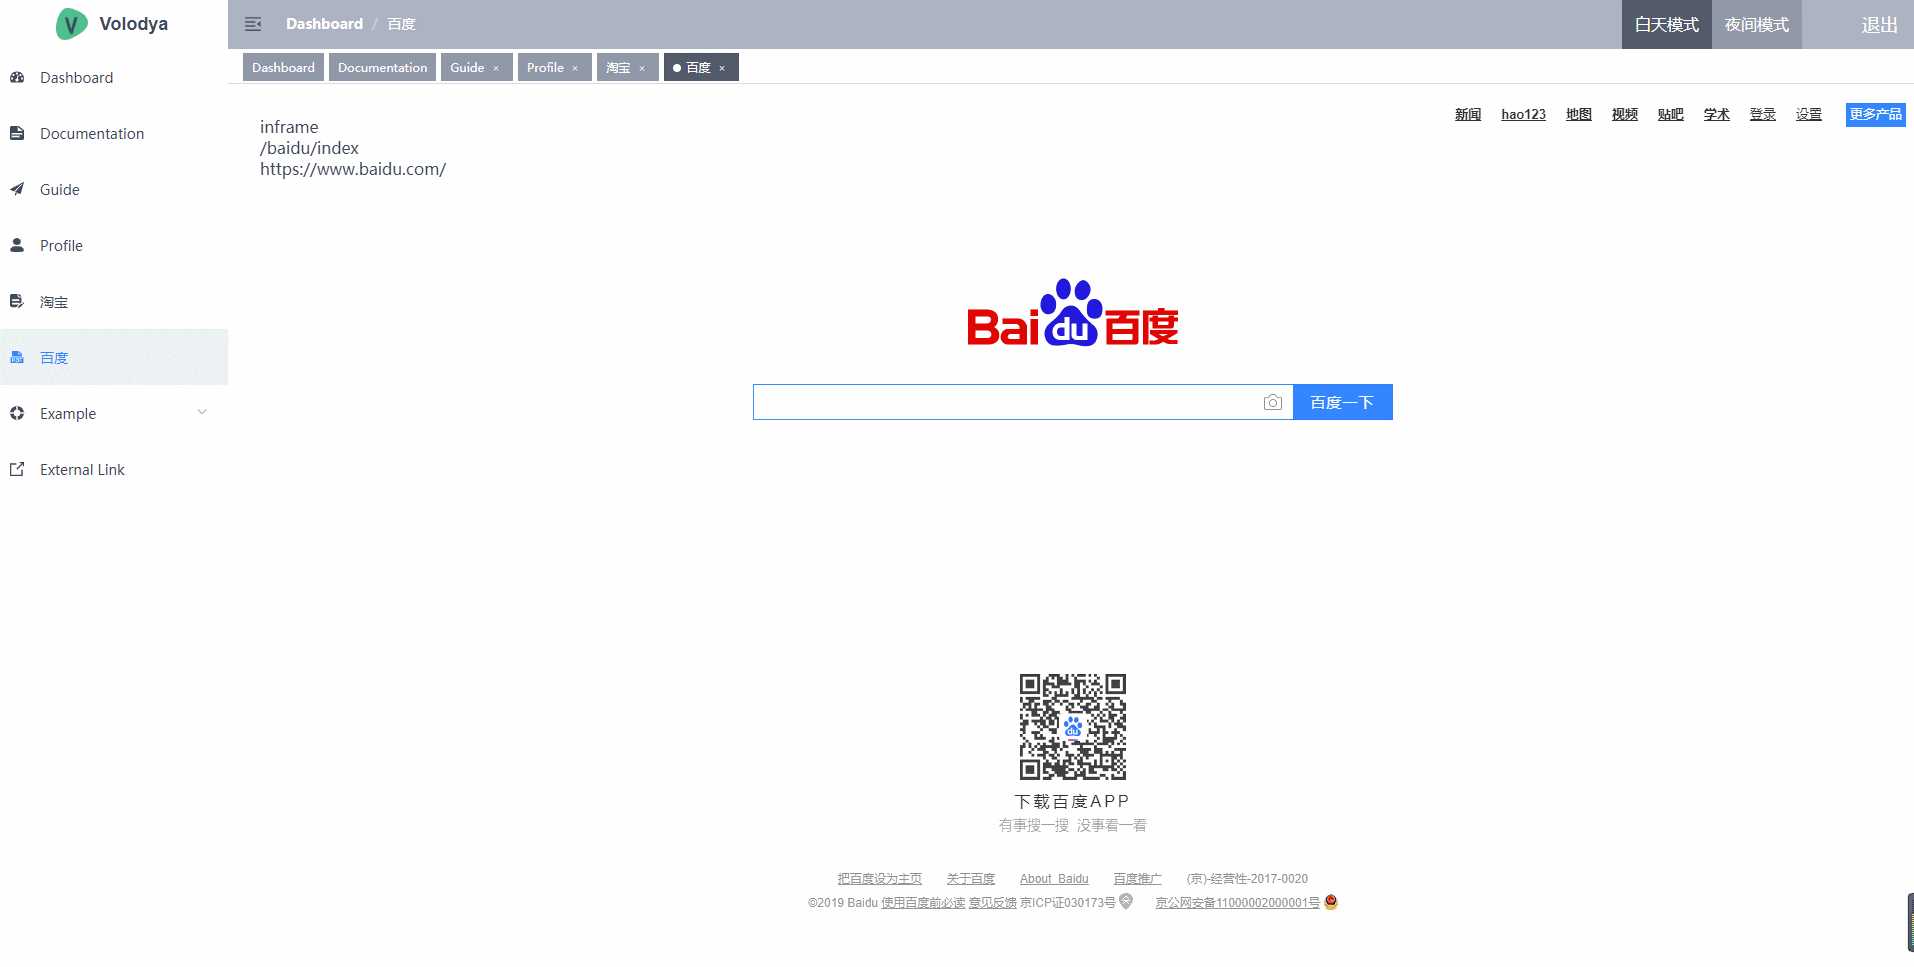
上图是实现的功能。项目中使用了sass实现了白天夜间两套皮肤切换,实现换肤功能。侧边栏菜单数据取自路由表,路由表的数据除login和404页面,全部由后台接口提供,因此用户权限由后台控制。后台会根据用户登录信息返回与用户登录信息相匹配的路由数据表,前台渲染相应的页面。路由表数据json格式如下:
{
    "data":{
        "routes": [
            {
                "path": "/",
                "component": "Layout",
                "redirect": "/dashboard",
                "children": [
                    {
                        "path": "dashboard",
                        "component": "dashboard/index",
                        "name": "Dashboard",
                        "meta": {
                            "title": "Dashboard",
                            "icon": "dashboard",
                            "affix": true,
                            "pathUrl": "https://www.baidu.com/",
                            "inframe":""
                        }
                    }
                ]
            },
            {
                "path": "/documentation",
                "component": "Layout",
                "children": [
                    {
                        "path": "index",
                        "component": "documentation/index",
                        "name": "Documentation",
                        "meta": {
                            "title": "Documentation",
                            "icon": "documentation",
                            "affix": true,
                            "pathUrl": "https://www.taobao.com/",
                            "inframe": ""
                        }
                    }
                ]
            },
            {
                "path": "/guide",
                "component": "Layout",
                "redirect": "/guide/index",
                "children": [
                    {
                        "path": "index",
                        "component": "guide/index",
                        "name": "Guide",
                        "meta": {
                            "title": "Guide",
                            "icon": "guide",
                            "noCache": true,
                            "pathUrl": "https://www.jd.com/",
                            "inframe": ""
                        }
                    }
                ]
            },
            {
                "path": "/profile",
                "component": "Layout",
                "redirect": "/profile/index",
                "children": [
                    {
                        "path": "index",
                        "component": "profile/index",
                        "name": "Profile",
                        "meta": {
                            "title": "Profile",
                            "icon": "user",
                            "noCache": true,
                            "pathUrl": "https://es6.ruanyifeng.com/#docs/regex",
                            "inframe": ""
                        }
                    }
                ]
            },
            {
              "path": "/taobao",
              "component": "Layout",
              "redirect": "/taobao/index",
              "children": [
                {
                  "path": "index",
                  "component": "inframe/index",
                  "name": "taobao",
                  "meta": {
                    "title": "淘宝",
                    "icon": "form",
                    "noCache": true,
                    "pathUrl": "https://es6.ruanyifeng.com/#docs/regex",
                    "inframe":"https://www.taobao.com/"
                  }
                }
              ]
            },
            {
              "path": "/baidu",
              "component": "Layout",
              "redirect": "/baidu/index",
              "children": [
                {
                  "path": "index",
                  "component": "inframe/index",
                  "name": "baidu",
                  "meta": {
                    "title": "百度",
                    "icon": "pdf",
                    "noCache": true,
                    "pathUrl": "https://es6.ruanyifeng.com/#docs/regex",
                    "inframe": "https://www.baidu.com/"
                  }
                }
              ]
            },
            {
                "path": "/example",
                "component": "Layout",
                "redirect": "/example/list",
                "name": "Example",
                "meta": {
                    "title": "Example",
                    "icon": "example"
                },
                "children": [
                    {
                        "path": "create",
                        "component": "example/create",
                        "name": "CreateArticle",
                        "meta": {
                            "title": "Create Article",
                            "icon": "edit",
                            "pathUrl": "https://www.baidu.com/",
                            "inframe": ""
                        }
                    },
                    {
                        "path": "list",
                        "component": "example/list",
                        "name": "ArticleList",
                        "meta": {
                            "title": "Article List",
                            "icon": "list",
                            "pathUrl": "https://www.jd.com/",
                            "inframe": ""
                        }
                    }
                ]
            },
            {
                "path": "external-link",
                "component": "Layout",
                "children": [
                    {
                        "path": "https: //github.com/PanJiaChen/vue-element-admin",
                        "meta": {
                            "title": "External Link",
                            "icon": "link"
                        }
                    }
                ]
            }
        ]
    }
}
组件路由信息生成前端菜单,在这里就不赘述啦。
接下来说下如何在vue单页项目嵌套外部链接,比如在vue单页项目嵌套淘宝,百度。
直接上代码
<template>
  <div class="inframe">
    <iframe style="border:none" width="100%" height="100%" v-bind:src="inframe"></iframe>
    <!--  -->
    <div class="fontoutbox"> inframe
    <div>{{this.$route.path}}</div>
    <div>{{this.$route.meta.inframe}}</div></div>
    <!--  -->
  </div>
</template>

<script>
export default {
  name: "index",
  data() {
    return {
      inframe: ""
    };
  },
  mounted() {
    // 从路由里动态获取 url地址   具体地址看libs下util.js里的 backendMenuToRoute  方法
    this.getinframe();
  },
  watch: {
    $route: async function() {
      // 监听路由变化
      await this.getinframe();
    }
  },
  methods: {
    getinframe() {
      //alert(this.$route.meta.inframe.includes("https"))
      let inframestatus = this.$route.meta.inframe.includes("https");
      if (inframestatus) {
        this.inframe = this.$route.meta.inframe;
      }
    }
  }
};
</script>

<style lang="scss" scoped>

</style>
以上可以在vue单页项目中指定的<router-view/>中打开通过iframe嵌套的外部链接或者html页面,本项目中只需要准备一个空白vue组件就行(如上述代码)
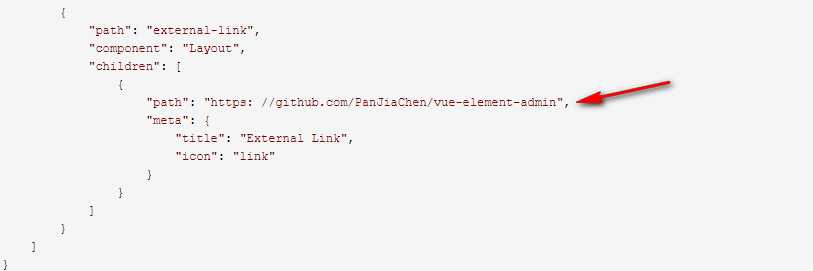
如果需要在新窗口下打开嵌入的外部链接,如下图配置路由表即可:

参考文章:https://panjiachen.github.io/vue-element-admin-site/zh/guide/#%E5%8A%9F%E8%83%BD
https://www.cnblogs.com/malng/p/11448037.html#4394832
vue动态配置嵌套页面(含iframe嵌套)可实现白天夜间皮肤切换
标签:login rip -- inf view child mic href 很多
原文地址:https://www.cnblogs.com/volodya/p/11942950.html