标签:bsp 其它 bar 服务器 red gif ESS info enable
任意选择3台centos系统的服务器(可以任意选择几台都可以),我的是1台centos7,2台centos6的
负载均衡端:192.168.153.171
web端:192.168.153.128 / 129
1.关闭所有服务器的防火墙以及selinux。

centos7的操作
systemctl stop firewalld
setenforce 0
centos6的操作
service iptables stop
setenforce 0
2.看看有没有正在运行的80端口
netstat -ntlp |grep 80
如果有其它应用,请先kill掉,要保证80端口不能被占用
3.下载或者源码安装nginx
我的centos7是yum安装
yum -y install epel-*
yum -y install nginx

centos6是源码安装
首先安装所需要的依赖环境
yum -y install gcc gcc-c++ pcre-devel zlib-devel lrzsz
rz 所需要的源码包( lrzsz 应用命令rz是上传,sz是下载 )
这时我们的目录中已经有未被解压的源码包了

tar zxf nginx-1.16.1.tar.gz

cd nginx-1.16.1

./configure && make && make install
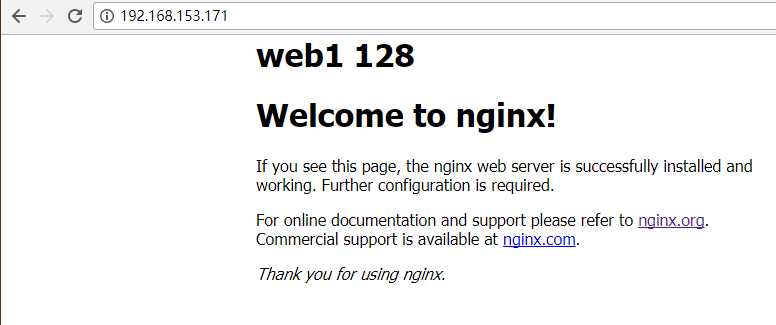
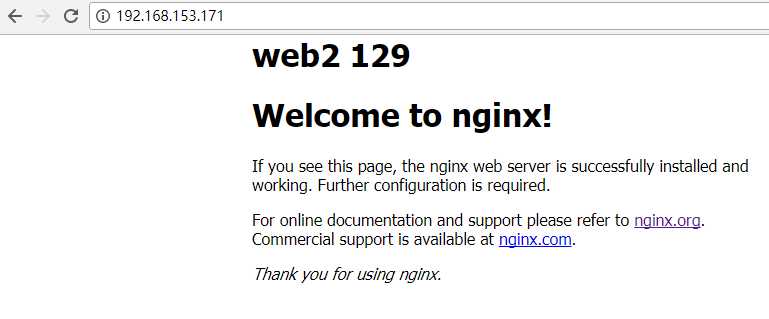
4.在web端新建测试页面
vim /usr/local/nginx/html/index.html

<h1>web 1/2  128 / 129</h1>
<!DOCTYPE html>
<html>
<head>
<title>Welcome to nginx!</title>
<style>
    body {
        width: 35em;
        margin: 0 auto;
        font-family: Tahoma, Verdana, Arial, sans-serif;
    }
</style>
</head>
<body>
<h1>Welcome to nginx!</h1>
<p>If you see this page, the nginx web server is successfully installed and
working. Further configuration is required.</p>

<p>For online documentation and support please refer to
<a href="http://nginx.org/">nginx.org</a>.<br/>
Commercial support is available at
<a href="http://nginx.com/">nginx.com</a>.</p>

<p><em>Thank you for using nginx.</em></p>
</body>
</html>
5.配置负载均衡端的配置文件
因为是yum安装所以它的配置文件在/etc下
vim /etc/nginx/nginx.conf

在http{}里面写
http{
   ~~~   upstream webs {
           server 192.168.153.128:80 weight=1;
           server 192.168.153.129:80 weight=3;
    }
   server {
           location / {
                proxy_pass http://webs;
        }
    }
}
以上为nginx的负载均衡轮询反向代理
6.启动所有服务器的nginx服务
centos7的操作
systemctl start nginx
systemctl enable nginx

centos6的操作
service nginx start
7.效果展示
标签:bsp 其它 bar 服务器 red gif ESS info enable
原文地址:https://www.cnblogs.com/kriskris/p/12072122.html