标签:height commit sla mkdir module 打包 lse 用户 app
说明:在任务项目构建的过程中通过Pipeline来呈现每个构建阶段的细节信息。

1、创建流水线任务
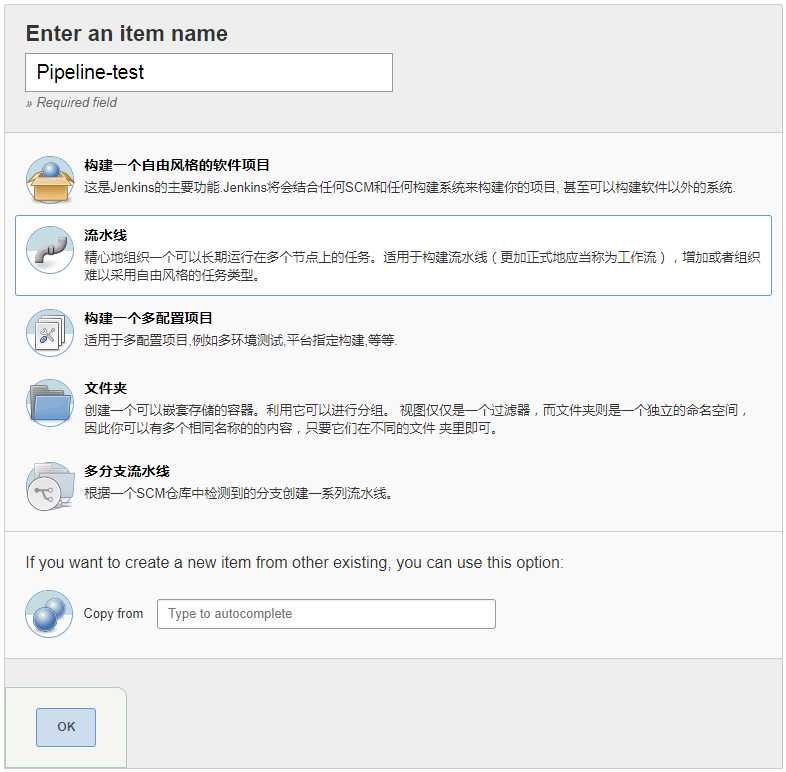
2、根据场景添加需要等项目、注:我这里根据上一节的内容一次添加,以测试为主。
....略(自定义)
3、使用Pipeline流水线Shell、保存。
使用Hello World模板
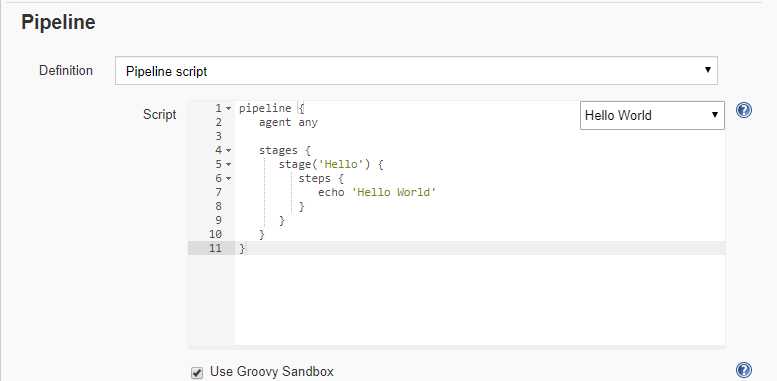
4、Pipeline-test 任务 --> Build with Parameters --> Build 构建
Pipeline-test 任务 --> Console Output 查看日志
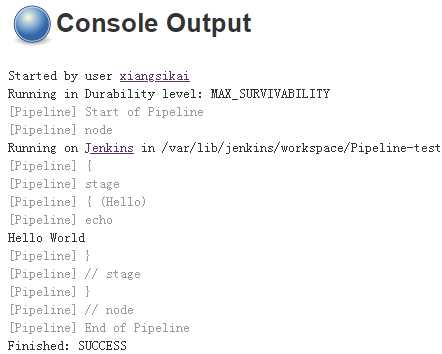
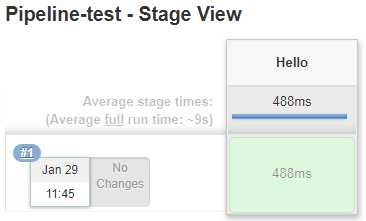
Pipeline-test 任务 --> Full Stage View 点击查看视图
1、git服务器操作:通过git创建jenkinsfile仓库
# 切换git用户
su - git
# 创建jenkinsfile仓库
mkdir jenkinsfile
cd jenkinsfile
# 初始话git仓库
git --bare init
2、客户端操作:下载git仓库提交pipeline脚本
# 1、下载仓库
git clone git@118.31.225.36:/home/git/jenkinsfile
cd jenkinsfile/
# 2、创建文件、脚本主要测试4个动作
#     (1)、拉取库
#     (2)、maven 打包
#     (3)、发布服务
#     (4)、自动化测试
vi Jenkinsfile

node {
   //def mvnHome
   stage(‘checkout‘) { // for display purposes
      checkout([$class: ‘GitSCM‘, branches: [[name: ‘*/master‘]], doGenerateSubmoduleConfigurations: false, extensions: [], submoduleCfg: [], userRemoteConfigs: [[url: ‘git@118.31.225.36:/home/git/repos/app.git‘]]])
   }
   stage(‘maven Build‘) {
      echo ‘maven build...‘
   }
   stage(‘deploy‘) {
      echo ‘deploy...‘
   }
   stage(‘test‘) {
      echo ‘test...‘
   }
}
# 3、提交文件
git add .
git commit -m "jenkinsfile"
git push origin master
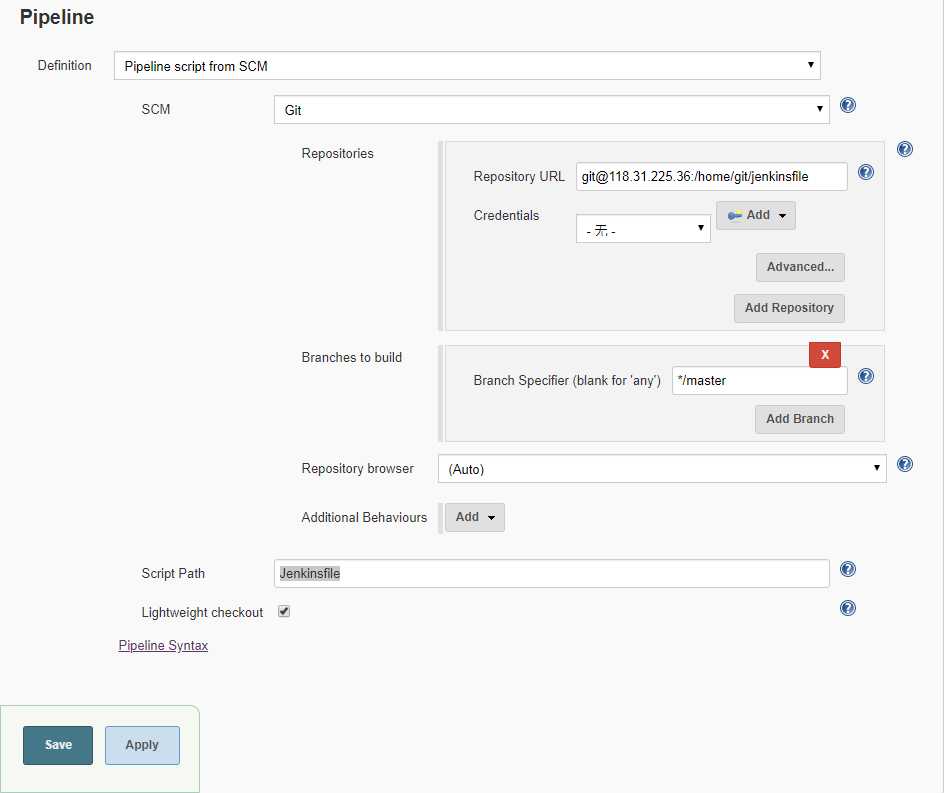
3、jenkins 添加 git库中的pipeline文件、保存。
4、查看 Stage View

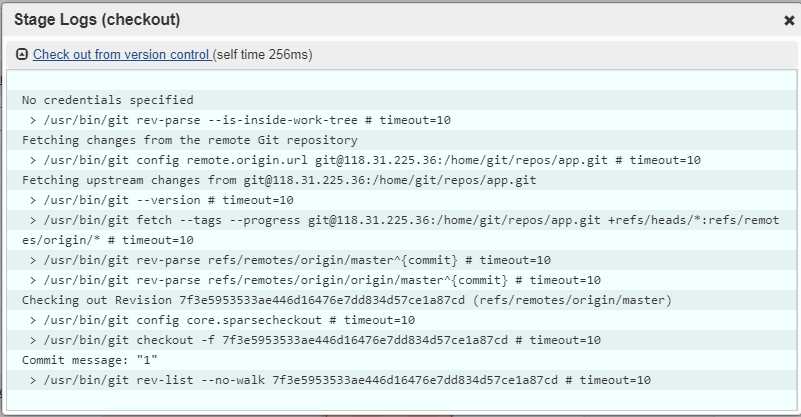
5、查看日志,直接点击绿色部分
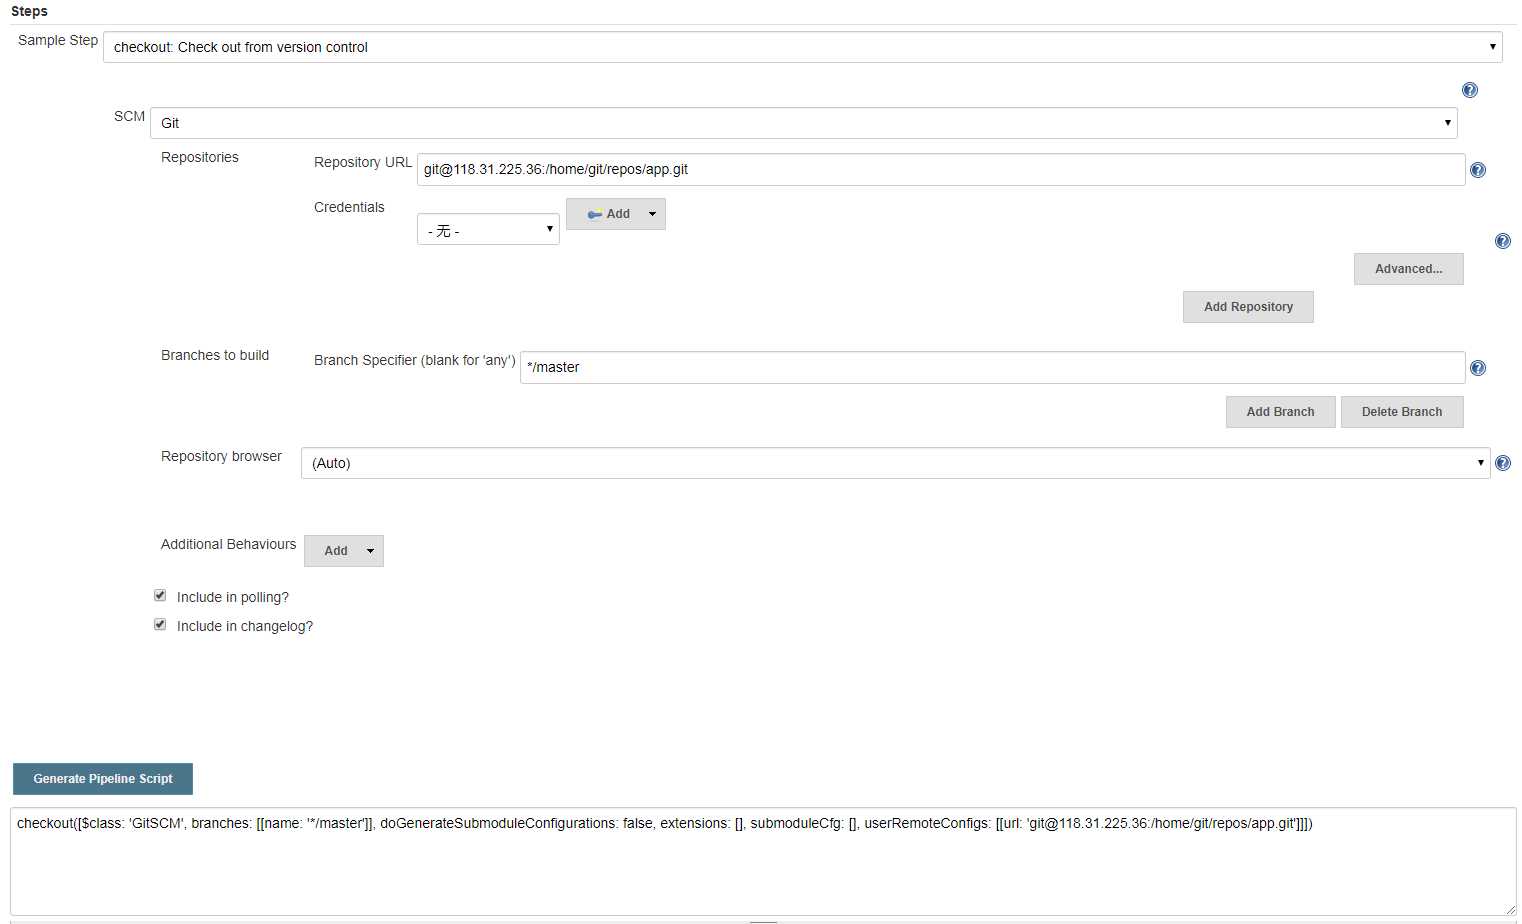
1、Git使用:Checkout
pipeline脚本:
checkout([$class: ‘GitSCM‘, branches: [[name: ‘*/master‘]], doGenerateSubmoduleConfigurations: false, extensions: [], submoduleCfg: [], userRemoteConfigs: [[url: ‘git@118.31.225.36:/home/git/repos/app.git‘]]])
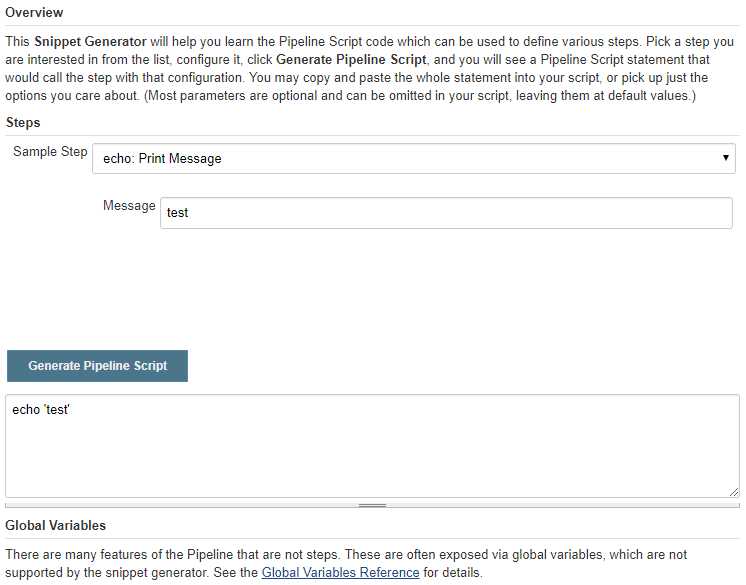
1、使用 echo
pipeline脚本:
echo ‘test‘
通过Slave节点构建 pipline语法格式
说明:node(‘指定Slave标签或名称’)

node (‘web‘) {
   //def mvnHome
   stage(‘checkout‘) { // for display purposes
      checkout([$class: ‘GitSCM‘, branches: [[name: ‘*/master‘]], doGenerateSubmoduleConfigurations: false, extensions: [], submoduleCfg: [], userRemoteConfigs: [[url: ‘git@118.31.225.36:/home/git/repos/app.git‘]]])
   }
   stage(‘maven Build‘) {
      echo ‘maven build...‘
   }
   stage(‘deploy‘) {
      echo ‘deploy...‘
   }
   stage(‘test‘) {
      echo ‘test...‘
   }
标签:height commit sla mkdir module 打包 lse 用户 app
原文地址:https://www.cnblogs.com/xiangsikai/p/12244965.html