标签:example space 尺寸 ase poi 创建 特征提取 point 工作
本文将介绍COLMAP的安装与使用,重点介绍3D重建过程中每个步骤的输入输出。
在GitHub上下载COLMAP源代码(我用的是3.5版本),下载后进入colmap目录编译
cd ./colmap-3.5              # 进入colmap目录
mkdir build && cd ./build    # 创建build文件夹,并进入
cmake ..                     # cmake
make -j8 # make多线程编译也许在编译过程中会出现一些问题,不要慌,我们去colmap的Github-Issues中去找一下。
Anaconda相关问题因为我们做的是:基于多视图图像的三维重建,所以首先我们需要一些待重建的图片
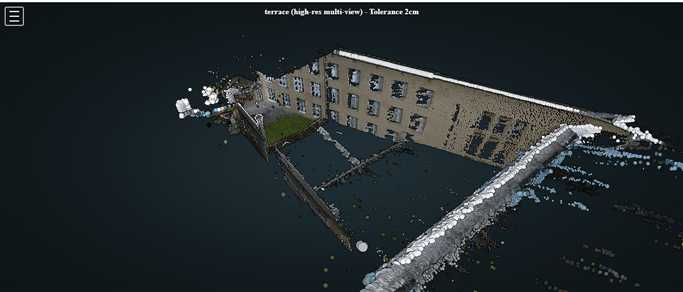
我们用的是ETH3D数据集中的terrace场景

我们将图片组织为colmap的工程格式:
/path/to/project/...
+── images
│   +── image1.jpg
│   +── image2.jpg
│   +── ...
│ +── imageN.jpg工作目录中包含一个images文件夹,images中即为待重建的图片,Pipes图片的百度云链接,提取码8tn2
以下所有命令均可在COLMAP官方说明文档上查阅。
colmap提供了自动重建的命令,我们这里还是逐步进行重建,以观察每一步的输入输出结果。
./colmap feature_extractor    --database_path $DATASET_PATH/database.db \  # 输出:特征点保存至数据库`database.db`
--image_path $DATASET_PATH/images # 输入:多视图图像./colmap exhaustive_matcher --database_path $DATASET_PATH/database.db # 输入输出:数据库文件`database.db`mkdir $DATASET_PATH/sparse # 新建sparse文件夹
./colmap mapper --database_path $DATASET_PATH/database.db \ # 输入:数据库文件`database.db`
--image_path $DATASET_PATH/images \ # 输入:多视图图像
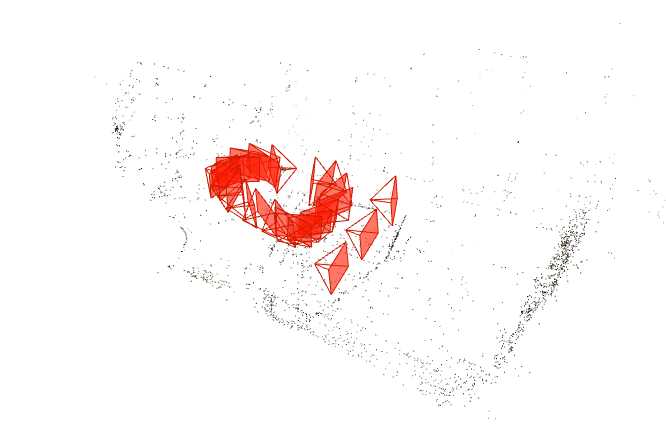
--output_path $DATASET_PATH/sparse # 输出:`sparse`文件夹输出结果sparse文件夹如下所示??
└── sparse        # 稀疏重建结果
    └── 0
        ├── cameras.bin        # 相机内参
        ├── images.bin         # 相机位姿
        ├── points3D.bin
└── project.inimkdir $DATASET_PATH/dense # 新建dense文件夹
./colmap image_undistorter --image_path $DATASET_PATH/images \ # 输入:多视图图像
--input_path $DATASET_PATH/sparse/0 \ # 输入:sparse文件夹
--output_path $DATASET_PATH/dense \ # 输出:dense文件夹
--output_type COLMAP \ # 参数:输出格式
--max_image_size 2000 # 参数:最大图像尺寸输出结果dense文件夹如下所示??
└── dense
 ?? ├── images
 ?? │?? ├── DSC_0259.JPG
 ?? │?? ├── DSC_0260.JPG
 ?? │?? ├── ...
 ?? │?? └── DSC_0285.JPG
 ?? ├── run-colmap-geometric.sh
 ?? ├── run-colmap-photometric.sh
 ?? ├── sparse
 ?? │?? ├── cameras.bin
 ?? │?? ├── images.bin
 ?? │?? └── points3D.bin
 ?? └── stereo
 ??     ├── consistency_graphs
 ??     ├── depth_maps
 ??     ├── fusion.cfg
 ??     ├── normal_maps
?? └── patch-match.cfg./colmap patch_match_stereo --workspace_path $DATASET_PATH/dense \ # 输入输出:dense文件夹
--workspace_format COLMAP \ # 参数:工作区格式
--PatchMatchStereo.geom_consistency true 稠密重建的结果:为每张图像估计depth_map和normal_map
└── dense
 ?? ├── images                        # resize后的图像
 ?? │?? ├── DSC_0259.JPG
 ?? │?? ├── DSC_0260.JPG
 ?? │?? ├── ...
 ?? │?? └── DSC_0285.JPG
 ?? ├── run-colmap-geometric.sh
 ?? ├── run-colmap-photometric.sh
 ?? ├── sparse
  ? │?? ├── cameras.bin
 ?? │?? ├── images.bin
 ?? │?? └── points3D.bin
 ?? └── stereo
 ??     ├── consistency_graphs
 ?      ├── depth_maps
 ??     │?? ├── DSC_0259.JPG.geometric.bin
 ??     │?? ├── DSC_0259.JPG.photometric.bin
 ??     │?? ├── ...
 ?      │?? ├── ...
 ??     │?? ├── DSC_0285.JPG.geometric.bin
 ??     │?? └── DSC_0285.JPG.photometric.bin
        ├── fusion.cfg
 ??     ├── normal_maps
 ??     │?? ├── DSC_0259.JPG.geometric.bin
 ??     │?? ├── DSC_0259.JPG.photometric.bin
 ?      │?? ├── ...
 ?      │?? ├── ...
 ?      │?? ├── DSC_0285.JPG.geometric.bin
 ?      │?? └── DSC_0285.JPG.photometric.bin
? └── patch-match.cfg./colmap stereo_fusion --workspace_path $DATASET_PATH/dense \ # 输入:dense文件夹
--workspace_format COLMAP \ # 参数:工作区格式
--input_type geometric \ # 参数:输入类型
--output_path $DATASET_PATH/dense/fused.ply # 输出:fused.ply文件使用model_converter将sparse文件夹中的bin文件转为txt文件。使用COLMAP GUI对稀疏重建结果进行可视化
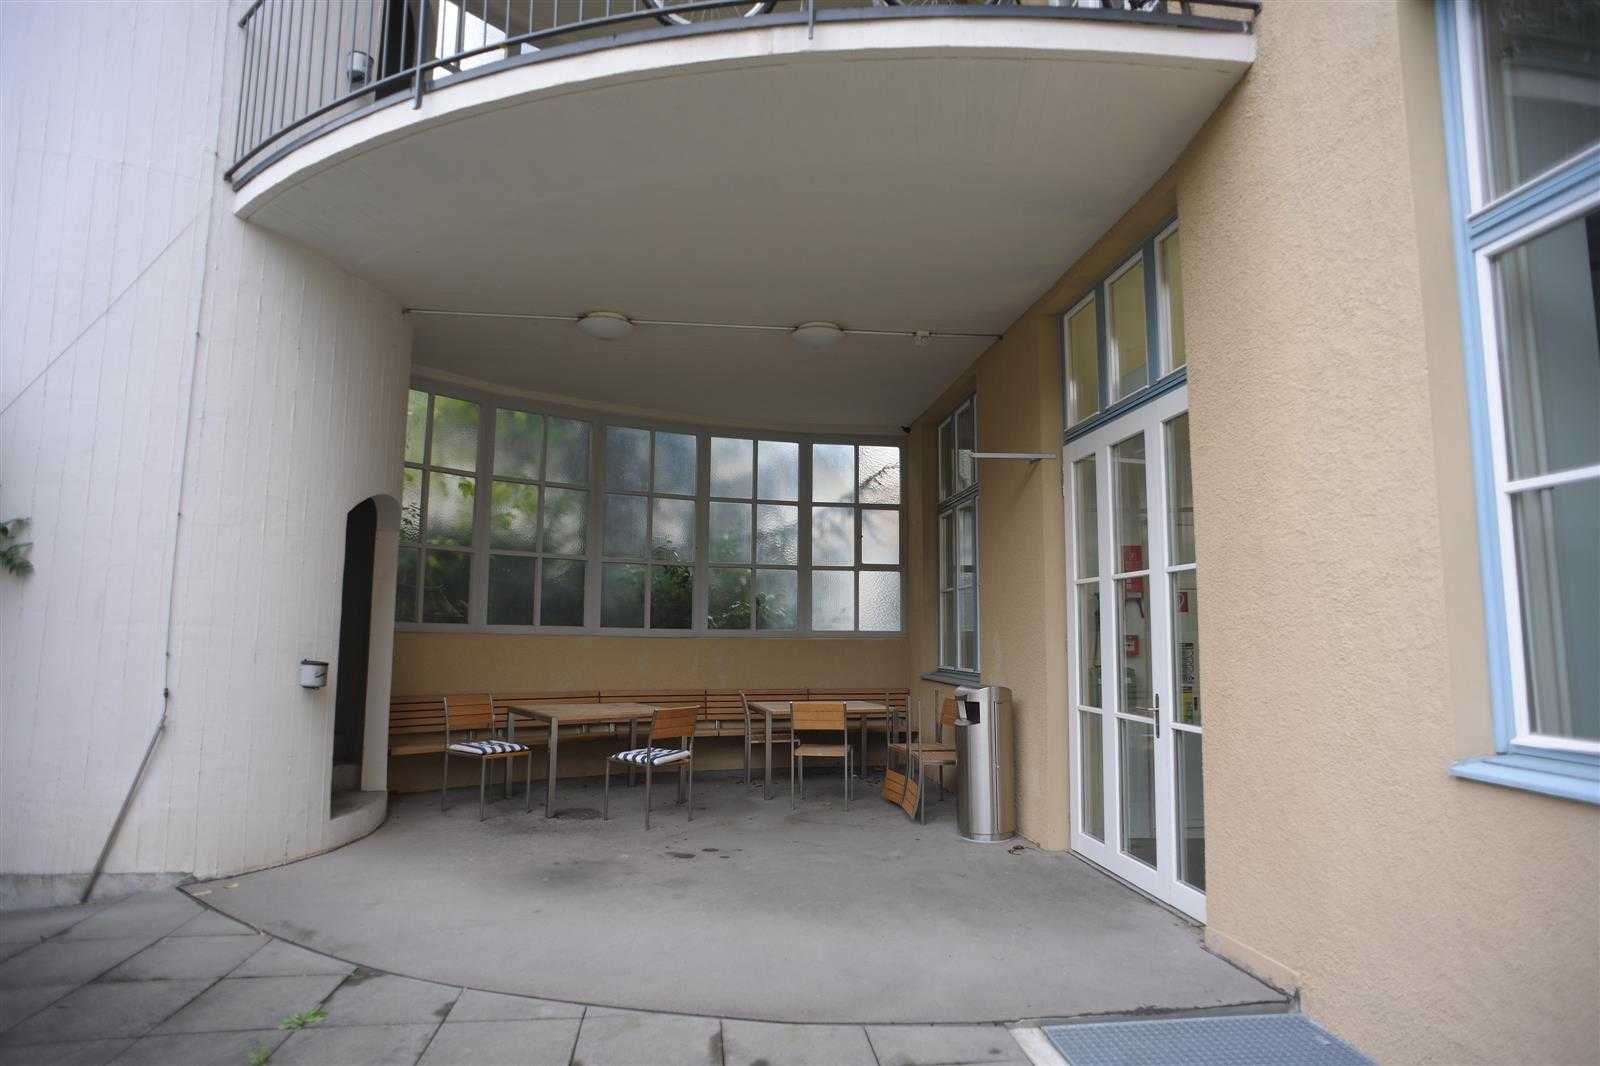
原图、
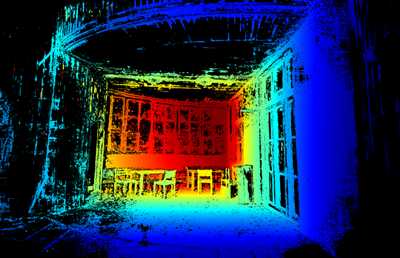
深度图、
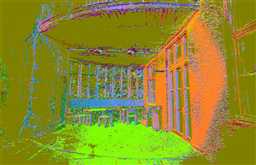
法向图

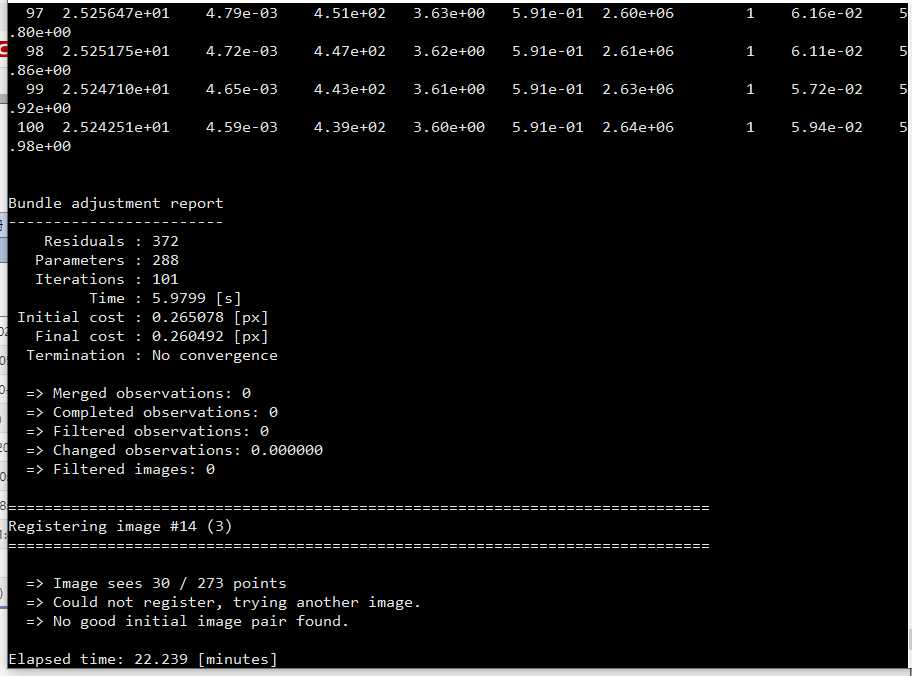
Pipes场景SfM失败
标签:example space 尺寸 ase poi 创建 特征提取 point 工作
原文地址:https://www.cnblogs.com/Todd-Qi/p/10792685.html