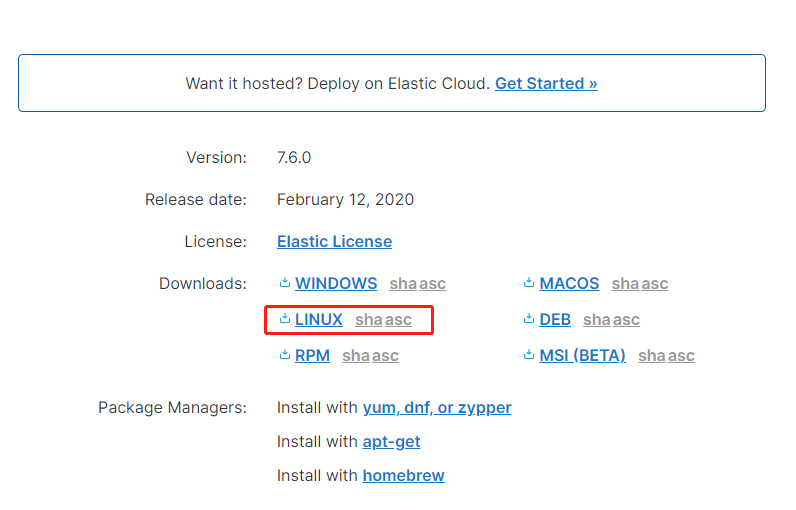
2.解压下载的Tar包
[root@chenxi software]# tar -zxvf elasticsearch-7.6.0-linux-x86_64.tar.gz
3.重命名文件夹名称
[root@chenxi software]# mv elasticsearch-7.6.0 elasticsearch
4.进入elasticsearch目录下
[root@chenxi software]# cd elasticsearch
5.根据自身条件调整JVM大小
[root@chenxi elasticsearch]# vim config/jvm.options
5.修改elasticsearch.yml配置
[root@chenxi elasticsearch]# vim config/elasticsearch.yml
# Set the bind address to a specific IP (IPv4 or IPv6):
# 取消注释,服务器IP地址
network.host: 192.168.0.1
#
# Set a custom port for HTTP:
# 取消注释,Restful 对外接口提供的端口
http.port: 9200
#
# For more information, consult the network module documentation.
#
# Bootstrap the cluster using an initial set of master-eligible nodes:
# 取消注释,目前单台机器部署,只需保留node-1节点即可
cluster.initial_master_nodes: ["node-1"]
6.由于elasticsearch安全性问题不能使用root启动,如需启动则新建用户,并赋予文件夹权限或者启动命令后追加 --allow-root
[root@chenxi elasticsearch]# groupadd esgroup # "eschenxi" (组名)
[root@chenxi elasticsearch]# useradd esuser # "eschenxi" (用户名)
[root@chenxi elasticsearch]# chown -R eschenxi:esgroup /chenxi/software/elasticsearch #"/chenxi/software/elasticsearch" 为安装目录
7.切换用户
[root@chenxi elasticsearch]# su esuser
8.启动ES
[esuser@chenxi elasticsearch]# bin/elasticsearch
#保持后台运行增加-d即可
[esuser@chenxi elasticsearch]# bin/elasticsearch -d
#查看es日志
[esuser@chenxi elasticsearch]# tail -f logs/elasticsearch.log
##注意防火墙开启9200端口
测试Es启动是否正常:
http://IP:9092
{
"name" : "chenxi",
"cluster_name" : "elasticsearch",
"cluster_uuid" : "_na_",
"version" : {
"number" : "7.6.0",
"build_flavor" : "default",
"build_type" : "tar",
"build_hash" : "7f634e9f44834fbc12724506cc1da681b0c3b1e3",
"build_date" : "2020-02-06T00:09:00.449973Z",
"build_snapshot" : false, "lucene_version" : "8.4.0",
"minimum_wire_compatibility_version" : "6.8.0",
"minimum_index_compatibility_version" : "6.0.0-beta1"
},
"tagline" : "You Know, for Search"
}
