标签:message pack package string png 监听器 create 行数据 路径
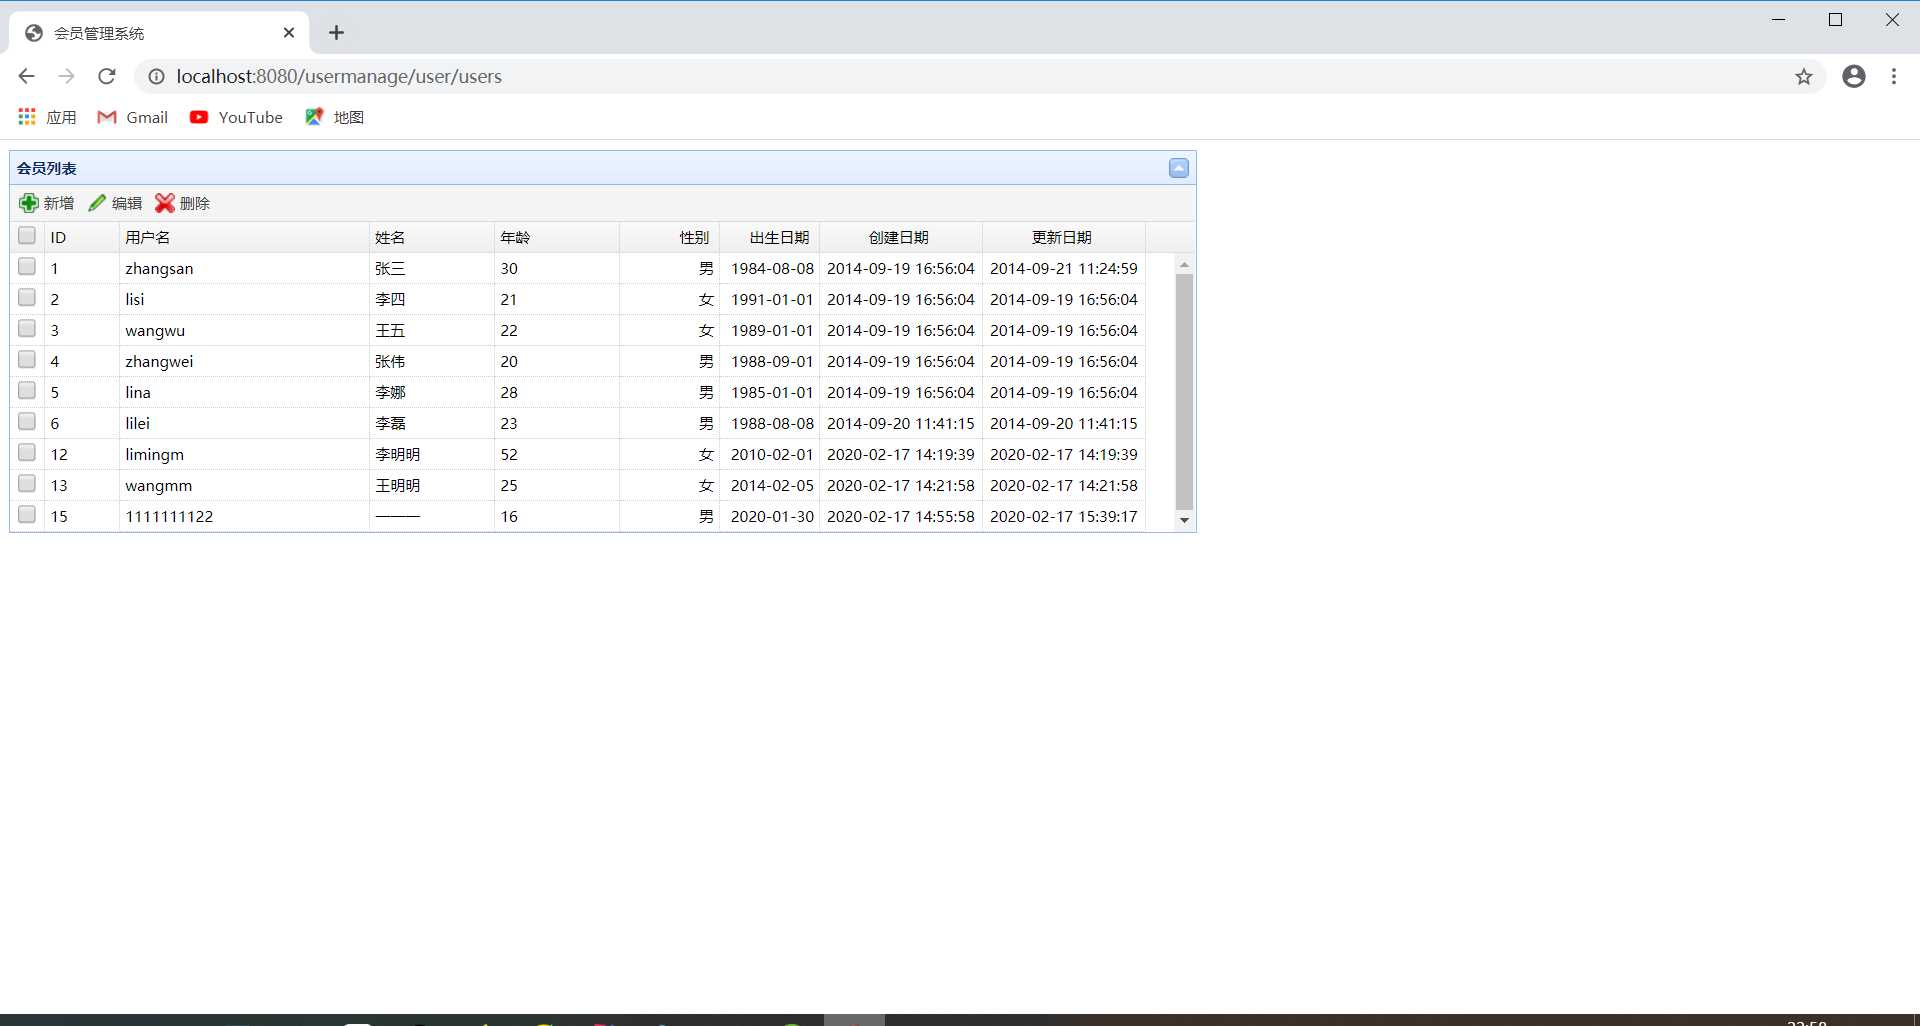
通过三天的时间,跟着视频学习然后做出来了

只是最基本的增删改查,学到了一些比较"小心机"的设计,期间出了不少问题让我一度想要放弃,重要的内容借此平台总结一下
web.xml,主要用于配置Filter,Servlet,Lisenter等
<?xml version="1.0" encoding="UTF-8"?>
<web-app xmlns:xsi="http://www.w3.org/2001/XMLSchema-instance"
    xmlns="http://xmlns.jcp.org/xml/ns/javaee"
    xsi:schemaLocation="http://xmlns.jcp.org/xml/ns/javaee http://xmlns.jcp.org/xml/ns/javaee/web-app_3_1.xsd"
    version="3.1">
    <display-name>usermanage</display-name>
    <!-- 配置spring容器初始化监听器 -->
    <context-param>
        <param-name>contextConfigLocation</param-name>
        <param-value>classpath:spring/applicationContext*.xml</param-value>
    </context-param>
    <listener>
        <listener-class>org.springframework.web.context.ContextLoaderListener</listener-class>
    </listener>

    <!-- 配置编码的过滤器 -->
    <filter>
        <filter-name>encoding</filter-name>
        <filter-class>org.springframework.web.filter.CharacterEncodingFilter</filter-class>
        <init-param>
            <param-name>encoding</param-name>
            <param-value>utf8</param-value>
        </init-param>
    </filter>

    <filter-mapping>
        <filter-name>encoding</filter-name>
        <!--拦截路径 -->
        <url-pattern>/*</url-pattern>
    </filter-mapping>


    <!-- 配置DispatcherServlet -->
<servlet>

<servlet-name>usermanage</servlet-name>
<servlet-class>org.springframework.web.servlet.DispatcherServlet</servlet-class>
<init-param>
<param-name>contextConfigLocation</param-name>
<param-value>classpath:spring/usermanage-servlet.xml</param-value>
</init-param>
<load-on-startup>1</load-on-startup>
</servlet>

<servlet-mapping>
<servlet-name>usermanage</servlet-name>
<url-pattern>/</url-pattern>
</servlet-mapping>


    <welcome-file-list>
        <welcome-file>index.html</welcome-file>
        <welcome-file>index.htm</welcome-file>
        <welcome-file>index.jsp</welcome-file>
        <welcome-file>default.html</welcome-file>
        <welcome-file>default.htm</welcome-file>
        <welcome-file>default.jsp</welcome-file>
    </welcome-file-list>
</web-app>
usermanage-servlet.xml,对应于Controller
主要步骤:配置注解驱动;开启注解扫描;解决静态资源的拦截问题;配置视图解析器
<?xml version="1.0" encoding="UTF-8"?>
<beans xmlns="http://www.springframework.org/schema/beans"
    xmlns:xsi="http://www.w3.org/2001/XMLSchema-instance" xmlns:p="http://www.springframework.org/schema/p"
    xmlns:context="http://www.springframework.org/schema/context"
    xmlns:mvc="http://www.springframework.org/schema/mvc"
    xsi:schemaLocation="http://www.springframework.org/schema/beans http://www.springframework.org/schema/beans/spring-beans.xsd
        http://www.springframework.org/schema/mvc http://www.springframework.org/schema/mvc/spring-mvc-4.0.xsd
        http://www.springframework.org/schema/context http://www.springframework.org/schema/context/spring-context.xsd">

    <mvc:view-controller path="/user/users" view-name="users"/>
    <mvc:view-controller path="/user/page/add" view-name="user-add"/>
    <mvc:view-controller path="/user/page/edit" view-name="user-edit"/>

    <!-- 配置注解驱动:替代推荐使用的注解映射器和适配器,提供对json的支持 -->
    <mvc:annotation-driven />


    <!-- 开启注解扫描,和spring是一样的 -->
    <context:component-scan base-package="com.cn.usermanage.controller" />

    <!-- 解决静态资源被拦截的问题 -->
    <mvc:default-servlet-handler/>


    <!-- 配置视图解析器 -->
    <bean class="org.springframework.web.servlet.view.InternalResourceViewResolver">
        <property name="prefix" value="/WEB-INF/views/"></property>
        <property name="suffix" value=".jsp"></property>
    </bean>


</beans>
applicationContext.xml 中需要配置(省略数据库的配置文件)
<!-- 注解扫描 -->
    <context:component-scan base-package="com.cn.usermanage.service"/>
    <!-- 加载资源文件 -->
    <context:property-placeholder location="classpath:jdbc.properties"/>
    <!-- 配置数据源 -->
    <bean id="dataSource" class="com.mchange.v2.c3p0.ComboPooledDataSource">
        <property name="user" value="${jdbc.user}" />
        <property name="password" value="${jdbc.password}" />
        <property name="jdbcUrl" value="${jdbc.url}" />
        <property name="driverClass" value="${jdbc.driver}" />
    </bean>
applicationContext-mybatis.xml中需要配置,和利用mybatis操作数据库相关
步骤:需要初始化SqlsessionFactory对象;配置Mapper接口的包扫描
<!-- spring初始化bean的方式: 1.无参构造 2.静态工厂方法 3.实例化工厂 4.工厂bean -->
    <bean id="sqlSessionFactory"
        class="org.mybatis.spring.SqlSessionFactoryBean">
        <!-- 指定数据源 -->
        <property name="dataSource" ref="dataSource" />
        <!-- 指定全局配置文件 -->
        <property name="configLocation"
            value="classpath:mybatis/mybatis-config.xml"></property>
        <!-- 指定映射文件(不需要mybatis-config.xml中映射),利用通配符匹配任意目录任意xml配置 -->
                <property name="mapperLocations" value="classpath:mybatis/mappers/**/*.xml"></property>

        <!-- 开启别名扫描 -->
        <property name="typeAliasesPackage"
            value="com.cn.usermanage.pojo"></property>
    </bean>


                <!-- 配置mapper接口的包扫描 -->

     <mybatis-spring:scan
        base-package="com.cn.usermanage.mapper" />
mybatis-config.xml只需要配置行为参数即可
<settings>
        <setting name="mapUnderscoreToCamelCase" value="true" />
    </settings>
实体类对象User可以通过注解的方式对属性进行数据校验,常用的注解如:
User.java
public class User {

    private Long id;

    // 用户名
    @NotNull
    @Length(min=6, max=20, message="用户名长度不合法")
    private String userName;

    // 密码
    @JsonIgnore
    @NotNull
    @Length(min=6, max=20, message="用户名长度不合法")
    private String password;

    // 姓名
    @NotNull
    private String name;

    // 年龄
    @NotNull
    private Integer age;

    // 性别,1男性,2女性
    @NotNull
    private Integer sex;

    // 出生日期
    @NotNull
    @DateTimeFormat(pattern="yyyy-MM-dd")
    @Past(message="生日必须是过去式")
    private Date birthday;

    // 创建时间
    private Date created;

    // 更新时间
    private Date updated;
}
UserController.java
@Controller
@RequestMapping("user")
public class UserController {
    @Autowired
    private UserService userService;

    @RequestMapping("users")
    public String toUsers() {
        return "users";
    }

    @RequestMapping("list")
    @ResponseBody
    public Map<String, Object> queryUserAll() {
        Map<String, Object> map = new HashMap<>();
        // 查询总条数
        Long total = this.userService.queryTotal();
        map.put("total", total);
        List<User> users = this.userService.queryUserAll();
        map.put("rows", users);
        return map;
    }


    @RequestMapping("save")
    @ResponseBody
    public Map<String, String>  saveUser(@Valid User user,BindingResult result)
    {
        Map<String,String> map=new HashMap<>();

        if(result.hasErrors())
        {
            //输出到控制台
            System.out.println(result.getAllErrors());
            //status用于前端校验是否执行成功
            map.put("status", "500");
            return map;


        }
        //调用Service方法新增用户信息
        Boolean flag=this.userService.saveUser(user);
        if(flag)
            map.put("status", "200");
        else
            map.put("status", "500");
        return map;

    }


    //修改

    @RequestMapping("edit")
    @ResponseBody

    public Map<String, String>  editUser(@Valid User user)
    {
        Map<String,String> map=new HashMap<>();
        //调用Service方法新增用户信息
        Boolean flag=this.userService.editUser(user);
        if(flag)
            map.put("status", "200");
        else
            map.put("status", "500");
        return map;

    }


    //删除


    @RequestMapping("delete")
    @ResponseBody
    public Map<String, String>  deleteUser(@RequestParam("ids")List<Long> ids )
    {
        Map<String,String> map=new HashMap<>();
        //调用Service方法新增用户信息
        Boolean flag=this.userService.deleteUserByIds(ids);
        if(flag)
            map.put("status", "200");
        else
            map.put("status", "500");
        return map;

    }
}
标签:message pack package string png 监听器 create 行数据 路径
原文地址:https://www.cnblogs.com/ywqtro/p/12324352.html