标签:注释 超时 name 设计 info 响应头 block ESS 简易
学习JavaWeb之后,只知道如何部署项目到Tomcat中,而并不了解其内部如何运行,底层原理为何,因此写下此篇博客初步探究一下。学习之前需要知识铺垫已列出:Tomcat目录结构、HTTP协议、IO、网络编程(未完善)
笔者称自己手写的Tomcat为盗版,反之则为正版。在手写简易版Tomcat之前,我们来看看如何使用正版的Tomcat
这里以Myeclipse为例
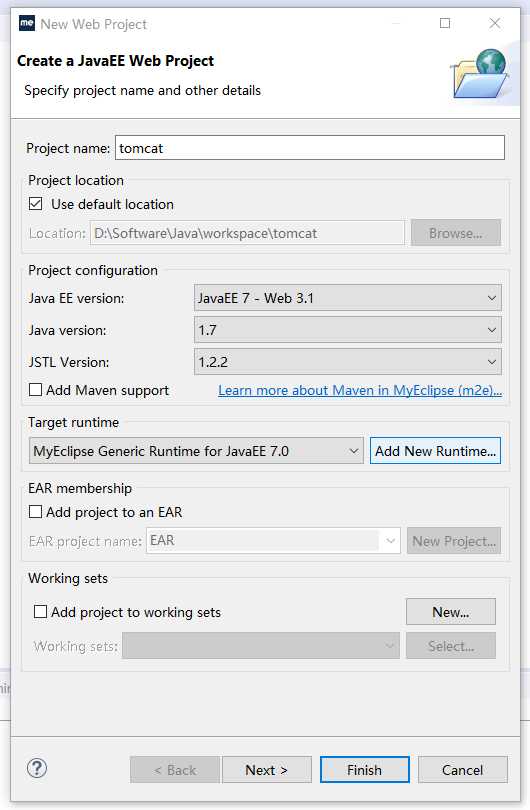
新建MyServlet类继承HttpServlet,重写里面的doPost、doGet方法
public class MyServlet extends HttpServlet {

    @Override
    public void doGet(HttpServletRequest req, HttpServletResponse resp) throws ServletException, IOException {
        resp.getWriter().write("This is serlvet");
    }

    @Override
    public void doPost(HttpServletRequest req, HttpServletResponse resp) throws ServletException, IOException {

    }
}写完MyServlet之后要让Tomcat知道他在哪,什么地址映射情况才会启用他
<?xml version="1.0" encoding="UTF-8"?>
<web-app xmlns:xsi="http://www.w3.org/2001/XMLSchema-instance"
xmlns="http://xmlns.jcp.org/xml/ns/javaee"
xsi:schemaLocation="http://xmlns.jcp.org/xml/ns/javaee
http://xmlns.jcp.org/xml/ns/javaee/web-app_3_1.xsd" id="WebApp_ID" version="3.1">

  <display-name>tomcat</display-name>

  <servlet>
    <servlet-name>MyServlet</servlet-name>
    <servlet-class>com.howl.MyServlet</servlet-class>
  </servlet>
  <servlet-mapping>
    <servlet-name>MyServlet</servlet-name>
    <url-pattern>/howl</url-pattern>
  </servlet-mapping>

</web-app>这里放出项目的目录结构
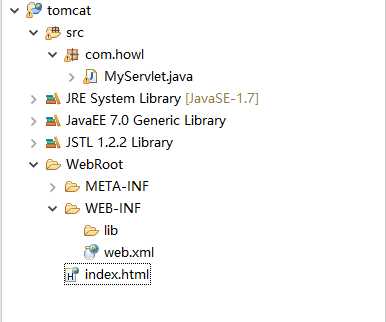
这里使用自带的Tomcat,一键添加部署,再启动(本项目叫tomcat)
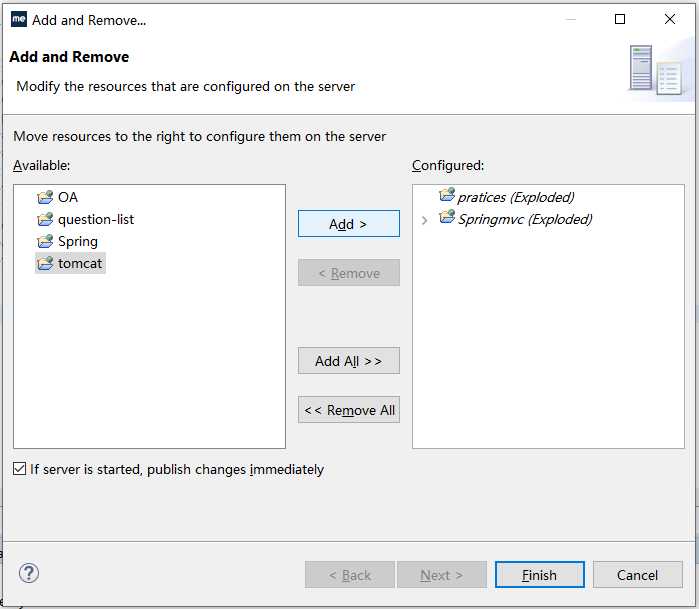
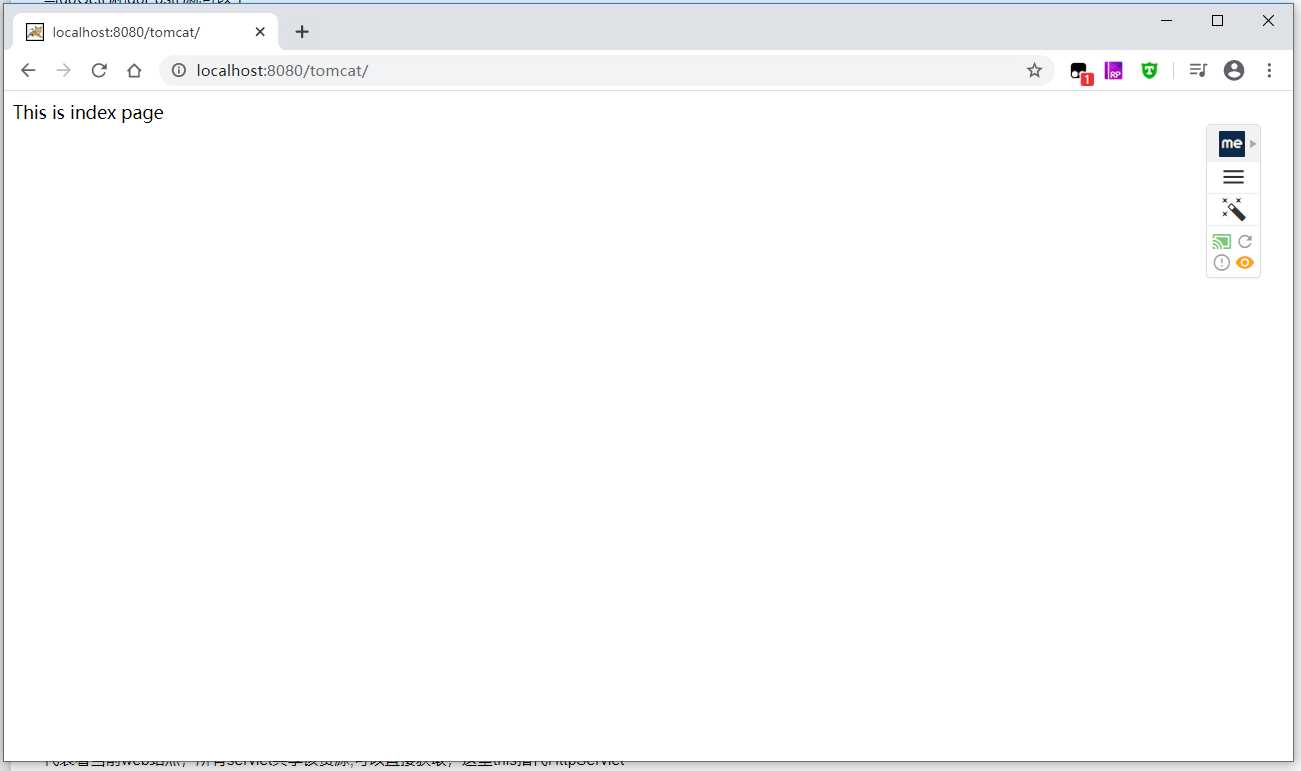
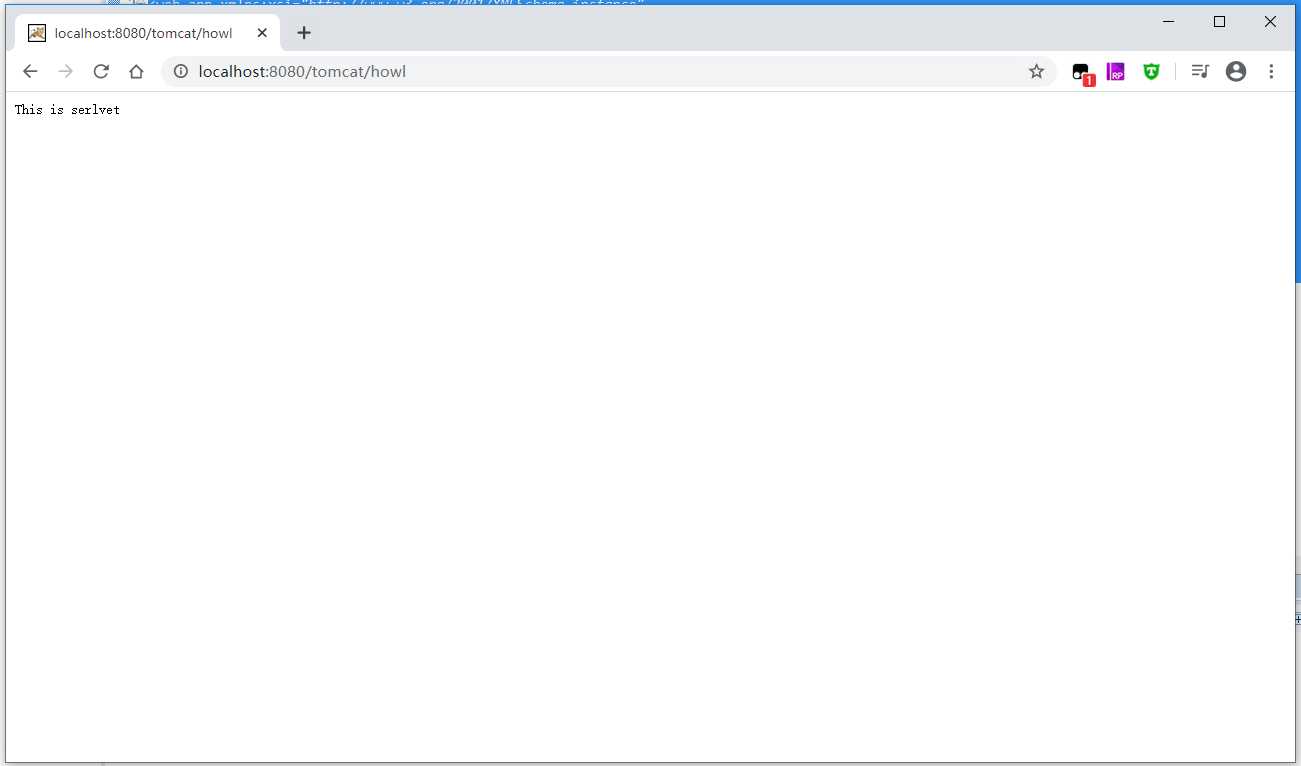
至此我们已经能简单地使用正版Tomcat来访问静态资源、Servlet,那么接下来就开始盗版之旅
我们来缕清 浏览器发送请求,然后服务器响应浏览器 到底经历了什么
上面只是简易版的流程,并不完全正确,笔者这里为了方便而简化的流程,具体像Servlet实例化时间,defaultServlet、多层映射这些并未提及
到现在我们可以知道,简易版的Tomcat设计的对象大概有:
给出目录能让人一目了然,并在下面的阅读中有个大概
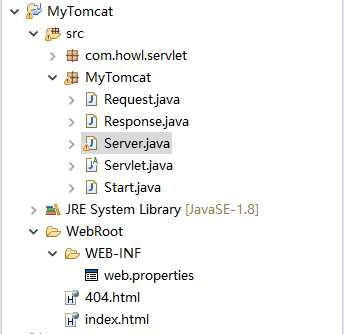
负责将浏览器的请求信息封装起来,当然这里是简单得不能再简单的封装了,详细内容可看代码里的注释
public class Request {

    // 请求地址
    private String url;

    // 请求方法
    private String method;

    // 构造函数,参数为后面2.4中Socket建立的IO流
    public Request(InputStream in) throws IOException{

        // IO读取请求
        // 这里踩坑、因为http/1.1是长连接,所以浏览器未超时是不会主动关闭的
        // 不能使用循环来读取数据,因为读取不了-1(未主动关闭)
        byte[] bytes = new byte[1024];
        int length = in.read(bytes);
        String str = new String(bytes,0,length);

        // 取请求的第一行(具体请求信息请看序文中的HTTP知识铺垫)
        String strFirst = str.split("\n")[0];
        // 按空格分割
        String[] arr = strFirst.split(" ");

        // 从第一行中获取方法名和请求地址
        method = arr[0];
        url = arr[1];
    }

    public String getUrl() {
        return url;
    }

    public void setUrl(String url) {
        this.url = url;
    }

    public String getMethod() {
        return method;
    }

    public void setMethod(String method) {
        this.method = method;
    }
}负责封装响应信息,这里注意响应信息有状态码
public class Response {

    private OutputStream out;

    public Response(OutputStream out) {
        super();
        this.out = out;
    }

    // 该方法前面的步骤都是为了写好响应头,最后一句话才是写入响应内容
    public void write(String content, int statusCode) throws IOException{
        out.write( ("HTTP/1.1 " + statusCode + " OK\n").getBytes() );
        out.write("Content-Type:text/html;Charset=utf-8\n".getBytes());
        out.write("\n".getBytes());
        out.write(content.getBytes("UTF-8"));   // 这里处理编码问题
    }
}学习Servlet的时候,我们都是继承HttpServlet类的,该类实现了Serlvet接口并为我们实现了里面众多的方法,只需重写doPost、doGet方法,并且增强了处理Http协议的方法
public abstract class Servlet {

    // 类似于HttpSerlvet
    public void service(Request request, Response response) {
        if(request.getMethod().equalsIgnoreCase("POST")) {
            doPost(request, response);
        }else if(request.getMethod().equalsIgnoreCase("GET")) {
            doGet(request, response);
        }
    }

    // 分别处理POST和GET请求
    public abstract void doPost(Request request, Response response);

    public abstract void doGet(Request request, Response response);

}负责加载web.xml,(笔者技术不够,用properties来代替,即web.properties,键为映射地址,值为全限定类名),监听客户端的请求并建立连接,还有指派各种请求的访问
public class Server {

    // 资源根目录
    public static String WEB_ROOT = System.getProperty("user.dir") + "\\WebRoot";
    // 请求的资源地址
    public static String url = "";
    // 读取web.properties,保存映射关系
    private static HashMap<String,String> map = new HashMap<String,String>();

    // 静态代码块,加载时运行一次
    static {
        try {
            // 将映射地址存到map集合中
            Properties prop = new Properties();
            prop.load(new FileInputStream(WEB_ROOT + "\\WEB-INF\\web.properties"));
            Set set = prop.keySet();
            Iterator iterator = set.iterator();
            while(iterator.hasNext()){
                String key= (String) iterator.next();
                String value = prop.getProperty(key);
                map.put(key,value);
            }
        } catch (IOException e) {
            e.printStackTrace();
        }
    }

    // 开启服务器
    public void start() {
        try {
            System.out.println("MyTomcat is starting... \n");

            // 监听8080端口
            ServerSocket serverSocket = new ServerSocket(8080);
            // 后期改成NIO,Tomcat默认NIO模式,目前使用BIO (阻塞IO,并不使用多线程了)
            while(true){

                // 监听客户端连接
                Socket socket = serverSocket.accept();

                // 由Tomcat服务器来创建请求响应对象
                InputStream in = socket.getInputStream();
                OutputStream out = socket.getOutputStream();
                Request request = new Request(in);
                System.out.println("请求地址:" + request.getUrl());
                Response response = new Response (out);
                System.out.println("一个请求连接了");

                // 分派器
                dispatch(request, response);

                // 关闭各种资源
                in.close();
                out.close();
                socket.close();
                System.out.println("一个请求关闭连接了 \n");
            }
        } catch (Exception e) {
            e.printStackTrace();
        }
    }


    // 负责指派去哪访问
    private void dispatch(Request request, Response response) throws ClassNotFoundException, InstantiationException, IllegalAccessException, IOException{

        int length = 0;
        byte[] bytes = new byte[1024];
        FileInputStream fileInputStream = null;
        StringBuffer stringBuffer = new StringBuffer();

        // 有Servlet映射
        if( map.containsKey(request.getUrl().replace("/", ""))){
            String value = map.get(request.getUrl().replace("/", ""));

            // 反射
            Class clazz = Class.forName("com.howl.servlet.LoginServlet");
            Servlet servlet = (Servlet) clazz.newInstance();
            servlet.service(request, response);

        // 访问静态资源
        }else{
            File file = new File(WEB_ROOT,request.getUrl());

            // 静态资源存在
            if(file.exists()){
                fileInputStream = new FileInputStream(file);
                while(  (length = fileInputStream.read(bytes)) != -1 ){
                    stringBuffer.append(new String(bytes,0,length));
                }
                response.write(stringBuffer.toString(),200);

            // 静态资源不存在
            }else{
                file = new File(WEB_ROOT,"/404.html");
                fileInputStream = new FileInputStream(file);
                while(  (length = fileInputStream.read(bytes)) != -1 ){
                    stringBuffer.append(new String(bytes,0,length));
                }
                response.write(stringBuffer.toString(),404);
            }
        }
    }
}上面的对象都没有main方法入口,所以笔者这里写了一个启动类,就像Tomcat的Start.bat
public class Start {

    public static void main(String[] args) {

        Server webServer = new Server();
        webServer.start();

    }
}
至此我们手写版的Tomcat已经完成了,下面开始我们盗版Tomcat的使用
既然我们是模仿正版Tomcat来写的,那么使用流程也就差不多了
继承我们编写的Servlet类,写一个登录的LoginServlet,当然这里就不做任何逻辑判断了,直接返回密码错误
public class LoginServlet extends Servlet {

    @Override
    public void doPost(Request request, Response response) {

    }

    @Override
    public void doGet(Request request, Response response) {
        try {
            response.write("访问了LoginServlet,但是密码错误", 200);
        } catch (IOException e) {
            e.printStackTrace();
        }
    }
}# url mapping = class
LoginServlet = com.howl.servlet.LoginServlet放入index.html、404.html页面
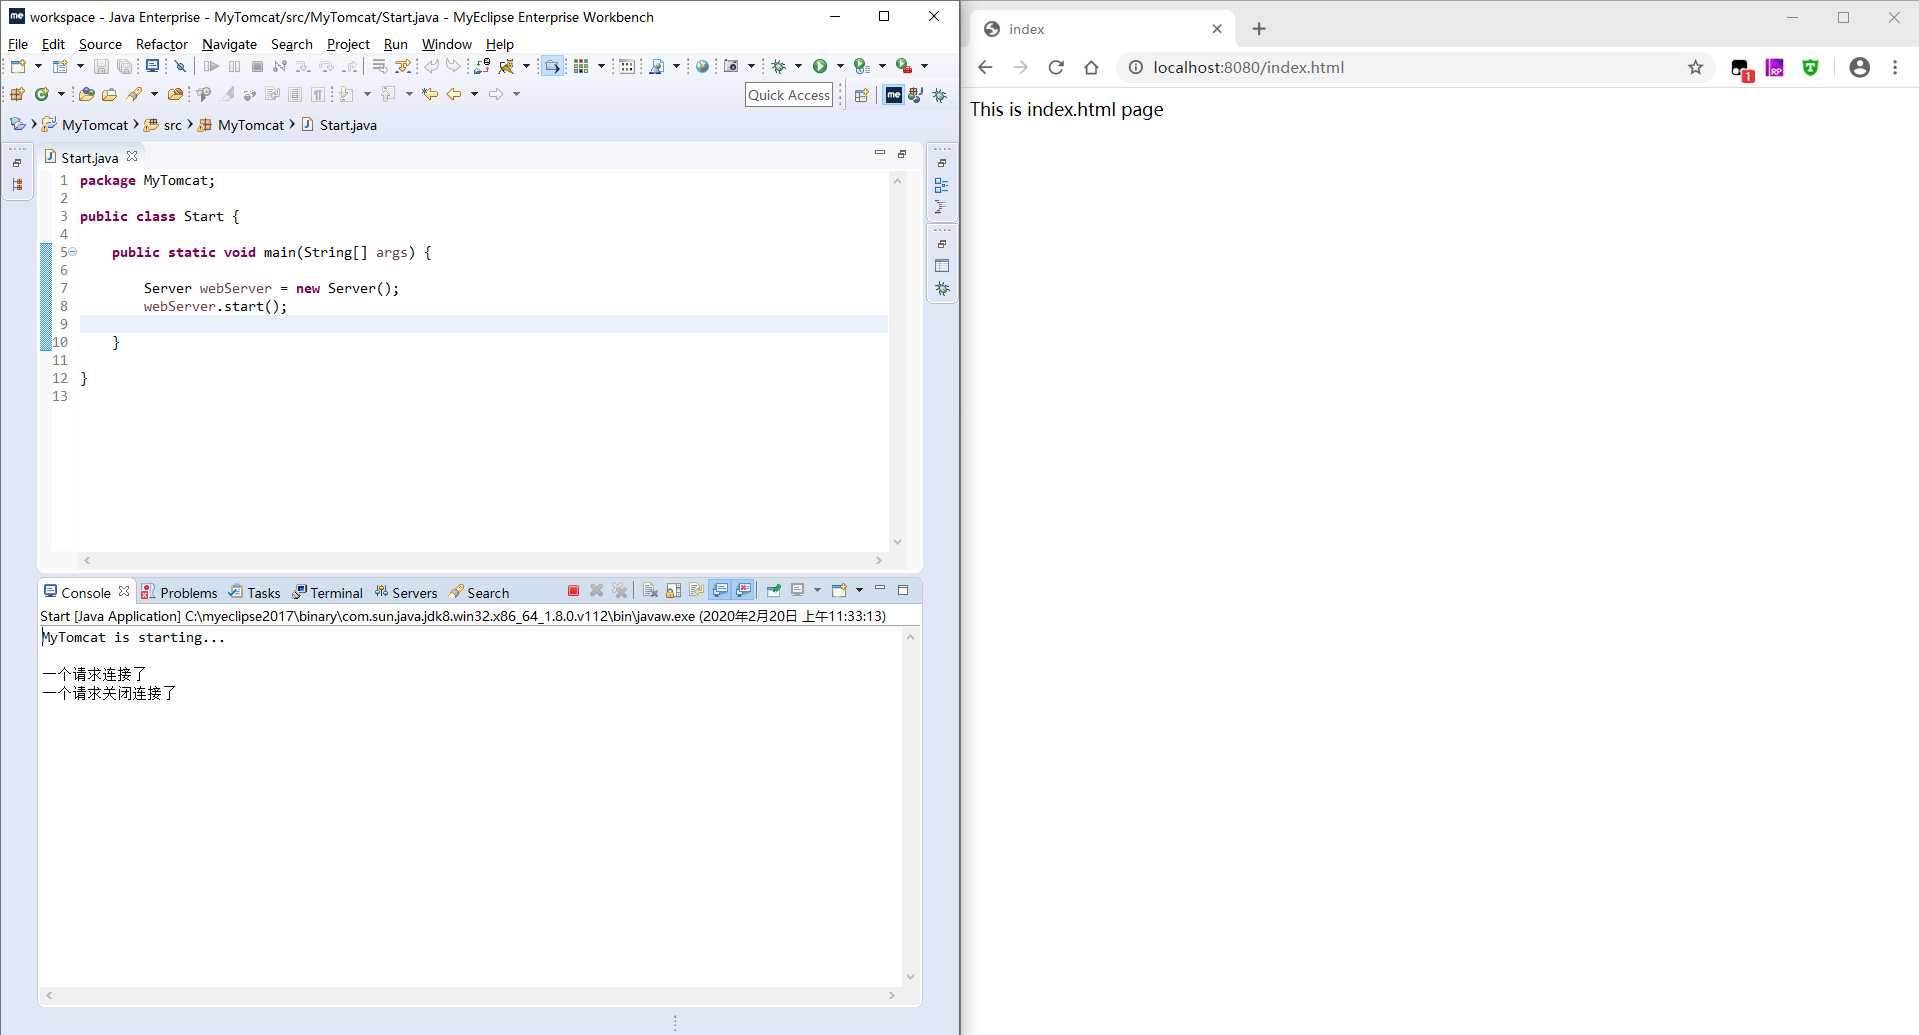
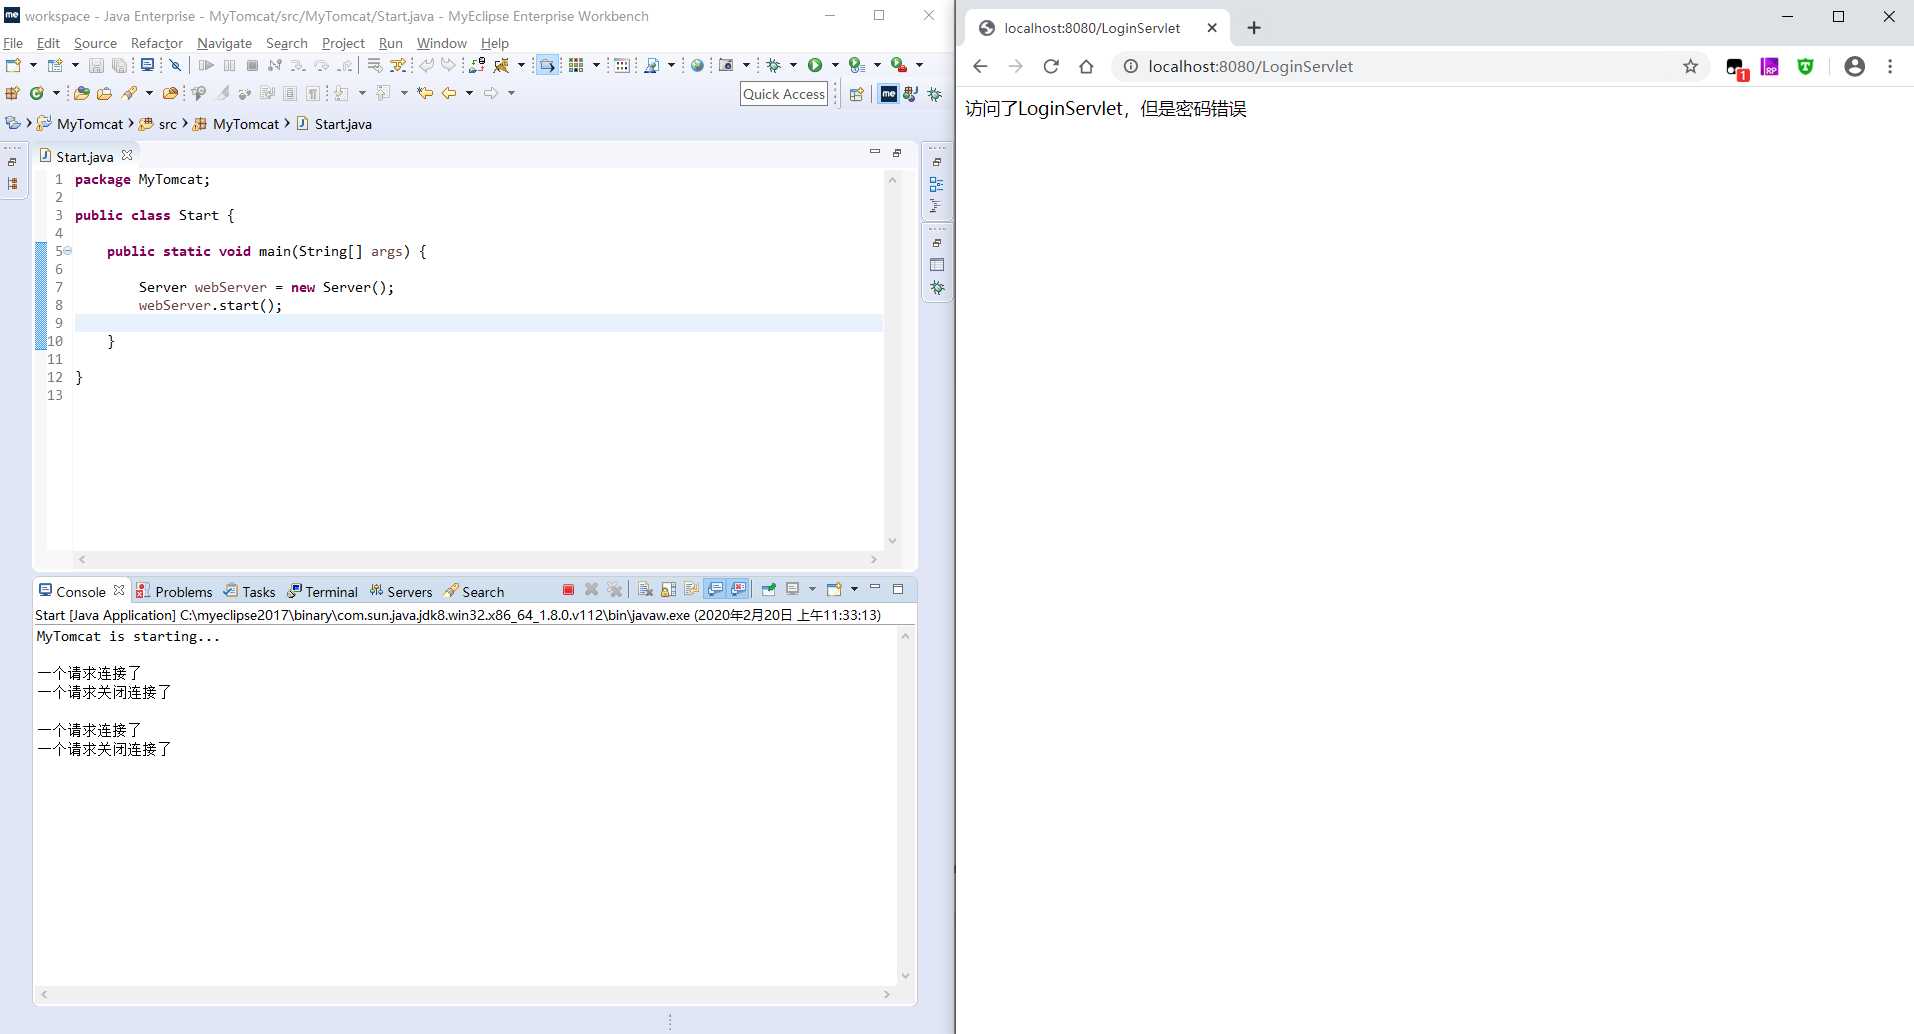
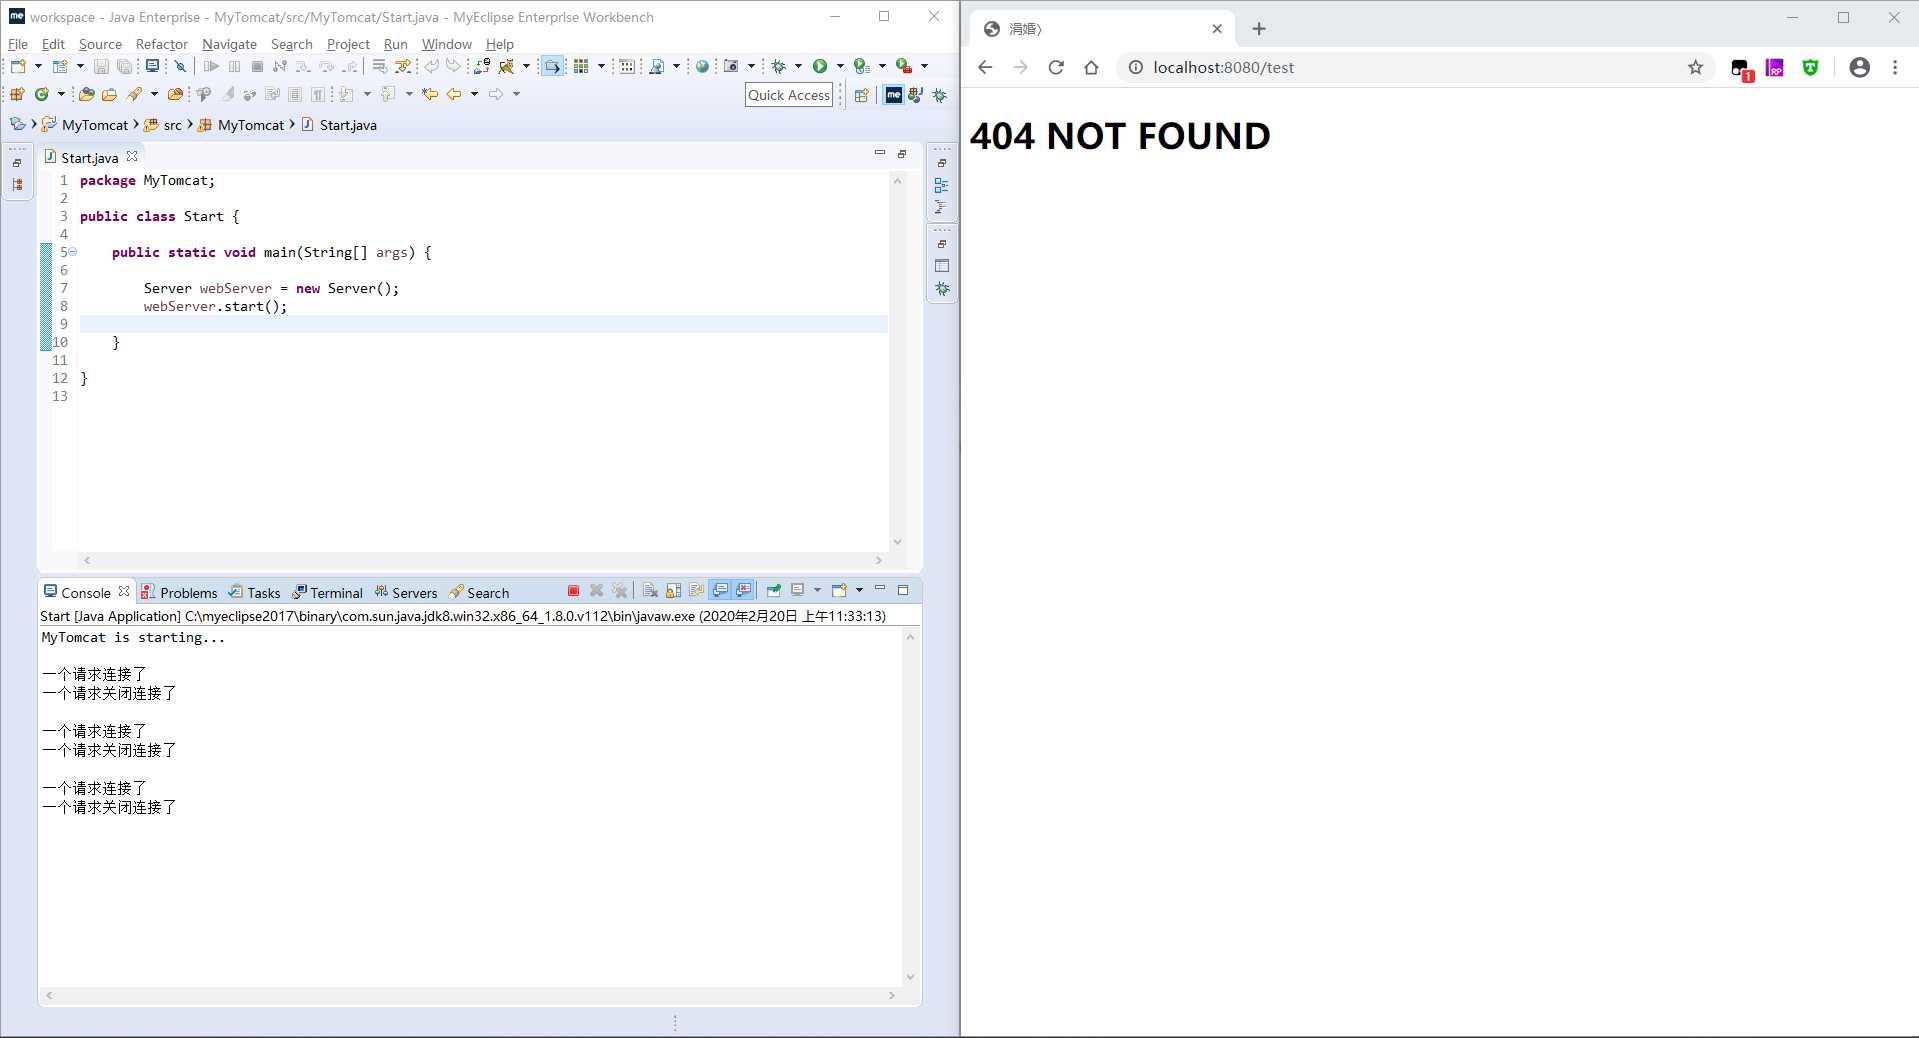
总体来说请求和响应的功能完成了,但采用了BIO模式,访问量并不高,建议后期修改为NIO模式
还需完善请求中获取参数的功能,这里并没有写出
还可以增加Listener、Filter组件
标签:注释 超时 name 设计 info 响应头 block ESS 简易
原文地址:https://www.cnblogs.com/Howlet/p/12335032.html