标签:基础 透明 max 客户端 query 并且 win 安装 listen
实践出真知——基于squid实现反向代理实践? 本文主要进行基于squid软件实现反向代理的实验流程演示,阅读本文前首先需要明白反向代理的概念和原理,其次需要基于上篇文章的实验从而继续进行。
? 上次做了透明模式正向代理实验,再此基础上完成反向代理的实操流程。
client ip:192.168.100.100(Win7/win10)
squid 代理服务器IP地址:20.0.0.128 192.168.100.1
两台web服务器ip地址:web1:20.0.0.130 web2:20.0.0.131
1、首先在客户端开启代理设置,局域网设置代理以及端口号
2、在两台web服务器上安装httpd服务并且开启服务以及关闭防火墙即核心防护功能
[root@lokott ~]# hostnamectl set-hostname web1
[root@lokott ~]# su
[root@web1 ~]# yum install httpd -y
[root@web1 ~]# cd /var/www/html/
[root@web1 html]# ls
[root@web1 html]# echo "this is web 1" > index.html
[root@web1 html]# ls
index.html
[root@web1 html]# systemctl stop firewalld.service
[root@web1 html]# setenforce 0
[root@web1 html]# systemctl start httpd.service
[root@web1 html]# netstat -natp | grep httpd
tcp6       0      0 :::80                   :::*                    LISTEN      1827/httpd

[root@lokott ~]# hostnamectl set-hostname web2
[root@lokott ~]# su
[root@web2 ~]# yum install httpd -y
[root@web2 ~]# cd /var/www/html/
[root@web2 html]# ls
[root@web2 html]# echo "this is web 2" > index.html
[root@web2 html]# ls
index.html
[root@web2 html]# systemctl stop firewalld.service
[root@web2 html]# setenforce 0
[root@web2 html]# systemctl start httpd.service
[root@web2 html]# netstat -natp | grep httpd
tcp6       0      0 :::80                   :::*                    LISTEN      1827/httpd
3、squid服务器端重新配置iptables规则,修改主配置文件
[root@squid init.d]# iptables -F  ##清空表缓存
[root@squid init.d]# iptables -I INPUT -p tcp --dport 3128 -j ACCEPT

[root@squid ~]# vim /etc/squid.conf
# Squid normally listens to port 3128
http_port 20.0.0.128:3128 accel vhost
cache_peer 20.0.0.130 parent 80 0 proxy-only no-query round-robin max-conn=30 originserver name=web1 weight=1
cache_peer 20.0.0.131 parent 80 0 proxy-only no-query round-robin max-conn=30 originserver name=web2 weight=2
cache_peer_domain web1 web2 www.test.com
cache_effective_user squid
cache_effective_group squid
4、检查配置文件语法、无误后开启服务并且进行验证
[root@squid ~]# squid -k parse
[root@squid ~]# service squid stop
[root@squid ~]# service squid start
正在启动 squid...
[root@squid ~]# netstat -natp | grep 3128
tcp        0      0 20.0.0.128:3128         0.0.0.0:*               LISTEN      3086/(squid-1)
5、使用Win7client端测试
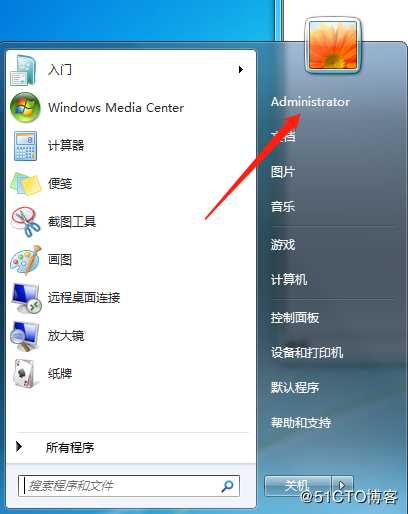
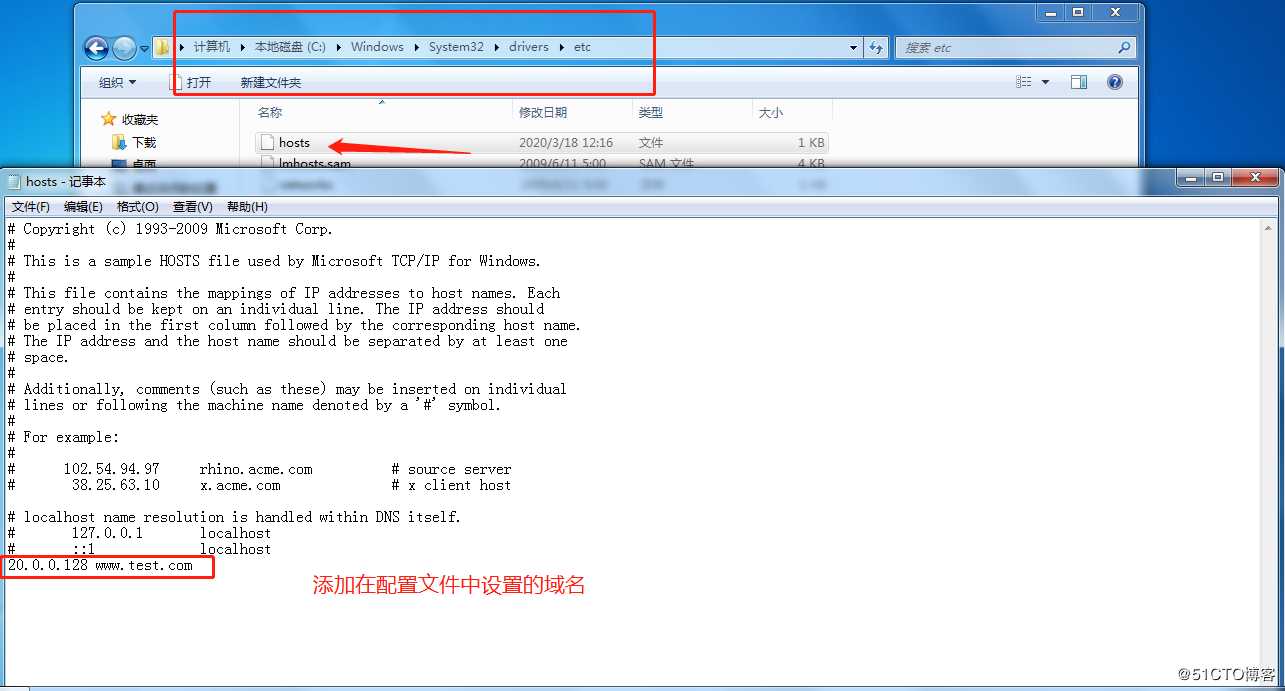
由于配置文件中设置(不设置就直接访问ip就行)所以要使用管理员身份修改hosts文件,在末尾添加相关内容。具体设置与验证参考下图流程。

设置hosts文件直接使用www.test.com域名访问

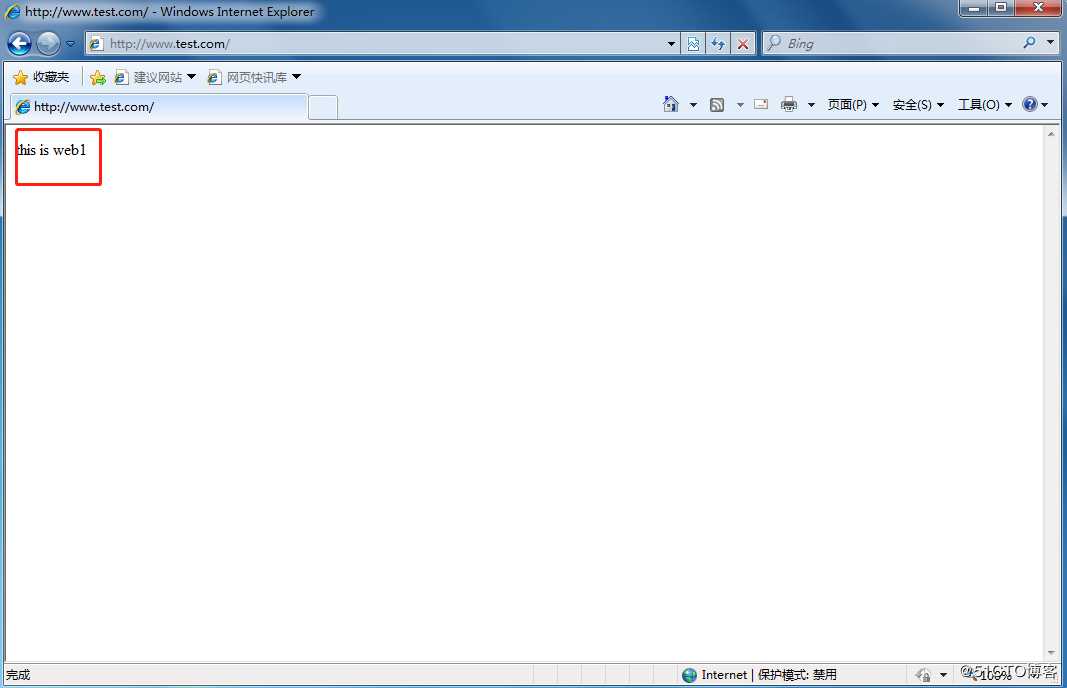
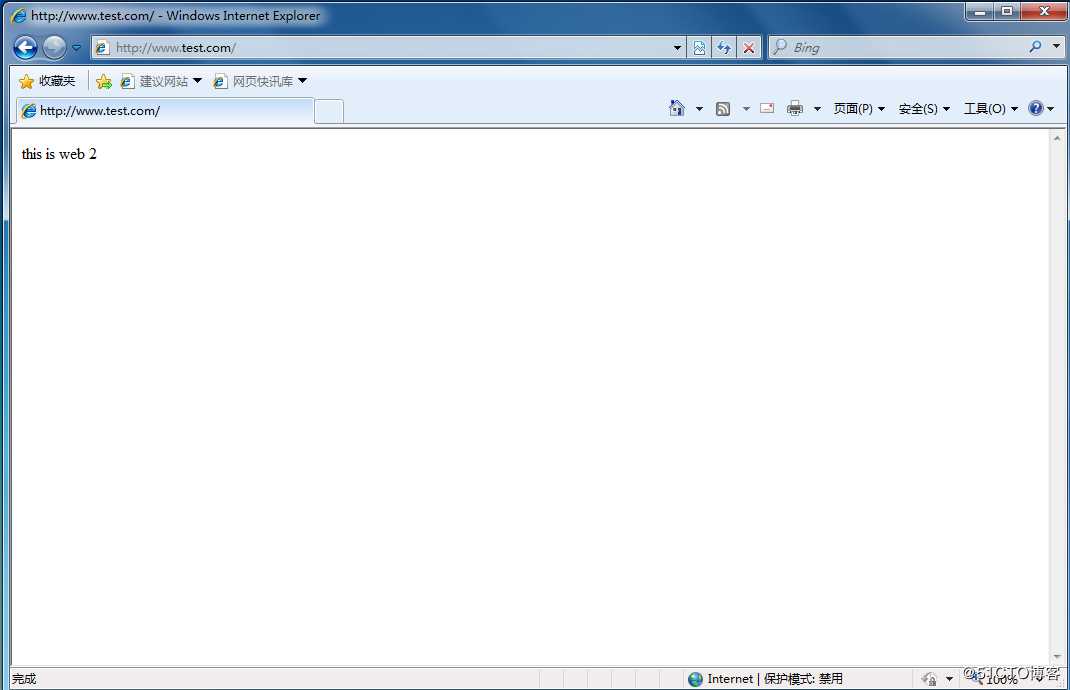
测试:(注意多次刷新,每次刷新前需要清空页面缓存)


当然在生产环境中两台服务器所提供的web服务内容是一样的哈!这里为了验证测试!
通过本次的反向代理实践操作流程,最明显的就是实现了负载均衡的功能,本文实验的算法为加权轮循算法实现调度对应的服务器的。希望可以通过之前的正向代理的案例与此次反向代理的案例,可以加深对正反向代理原理过程的理解。
谢谢阅读!
标签:基础 透明 max 客户端 query 并且 win 安装 listen
原文地址:https://blog.51cto.com/14557673/2479628