标签:步骤 rod publish 构建 window cut org html comm
1、搜索测试集合:为接口设置了环境变量、以及参数化的数据文件,所以导出文件包括:
集合本身的json数据包
环境变量数据包
参数化文件

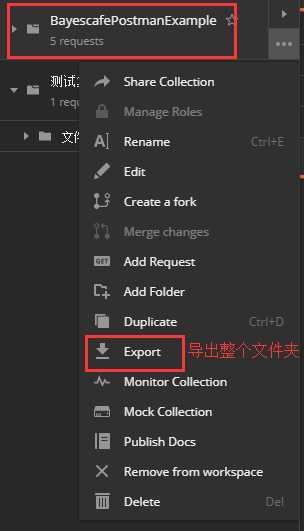
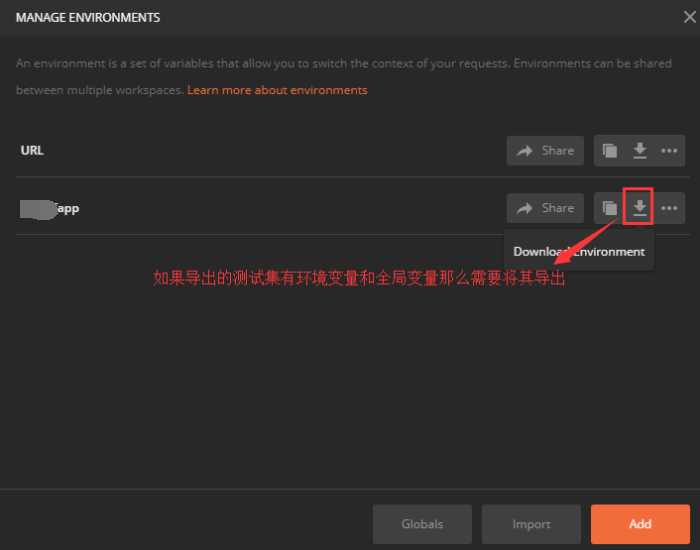
导出来的脚本目前只支持json的格式的文件。
所以针对该集合:将其集合json包、环境变量包导出、参数化文件准备
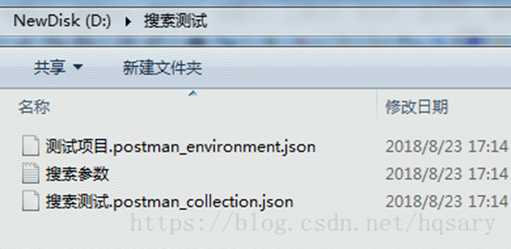
所以其地址分别是
集合包地址:d:\搜索测试\测试项目.postman_environment.json
环境变量地址:d:\搜索测试\搜索测试.postman_collection.json
参数化文件地址:d:\搜索测试\搜索参数.csv
通过Postman 与 Newman结合我们还可以批量运行API达到API自动化测试的目的。
1、官网下载地址:https://nodejs.org/en/
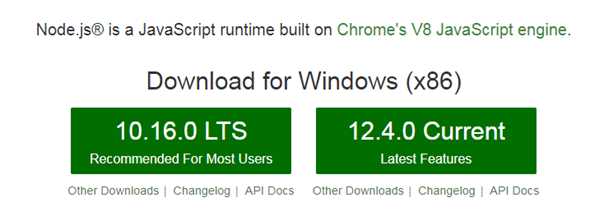
2、先安装node.js 双击后根据提示下一步安装完成;
3、在dos窗口中输入 :node -v 查看,如下图所示表示安装好了

4、安装npm: npm install --global --production windows-build-tools安装这些依赖需要一些时间,耐心等待安装完成。
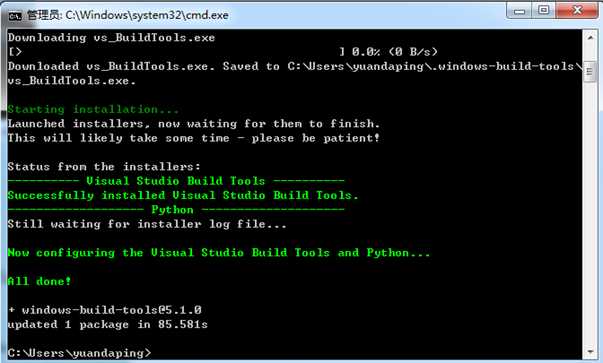
5、然后安装newman:npm istall -g newman

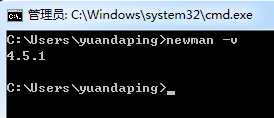
6、通过查看newman版本测试安装是否成功,打开cmd,输入newman –v出现版本信息即安装成功
Newman在3版本后做了比较大的改动,但是运行命令越来越简单如下:
newman run <collection-file-source> [options]
run 后面跟上要执行的json文件或者URL(json 和 URL 都由postman导出生成),再后面跟一些参数,例如环境变量,测试报告,接口请求超时时间等等。最后给两个完整的例子做参考:
例子1,通过newman 运行postman导出的test1.json文件,并生成多种测试报告(json,junit的xml,html):
newman run c:\test1.json --reporters cli,html,json,junit --reporter-json-export jsonOut.json --reporter-junit-export xmlOut.xml --reporter-html-export htmlOut.html
例子2,运行https://www.getpostman.com/collections/cb0cea0af1467c8008fb(postman生成的 )中的所有api,并使用env.json作为环境变量和globals.json作为全局变量,并使用外部data.csv作为外部数据,最后设置了接口请求超时时间为5S 。
newman run https://www.getpostman.com/collections/cb0cea0af1467c8008fb --environment en

平时做接口自动化,避免不了最后通过Jenkins做构建。既然Newman提供了控制台命令执行方式,那么像通过Jenkins来构建也就容易多了。
步骤一:在Jenkins 机器上安装Newman
步骤二:搭建Jenkins环境,并新建个自由风格的Job
步骤三:构建选择Execute Windows batch command,并输入newman 运行命令

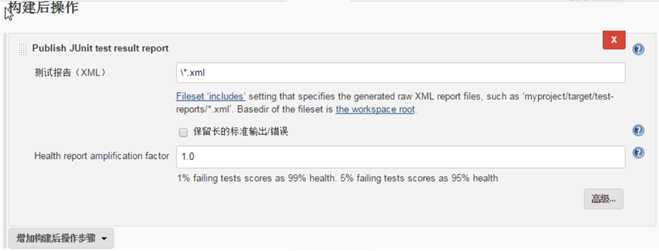
步骤四:因为上面命令中构建会生成junit的xml报告,所以可以在构建后用Publish JUnit test result report 插件来生成测试报告。
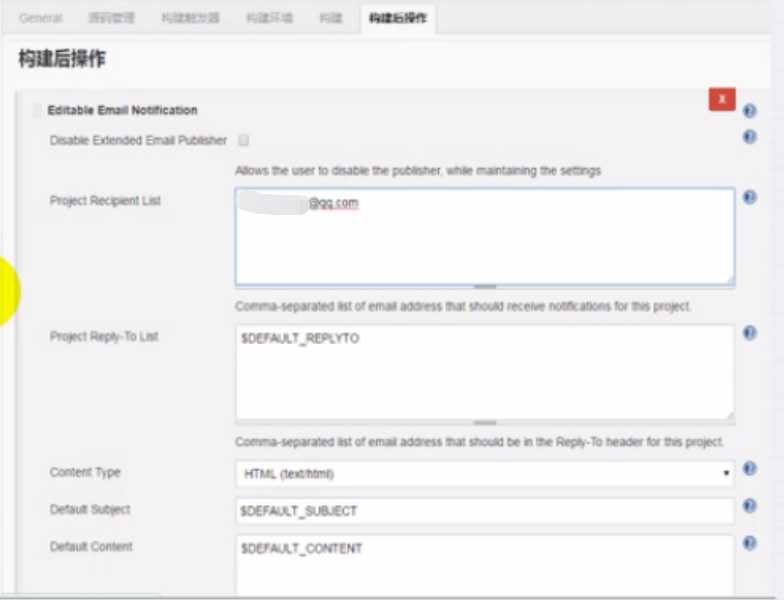
步骤五:如果需要触发邮件,可以设置邮箱地址等信息。
标签:步骤 rod publish 构建 window cut org html comm
原文地址:https://www.cnblogs.com/douyini/p/12667115.html