标签:exe 名称 vip elf auth rebuild temp put engine
一、介绍
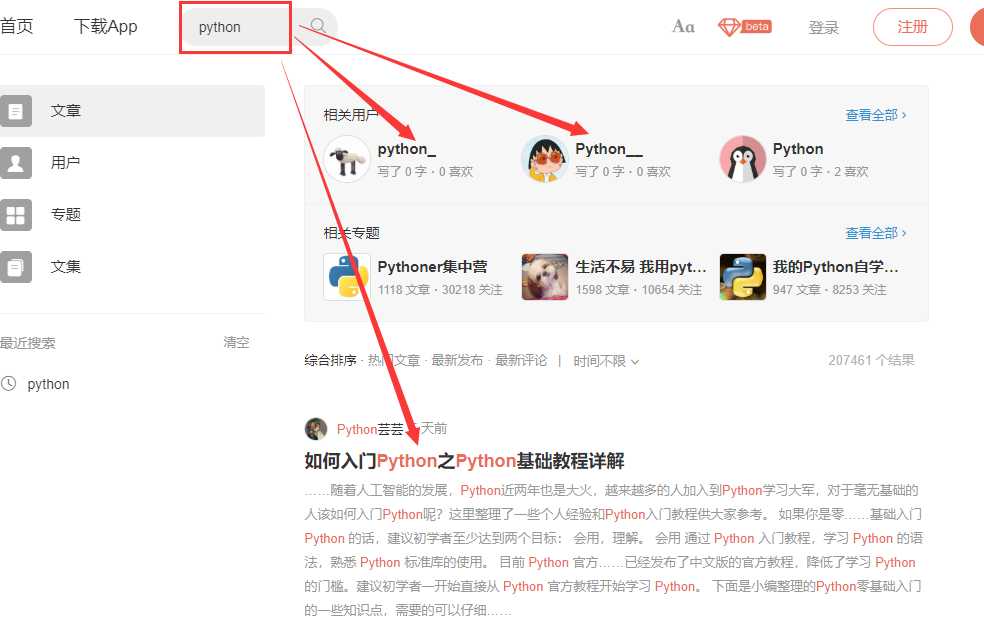
我们在浏览一些网站时,发现都会有一个搜索框,如果是新闻类网站,就会搜索到包含关键字的新闻;如果是课程网站,就会搜索到与关键字相关的课程

这个怎么实现呢?不难想到,可以使用数据库的模糊查询,对相应的字段就行模糊查询,如果查询到就返回对应的数据行,展示在前端,但是数据库的模糊查询太慢了,下面介绍一种技术,用于实现这样的网站搜索引擎的功能。
二、搜索引擎原理
在Elasticsearch中存储数据的行为就叫做索引(indexing),不过在索引之前,我们需要明确数据应该存储在哪里。
在Elasticsearch中,文档归属于一种类型(type),而这些类型存在于索引(index)中
Elasticsearch集群可以包含多个索引(indices)(数据库),每一个索引可以包含多个类型(types)(表),每一个
类型包含多个文档(documents)(行),然后每个文档包含多个字段(Fields)(列)。
# 「索引」含义的区分
1,索引(名词) 如上文所述,一个索引(index)就像是传统关系数据库中的数据库,它是相关文档存储的地方,index的复数是indices 或indexes。
2,索引(动词) 「索引一个文档」表示把一个文档存储到索引(名词)里,以便它可以被检索或者查询。这很像SQL中的INSERT关键字,差别是,如果文档已经存在,新的文档将覆盖旧的文档。
3,倒排索引 传统数据库为特定列增加一个索引,例如B-Tree索引来加速检索。Elasticsearch和Lucene使用一种叫做倒排索引(inverted index)的数据结构来达到相同目的。
三、elasticsearch
搜索引擎首选
底层是开源库Lucene
REST API 的操作接口
docker image pull delron/elasticsearch-ik:2.4.6-1.0
在虚拟机中的elasticsearch/config/elasticsearch.yml第54行,更改ip地址为0.0.0.0,端口改为9200,默认端口为9200
# network.host: 172.18.168.123
network.host: 0.0.0.0
#
# Set a custom port for HTTP:
#
http.port: 9200
docker run -dti --network=host --name=elasticsearch -v /home/pyvip/elasticsearch/config:/usr/share/elasticsearch/config delron/elasticsearch-ik:2.4.6-1.0

# 如果容器不稳定切换这条命令创建容器
docker run -dti --name=elasticsearch -p 9200:9200 delron/elasticsearch-ik:2.4.6-1.0
3、进入项目虚拟环境中,安装相关包
# 进入项目虚拟环境
workon dj31_env

# 如果安装报错,先初始化  pip3 install setuptools_scm

pip3 install django-haystack
pip3 install elasticsearch==2.4.1
4、在settings.py文件中加入如下配置
INSTALLED_APPS = [
    ‘haystack‘,
]

# Haystack
HAYSTACK_CONNECTIONS = {
    ‘default‘: {
        ‘ENGINE‘: ‘haystack.backends.elasticsearch_backend.ElasticsearchSearchEngine‘,
        ‘URL‘: ‘http://192.168.216.137:9200/‘,  # 此处为elasticsearch运行的服务器ip地址,端口号默认为9200
        ‘INDEX_NAME‘: ‘site‘,  # 指定elasticsearch建立的索引库的名称
    },
}

# 设置每页显示的数据量
HAYSTACK_SEARCH_RESULTS_PER_PAGE = 5
# 当数据库改变时,会自动更新索引
HAYSTACK_SIGNAL_PROCESSOR = ‘haystack.signals.RealtimeSignalProcessor‘
5、后端功能的实现
# 在apps/news/search_indexes.py中创建如下类:(名称固定为search_indexes.py)

#!/usr/bin/env python3
# -*- coding: utf-8 -*-
"""
-------------------------------------------------

-------------------------------------------------
"""

from haystack import indexes
# from haystack import site

from .models import News


class NewsIndex(indexes.SearchIndex, indexes.Indexable):
    """
    News索引数据模型类
    可以借用 hay_stack 借助 ES 来查询
    """
    #  主要进行关键字查询
    text = indexes.CharField(document=True, use_template=True)
    id = indexes.IntegerField(model_attr=‘id‘)
    title = indexes.CharField(model_attr=‘title‘)
    digest = indexes.CharField(model_attr=‘digest‘)
    content = indexes.CharField(model_attr=‘content‘)
    image_url = indexes.CharField(model_attr=‘image_url‘)

    def get_model(self):
        """返回建立索引的模型类
        """
        return News

    def index_queryset(self, using=None):
        """返回要建立索引的数据查询集
        """

        return self.get_model().objects.filter(is_delete=False)
# 创建templates/search/indexes/news/news_text.txt文件(文件名为:模型_text.txt)
# 此模板指明当将关键词通过text参数名传递时,可以通过news 的title、digest、content 来进行关键字索引查询

{{ object.title }}
{{ object.digest }}
{{ object.content }}
# 在虚拟机中执行如下命令,生成索引

python manage.py rebuild_index


// es建立索引:
curl -XPUT ‘http://47.98.147.102:9200/索引名称‘

// 查询当个索引内容:
curl -XGET ‘http://47.98.147.102:9200/dj31_db2/_search?pretty=true‘

// 查询所有索引
curl -XGET ‘http://47.98.147.102:9200/_cat/indices?v‘
# 后台业务逻辑实现
from haystack.views import SearchView


class Search(SearchView):
  # 必须要指定模板,用户覆盖默认的search/search.html
    template = ‘news/search.html‘

    def create_response(self):
        # 接收前台用户输入的查询值
        # kw=‘python‘
        query = self.request.GET.get(‘q‘,‘‘)
        if not query:
            show = True
            host_news = models.HotNews.objects.select_related(‘news‘).only(‘news_id‘,‘news__title‘,‘news__image_url‘).filter(is_delete=False).order_by(‘priority‘)
            paginator = Paginator(host_news,5)
            try:
                page = paginator.page(int(self.request.GET.get(‘page‘,1)))
            # 假如传的不是整数
            except PageNotAnInteger:
                # 默认返回第一页
                page = paginator.page(1)

            except EmptyPage:
                page = paginator.page(paginator.num_pages)
            return render(self.request,self.template,locals())
        else:
            show=False
            return super().create_response()
# 路由
# 在apps/news/urls.py中

urlpatterns = [
    path(‘search/‘, views.Search(), name=‘search‘),

]
# 自定义分页过滤器
# 在news app下面新建 templatetags / news_template.py

from django import template

register = template.Library()

@register.filter()
def page_bar(page):
    page_list = []
    # 左边
    if page.number !=1:
        page_list.append(1)
    if page.number -3 >1:
        page_list.append(‘...‘)
    if page.number -2 >1:
        page_list.append(page.number -2)
    if page.number - 1>1:
        page_list.append(page.number-1)

    page_list.append(page.number)
    # 右边
    if page.paginator.num_pages >page.number + 1:
        page_list.append(page.number+1)

    if page.paginator.num_pages >page.number+2:
        page_list.append(page.number+2)
    if page.paginator.num_pages > page.number+3:
        page_list.append(‘...‘)
    if page.paginator.num_pages != page.number:
        page_list.append(page.paginator.num_pages)
    return page_list
{% extends ‘base/base.html‘ %} {% block title %}搜索{% endblock %} {% load news_template %} {% block link %} <link rel="stylesheet" href="../../static/css/news/search.css"> {% endblock %} {% block main_contain %} <div class="main-contain "> <!-- search-box start --> <div class="search-box"> <form action="" style="display: inline-flex;"> <input type="search" placeholder="请输入要搜索的内容" name="q" class="search-control"> <input type="submit" value="搜索" class="search-btn"> </form> <!-- 可以用浮动 垂直对齐 以及 flex --> </div> <!-- search-box end --> <!-- content start --> <div class="content"> {% if not show %} <!-- search-list start --> {# {% if not show_all %}#} <div class="search-result-list"> <h2 class="search-result-title"> 搜索结果 <span style="font-weight: 700;color: #ff6620;">{{ paginator.num_pages }}</span>页 </h2> <ul class="news-list"> {# 导入自带高亮功能 #}
{# haystack自带highlight标签,将搜索关键字标为高亮 #} {% load highlight %} {% for one_news in page.object_list %} <li class="news-item clearfix"> <a href="{% url ‘news:news_detail‘ one_news.id %}" class="news-thumbnail" target="_blank"> <img src="{{ one_news.object.image_url }}"> </a> <div class="news-content"> <h4 class="news-title"> <a href="{% url ‘news:news_detail‘ one_news.id %}">
{# 必须使用{% model_name.field_name with query %}#}
{% highlight one_news.title with query %} </a> </h4> <p class="news-details">{{ one_news.digest }}</p> <div class="news-other"> <span class="news-type">{{ one_news.object.tag.name }}</span> <span class="news-time">{{ one_news.object.update_time }}</span> <span class="news-author">{% highlight one_news.object.author.username with query %} </span> </div> </div> </li> {% endfor %} </ul> </div> {% else %} <div class="news-contain"> <div class="hot-recommend-list"> <h2 class="hot-recommend-title">热门推荐</h2> <ul class="news-list"> {% for one_hotnews in page.object_list %} <li class="news-item clearfix"> <a href="#" class="news-thumbnail"> <img src="{{ one_hotnews.news.image_url }}"> </a> <div class="news-content"> <h4 class="news-title"> <a href="{% url ‘news:news_detail‘ one_hotnews.news.id %}">{{ one_hotnews.news.title }}</a> </h4> <p class="news-details">{{ one_hotnews.news.digest }}</p> <div class="news-other"> <span class="news-type">{{ one_hotnews.news.tag.name }}</span> <span class="news-time">{{ one_hotnews.update_time }}</span> <span class="news-author">{{ one_hotnews.news.author.username }}</span> </div> </div> </li> {% endfor %} </ul> </div> </div> {% endif %} <!-- search-list end --> <!-- news-contain start --> {# 分页导航 #} <div class="page-box" id="pages"> <div class="pagebar" id="pageBar"> <a class="a1">{{ page.paginator.count | default:0 }}条</a> {# 上一页的URL地址#} {% if page.has_previous %} {% if query %} <a href="{% url ‘news:search‘ %}?q={{ query }}&page={{ page.previous_page_number }}&q={{ query }}" class="prev">上一页</a> {% else %} <a href="{% url ‘news:search‘ %}?page={{ page.previous_page_number }}" class="prev">上一页</a> {% endif %} {% endif %} {# 列出所有的URL地址 页码#} {% if page.has_previous or page.has_next %} {% for n in page|page_bar %} {% if query %} {% if n == ‘...‘ %} <span class="point">{{ n }}</span> {% else %} {% if n == page.number %} <span class="sel">{{ n }}</span> {% else %} <a href="{% url ‘news:search‘ %}?page={{ n }}&q={{ query }}">{{ n }}</a> {% endif %} {% endif %} {% else %} {% if n == ‘...‘ %} <span class="point">{{ n }}</span> {% else %} {% if n == page.number %} <span class="sel">{{ n }}</span> {% else %} <a href="{% url ‘news:search‘ %}?page={{ n }}">{{ n }}</a> {% endif %} {% endif %} {% endif %} {% endfor %} {% endif %} {# next_page 下一页的URL地址#} {% if page.has_next %} {% if query %} <a href="{% url ‘news:search‘ %}?q={{ query }}&page={{ page.next_page_number }}&q={{ query }}" class="next">下一页</a> {% else %} <a href="{% url ‘news:search‘ %}?page={{ page.next_page_number }}" class="next">下一页</a> {% endif %} {% endif %} </div> </div> <!-- news-contain end --> </div> <!-- content end --> </div> {% endblock %} {% block script %} {% endblock %}
/* 在static/css/news/search.css中加入如下代码: */

/* === current index start === */
#pages {
    padding: 32px 0 10px;
}

.page-box {
    text-align: center;
    /*font-size: 14px;*/
}

#pages a.prev, a.next {
    width: 56px;
    padding: 0
}

#pages a {
    display: inline-block;
    height: 26px;
    line-height: 26px;
    background: #fff;
    border: 1px solid #e3e3e3;
    text-align: center;
    color: #333;
    padding: 0 10px
}

#pages .sel {
    display: inline-block;
    height: 26px;
    line-height: 26px;
    background: #0093E9;
    border: 1px solid #0093E9;
    color: #fff;
    text-align: center;
    padding: 0 10px
}
/* === current index end === */
五、参考
标签:exe 名称 vip elf auth rebuild temp put engine
原文地址:https://www.cnblogs.com/loveprogramme/p/12775643.html