标签:组类型 dash 导入 error: 数据 hello 多线程 python3 操作
知识点:Python库及简单定时器的使用
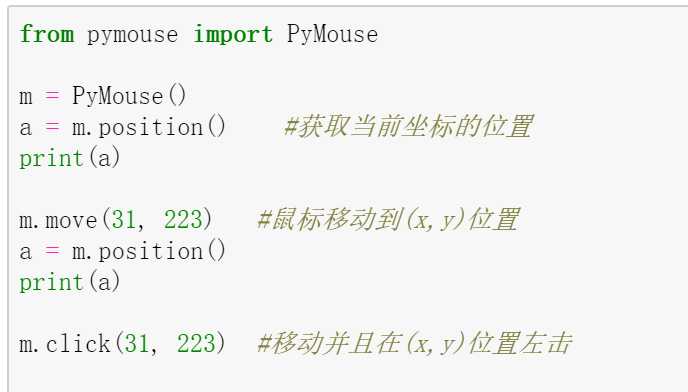
1. 鼠标自动点击屏幕代码

(1). 首先 pip install pymouse
(2). 运行代码出现:ModuleNotFoundError: No module named ‘windows’
原因:缺少pyuserinput工具
解决:pip install pyuserinput
报错:Could not find a version that satisfies the requirement pyHook (from pyuserinput) (from versions: )
No matching distribution found for pyHook (from pyuserinput)
原因:缺少pyhook
解决方案:http://www.lfd.uci.edu/~gohlke/pythonlibs/ 搜索pyhook 下载
然后pip install +路径安装
(3). pip install PyUserinput
运行成功!
2. 循环定时器Timer
线程定时器Timer原理:
指定时间间隔后启动线程!适用场景:完成定时任务,例如:定时提醒,定时发送,定时采集功能等等.
# 导入线程模块
import threading
timer = threading.Timer(interval, function, args=None, kwargs=None)
参数介绍:
interval — 定时器间隔,间隔多少秒之后启动定时器任务(单位:秒);
function — 线程函数;
args — 线程参数,可以传递元组类型数据,默认为空(缺省参数);
kwargs — 线程参数,可以传递字典类型数据,默认为空(缺省参数)
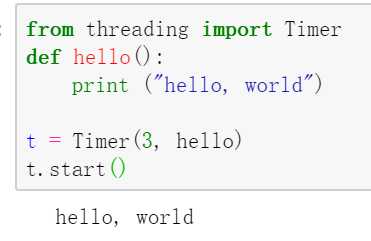
3. 3s后打印hello world

只执行一次
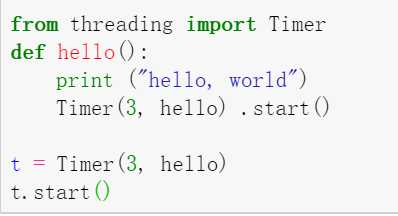
4. 简易循环定时器

在 function 里继续注册一个 Timer,这样就可以在下一个 interval 继续执行 function
Timer 本身,它是一个 thread,每次循环间隔操作,系统都要创建一个线程,然后再回收,这对系统来说开销很大.
如果时间间隔 interval 很短,系统会一下子创建很多线程,这些线程很难快速回收,导致系统内存和cpu资源被消耗掉 .
5. Python3实现定时任务的四种方式
1>循环+sleep;
2>线程模块中Timer类;
3>schedule模块;
4>定时框架:APScheduler
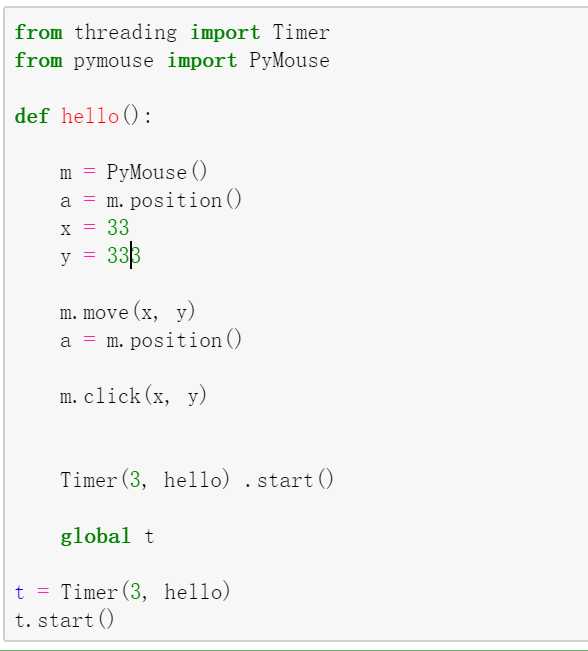
6. 代码

参考文档:https://blog.csdn.net/weixin_41561539/article/details/94294828
https://blog.csdn.net/weixin_34203426/article/details/91394230
标签:组类型 dash 导入 error: 数据 hello 多线程 python3 操作
原文地址:https://www.cnblogs.com/yu121/p/12822951.html