标签:使用 ddr php 挂载共享 80端口映射 strong etc white justify
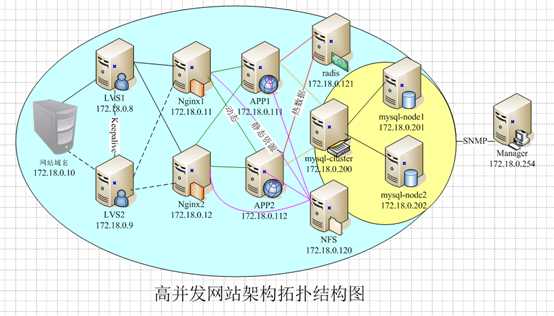
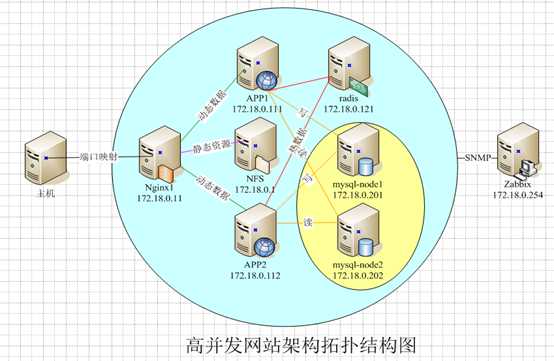
案例子任务一、安装配置NFS服务器
步骤1:使用docker容器配置NFS服务器
docker run -d --privileged centos:v1 /usr/sbin/init

#yum install nfs-utils

#docker commit 容器ID nfs


#docker run -d --privileged --net cluster --ip 172.18.0.120 --name nfs nfs /usr/sbin/init
# more /etc/nfs.conf
# more /etc/nfsmount.conf
# systemctl start nfs-server

/var/www/share 172.18.0.*(rw,sync)

#exportfs -rv

#showmount -e IP地址

步骤1:使用宿主机配置NFS服务器

# more /etc/nfs.onf
# more /etc/nfsmount.conf
# systemctl start nfs-server
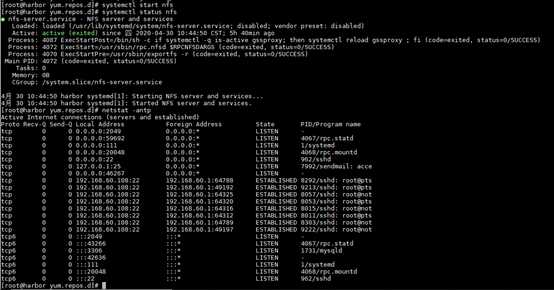


/var/www/share 172.18.0.*(rw,sync)
???? 
#exportfs -rv

#showmount -e IP地址

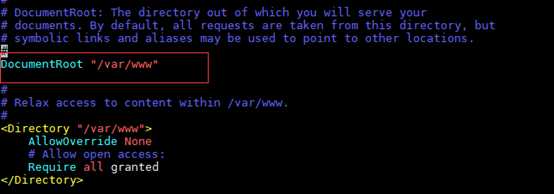
步骤2:启用APP1和APP2两个容器,挂载共享目录
docker run -d --privileged --net cluster --ip 172.18.0.111 --name APP1 php-apache /usr/sbin/init

docker run -d --privileged --net cluster --ip 172.18.0.112 --name APP2 php-apache /usr/sbin/init


# mkdir /var/www/share
# mount 172.18.0.1:/var/www/share /var/www/share


?
案例子任务二、配置nginx1、APP1实现动静分离
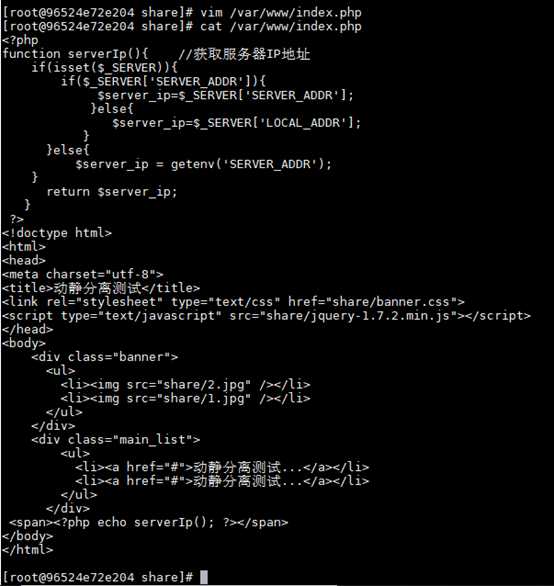
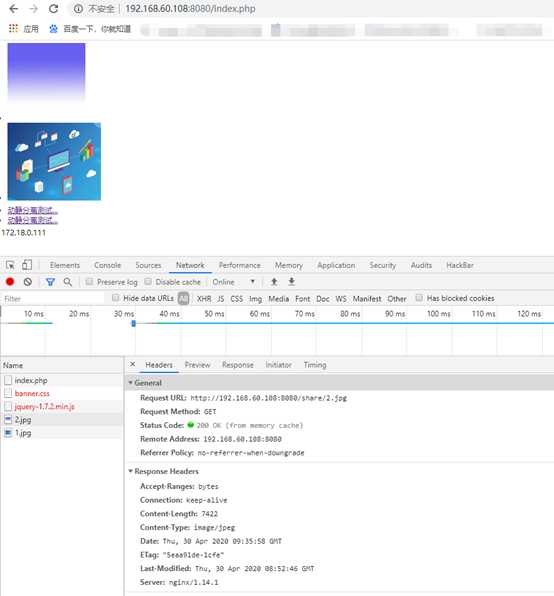
步骤1:在APP1上编写PHP脚本,上传资源文件
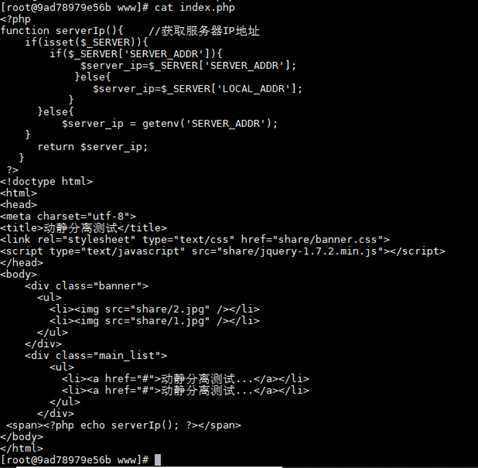
<?php
function serverIp(){ //获取服务器IP地址
if(isset($_SERVER)){
if($_SERVER[‘SERVER_ADDR‘]){
$server_ip=$_SERVER[‘SERVER_ADDR‘];
}else{
$server_ip=$_SERVER[‘LOCAL_ADDR‘];
}
}else{
$server_ip = getenv(‘SERVER_ADDR‘);
}
return $server_ip;
}
?>
<!doctype html>
<html>
<head>
<meta charset="utf-8">
<title>动静分离测试</title>
<link rel="stylesheet" type="text/css" href="share/banner.css">
<script type="text/javascript" src="share/jquery-1.7.2.min.js"></script>
</head>
<body>
<div class="banner">
<ul>
<li><img src="share/banner_02.jpg" /></li>
<li><img src="share/banner_01.gif" /></li>
</ul>
</div>
<div class="main_list">
<ul>
<li><a href="#">动静分离测试...</a></li>
<li><a href="#">动静分离测试...</a></li>
</ul>
</div>
?<span><?php echo serverIp(); ?></span>
</body>
</html>


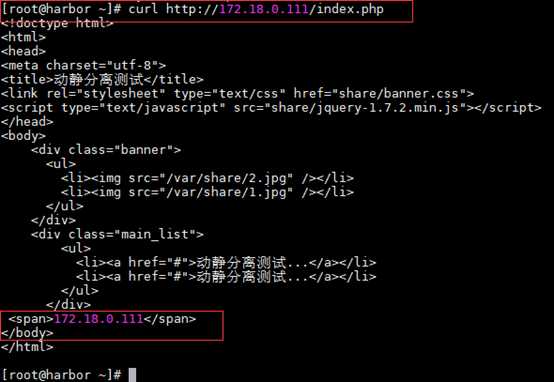
?
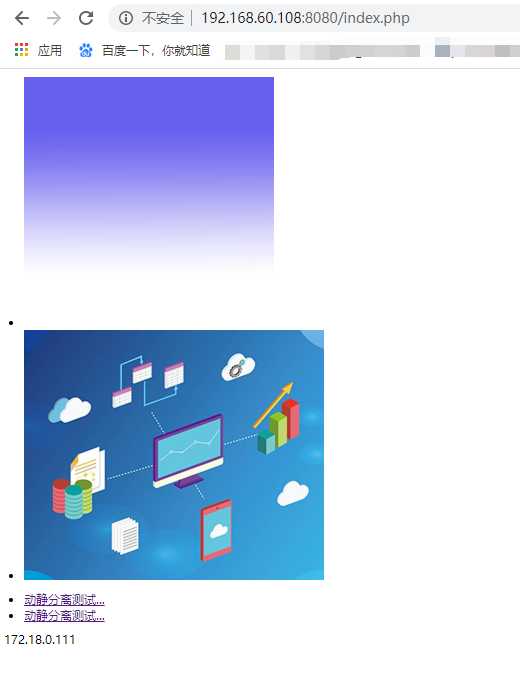
步骤2:配置nginx反向代理,访问APP1
docker run -d --privileged --net cluster --ip 172.18.0.11 -p 8080:80 --name nginx1 nginx-keep /usr/sbin/init

server {
listen 80;
server_name localhost;
location / {
proxy_pass http://172.18.0.111;
}
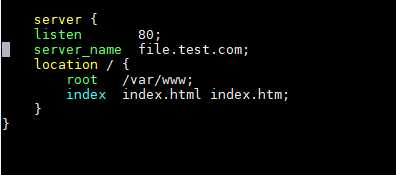
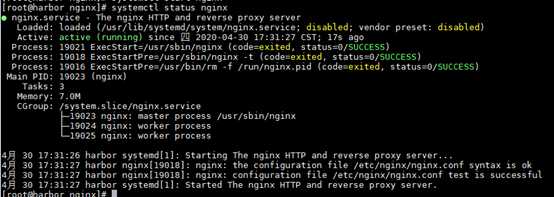
步骤3:配置nginx反向代理,宿主机nginx,支持动静分离
server {
listen 80;
server_name file.test.com;
location / {
root /var/www;
index index.html index.htm;
}
}
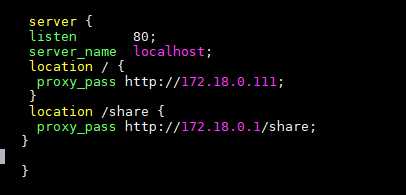
server {
listen 80;
server_name localhost;
location / {
proxy_pass http://172.18.0.111;
}
location /share {
proxy_pass http://172.18.0.1/share;
}
}
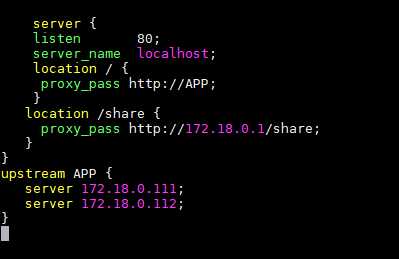
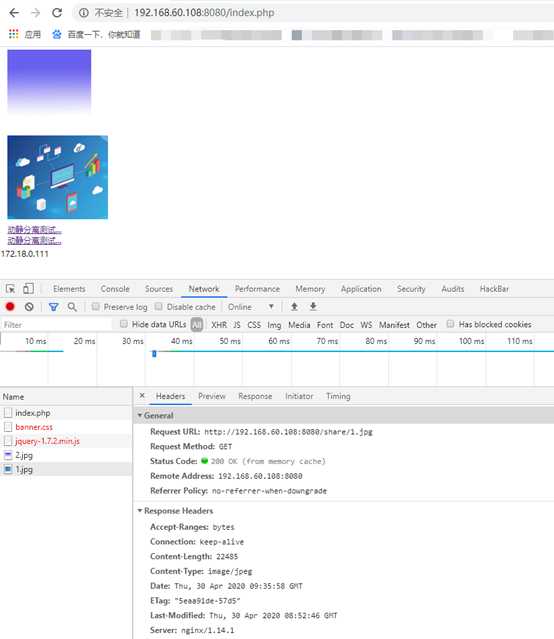
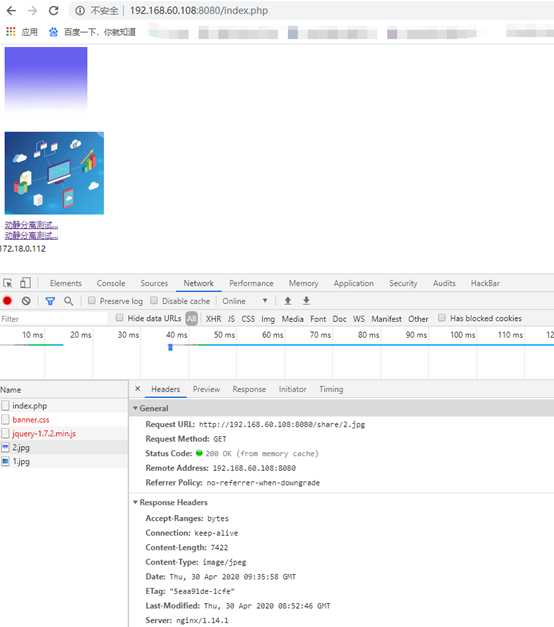
步骤4:配置nginx1、APP1、APP2、宿主机nfs和nginx,支持负载均衡动静分离
server {
listen 80;
server_name localhost;
location / {
proxy_pass http://APP;
}
location /share {
proxy_pass http://172.18.0.1/share;
}
upstream APP {
server 172.18.0.111;
server 172.18.0.112;
}
}
标签:使用 ddr php 挂载共享 80端口映射 strong etc white justify
原文地址:https://www.cnblogs.com/jake-jin/p/12885296.html