标签:The location comment 连接数据库 访问 方便 png etc inpu
1、编译安装LNMP,并安装wordpress1.1 安装php, php-mysql,myql,php-fpm
[root@c1 ~]# yum install php php-mysql ngnix mariadb-server php-fpm -y1.2 编译安装nginx
1.2.1 安装依赖包
[root@c1 nginx]# yum install gcc pcre-devel openssl-devel zlib-devel -y1.2.2 创建nginx用户
[root@c1 ~]# useradd -r -s /sbin/nologin nginx1.2.3 官网下载nginx源码包,并解压,编译安装
[root@c1 src]# pwd
/usr/local/src
[root@c1 src]# ls
nginx-1.16.1.tar.gz
[root@c1 src]# tar xf nginx-1.16.1.tar.gz
[root@c1 src]# ls
nginx-1.16.1  nginx-1.16.1.tar.gz
[root@c1 src]# mv nginx-1.16.1 nginx
[root@c1 src]# cd nginx/
[root@c1 nginx]# ls
auto     CHANGES.ru  configure  html     man     src
CHANGES  conf        contrib    LICENSE  README
[root@c1 nginx]# ./configure --error-log-path=/var/log/nginx/error.log --http-log-path=/var/log/nginx/access.log --pid-path=/var/run/nginx.pid --lock-path=/var/run/nginx.lock --user=nginx --group=nginx --with-http_ssl_module --with-http_v2_module --with-http_dav_module --with-http_stub_status_module --with-threads --with-file-aio
[root@c1 nginx]# make -j 4 && make install
1.2.4 配置环境变量,方便启动nginx
[root@c1 sbin]# export PATH="/usr/local/nginx/sbin:$PATH"1.2.5 修改nginx配置文件,使fstcgi处理.php后缀的网页
[root@c1 nginx]# vim /usr/local/nginx/conf/nginx.conf  ###在配置文件增加如下一行
include       /usr/local/nginx/conf.d/*.conf;
[root@c1 conf.d]# pwd
/usr/local/nginx/conf.d
[root@c1 conf.d]# cat wordpress.conf
server {
        listen       80;
        server_name  www.zhuweijun.com;
        root /data/php;
        index index.php;
        location ~* \.php$ {
                root /data/php;
                fastcgi_pass 127.0.0.1:9000;
                fastcgi_index index.php;
                fastcgi_param SCRIPT_FILENAME $document_root$fastcgi_script_name;
                include fastcgi_params;
        }
}
1.2.6 创建相应目录并启动NGINX和php-fpm服务
[root@c1 nginx]# mkdir /data/php
[root@c1 nginx]# systemctl start php-fpm   ###启动php-fpm服务
[root@c1 nginx]# nginx    ###启动nginx服务
1.3 在数据库服务器新建wpdb库和wpuser远程连接用户
[root@c1 ~]# systemctl start mariadb
[root@c1 ~]# mysql
Welcome to the MariaDB monitor.  Commands end with ; or \g.
Your MariaDB connection id is 2
Server version: 5.5.65-MariaDB MariaDB Server

Copyright (c) 2000, 2018, Oracle, MariaDB Corporation Ab and others.

Type ‘help;‘ or ‘\h‘ for help. Type ‘\c‘ to clear the current input statement.

MariaDB [(none)]> create database wpdb;
Query OK, 1 row affected (0.00 sec)

MariaDB [(none)]> grant all privileges on wpdb.* to wpuser@‘%‘ identified by "wppass";
Query OK, 0 rows affected (0.00 sec)

MariaDB [(none)]> flush privileges;
Query OK, 0 rows affected (0.00 sec)
###测试远程连接数据库
[root@c1 nginx]# mysql_secure_installation ##跑下安全加固脚本
[root@c1 ~]# mysql -uwpuser -pwppass -hc1
Welcome to the MariaDB monitor. Commands end with ; or \g.
Your MariaDB connection id is 3
Server version: 5.5.65-MariaDB MariaDB Server
Copyright (c) 2000, 2018, Oracle, MariaDB Corporation Ab and others.
Type ‘help;‘ or ‘\h‘ for help. Type ‘\c‘ to clear the current input statement.
MariaDB [(none)]> 1.4 官网下载并解压缩WordPress博客程序到网页站点目录下并准备wordpress配置文件
[root@c1 php]# pwd
/data/php
[root@c1 php]# ls
wordpress  wordpress-5.0.3-zh_CN.zip
[root@c1 php]# mv wordpress/* .
[root@c1 php]# ls
index.php                  wp-blog-header.php    wp-load.php
license.txt                wp-comments-post.php  wp-login.php
readme.html                wp-config-sample.php  wp-mail.php
wordpress                  wp-content            wp-settings.php
wordpress-5.0.3-zh_CN.zip  wp-cron.php           wp-signup.php
wp-activate.php            wp-includes           wp-trackback.php
wp-admin                   wp-links-opml.php     xmlrpc.php
[root@c1 php]# cp -r * /data/nginx/
###准备wordpress配置文件
[root@c1 php]# cp wp-config-sample.php wp-config.php
[root@c1 php]# vim wp-config.php
define(‘DB_NAME‘, ‘wpdb‘);

/** MySQL数据库用户名 */
define(‘DB_USER‘, ‘wpuser‘);

/** MySQL数据库密码 */
define(‘DB_PASSWORD‘, ‘wppass‘);
1.5 设置wordpress目录权限
[root@c1 html]# setfacl -R -m u:nginx:rwx /data1.6 修改Windows系统的host文件
C:\Windows\System32\drivers\etc\hosts
编辑hosts文件,增加如下一行:
10.0.1.242 www.zhuweijun.com admin.zhuweijun.com
1.7 在浏览器打开http://www.zhuweijun.com进行页面安装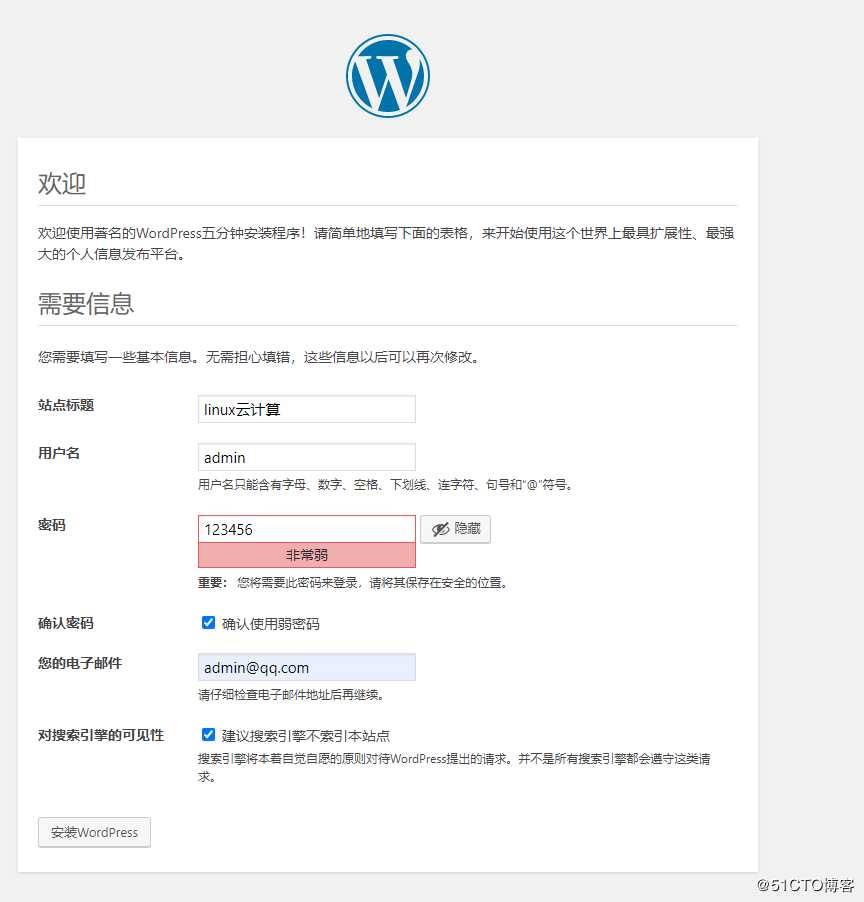
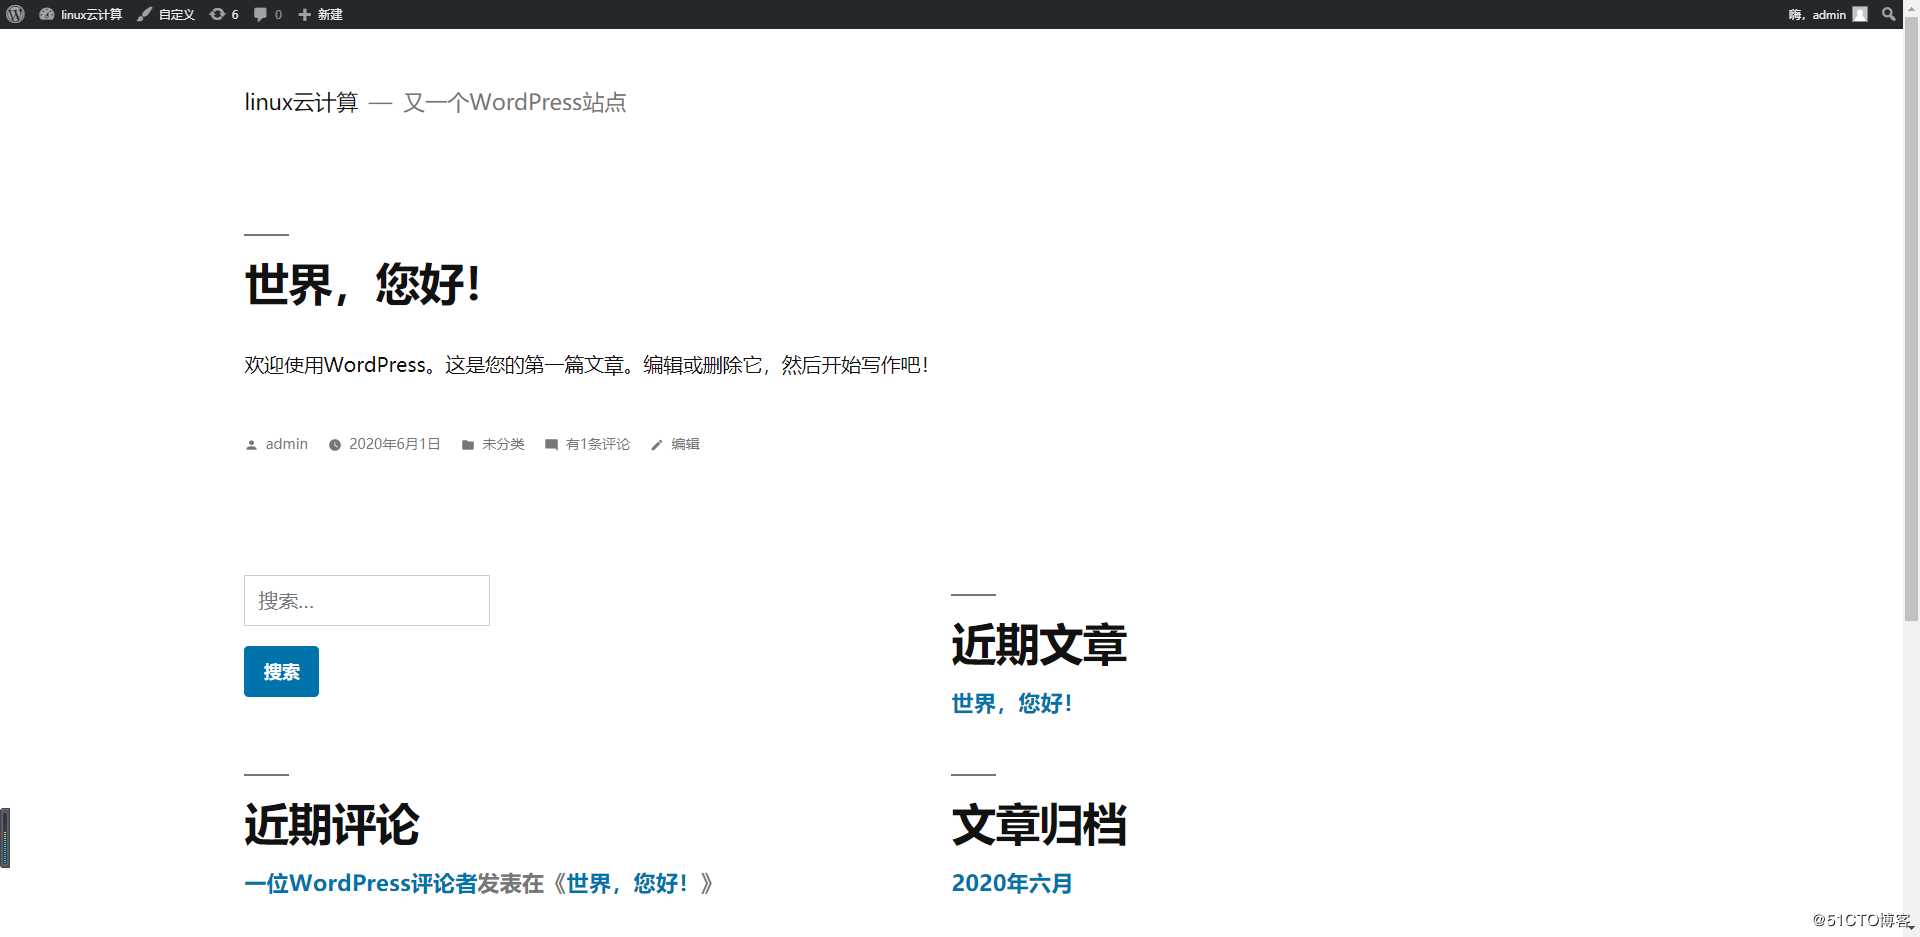
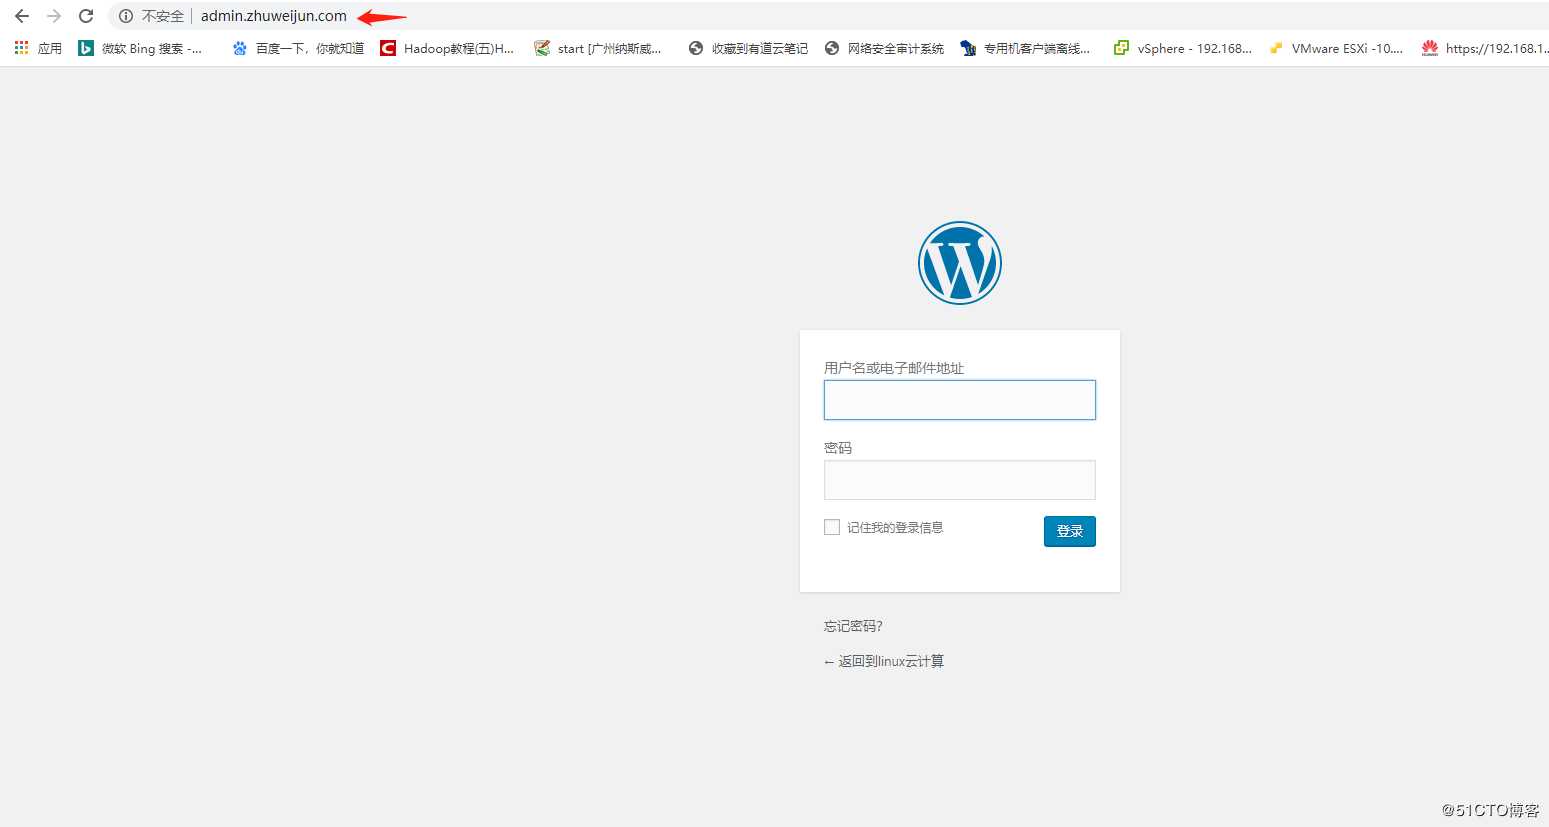
2、配置虚拟主机,www.x.com域名实现首页访问,admin.x.com域名实现wordpress的后台访问。
2.1 在第1节的基础上修改nginx的配置文件
[root@c1 conf.d]# pwd
/usr/local/nginx/conf.d
[root@c1 conf.d]# cat wordpress.conf
server {
        listen       80;
        server_name  www.zhuweijun.com;
        root /data/php;
        index index.php;
        location ~* \.php$ {
                root /data/php;
                fastcgi_pass 127.0.0.1:9000;
                fastcgi_index index.php;
                fastcgi_param SCRIPT_FILENAME $document_root$fastcgi_script_name;
                include fastcgi_params;
        }
}

server {
        listen       80;
        server_name  admin.zhuweijun.com;
        root /data/php;
        index wp-login.php;
        location ~* \.php$ {
                root /data/php;
                fastcgi_pass 127.0.0.1:9000;
                fastcgi_index index.php;
                fastcgi_param SCRIPT_FILENAME $document_root$fastcgi_script_name;
                include fastcgi_params;
        }
}
2.2 测试
#重新加载nginx配置
[root@c1 conf.d]# nginx -s reload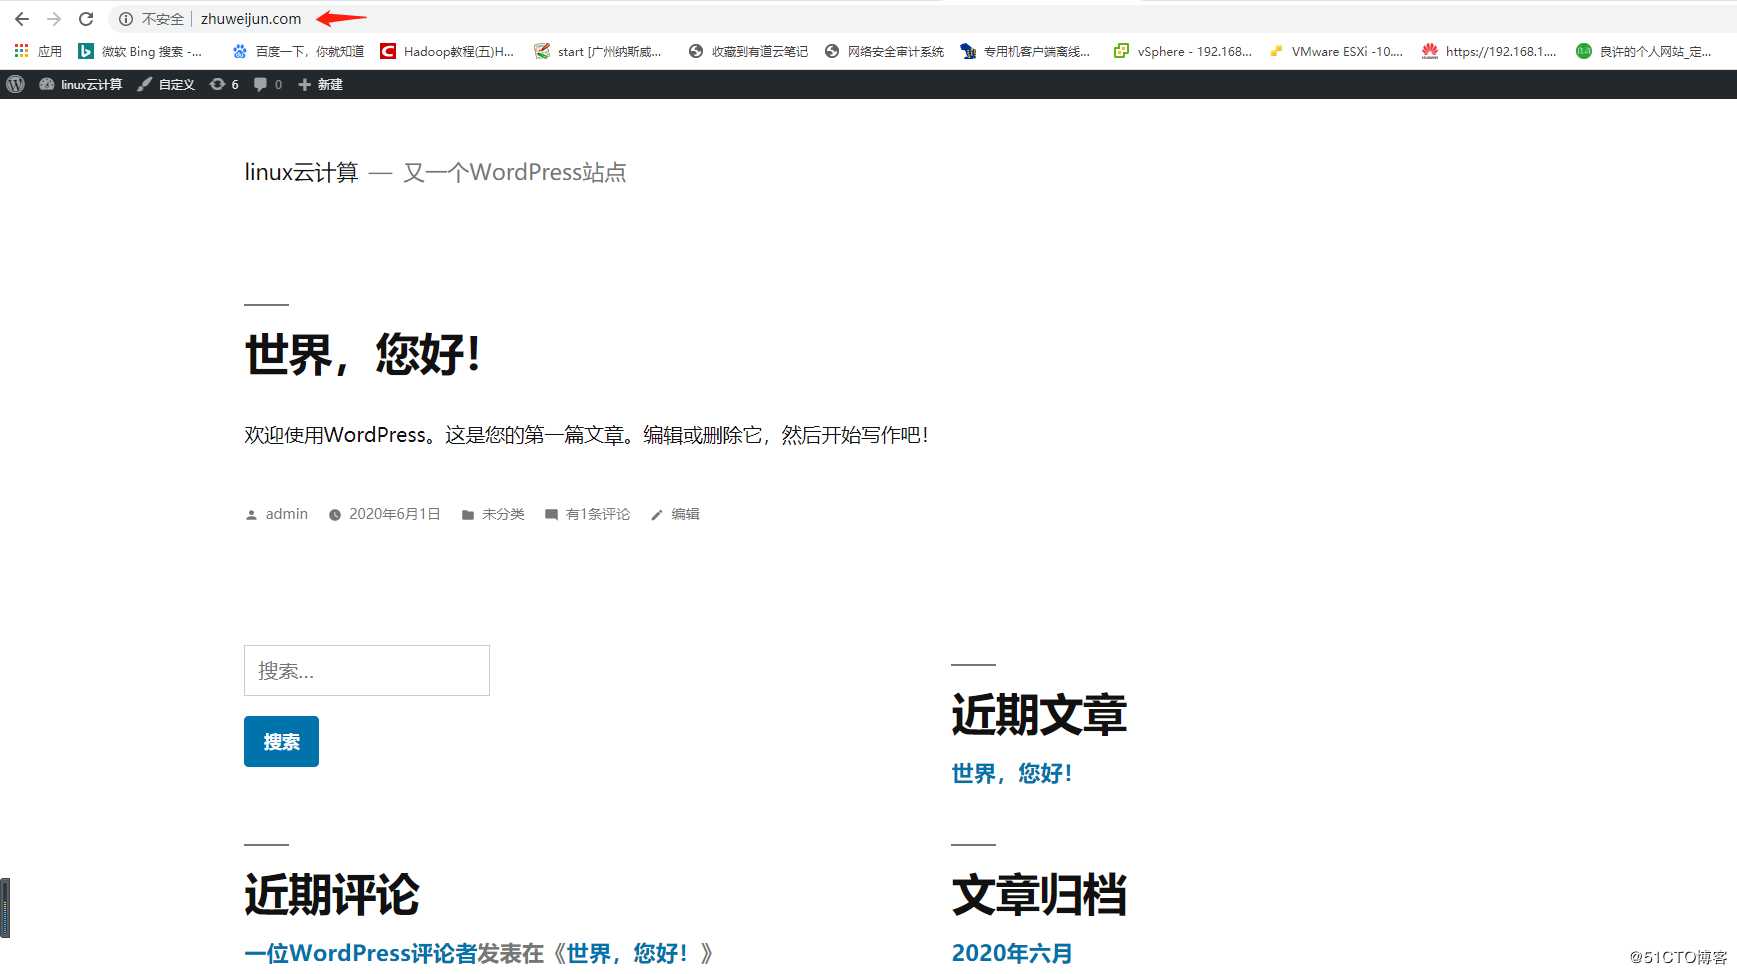
实现LNMP架构,并部署WordPress以及配置NGINX虚拟主机
标签:The location comment 连接数据库 访问 方便 png etc inpu
原文地址:https://blog.51cto.com/rickzhu/2500224