标签:replace 官网 ensure use comm file lease 全球 ocs
本地电脑需要同步远程数据,安装syncthing 测试
1:下载
wget https://github.com/syncthing/syncthing/releases/download/v1.5.0/syncthing-linux-amd64-v1.5.0.tar.gz
Syncthing 默认监听端口
22000 (TCP) 节点访问
8384 (TCP) Web管理
21027 (UDP)
44647 (UDP)
37269 (UDP)
2:解压和复制文件
# tar zxvf syncthing-linux-amd64-v1.5.0.tar.gz
# cp syncthing-linux-amd64-v1.5.0/syncthing /usr/local/bin/
3:运行及生成配置文件
[user@test] /usr/local/bin/syncthing
生成的默认配置文件路径 /home/user/.config/syncthing/config.xml
4:编辑配置文件放开web管理
# sed -i ‘s/127.0.0.1/0.0.0.0/g‘ ‘/home/user/.config/syncthing/config.xml‘
<address>127.0.0.1:8384</address> 改为
<address>0.0.0.0:8384</address>
5:重新启动syncthing
[user@test] /usr/local/bin/syncthing
6:web设置
a 加用户名和密码
b 如内部使用可关闭 “NAT遍历” “全球发现”
c 外部使用一方需要公网ip或域名
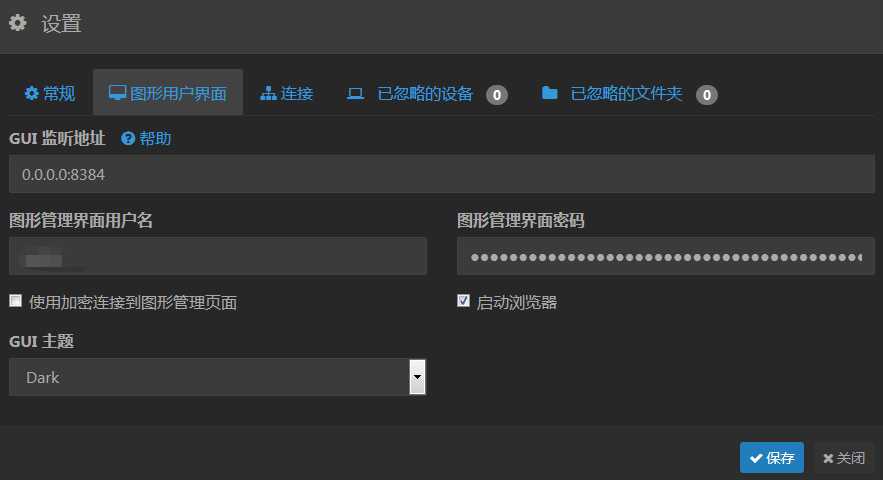
d 添加远程服务端
服务端设备id在 操作〉显示ID中查看
本地端添加后需要服务端确认
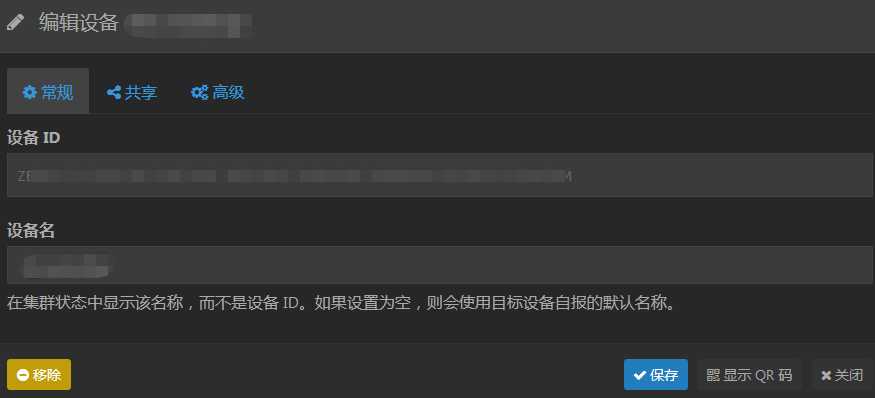
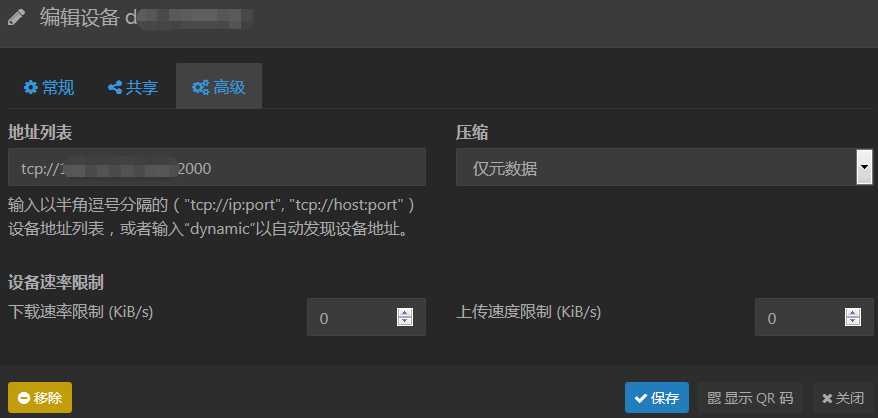
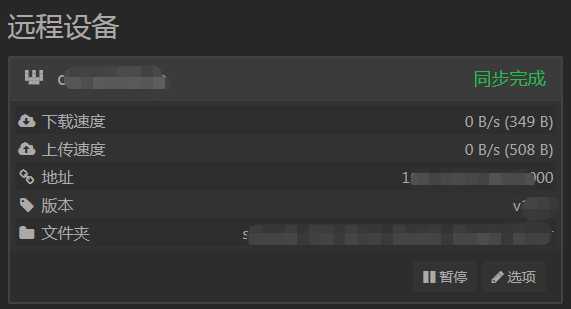
服务端确认

远程端添加成功
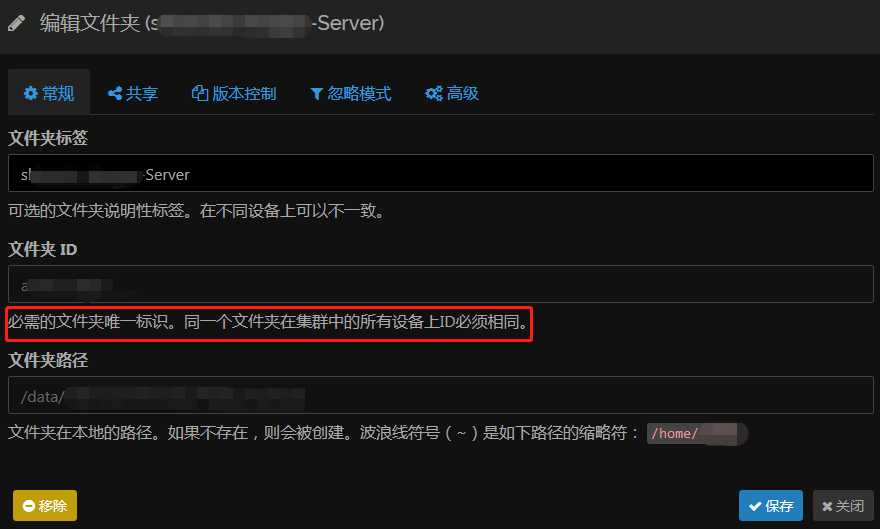
e 服务端添加同步目录(注意ID和路径)
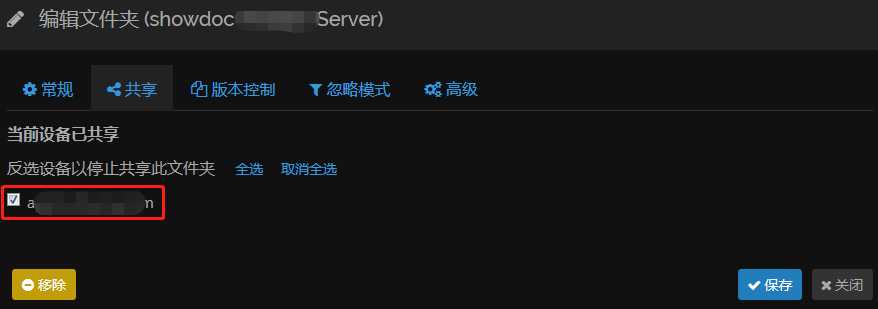
f 可主动推送共享目录(注意ID和路径)
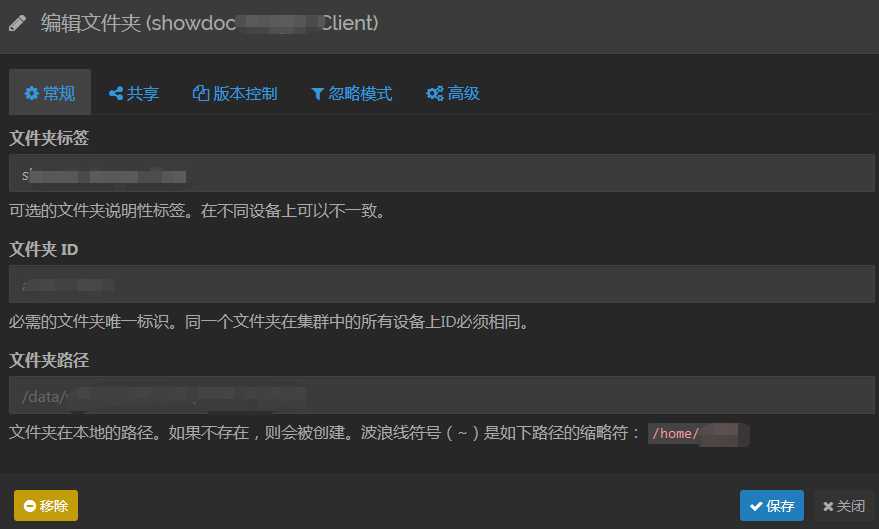
g 本地端确认共享目录,可编辑文件夹名称
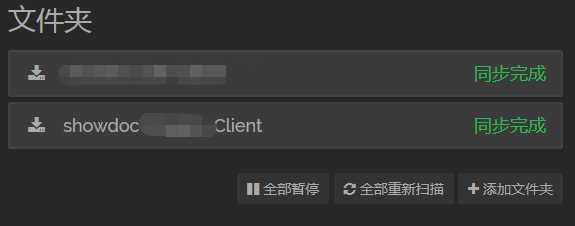
h 同步成功
其他:
1:根据情况是否使用版本控制
2:自启动根据系统情况另行处理
syncthing-illumos-amd64-v1.5.0/etc/linux-systemd/system
使用启动脚本或supervisord
暂时简单后台运行 syncthing &
nohup syncthing &> /dev/null &
官网help
https://docs.syncthing.net/users/autostart.html#linux
Using Supervisord
************************************************************
Go to /etc/supervisor/conf.d/ and create a new file named syncthing.conf
with the following content (ensure you replaced <USERNAME> with valid username):
[program:syncthing]
autorestart = True
directory = /home/<USERNAME>/
user = <USERNAME>
command = /usr/bin/syncthing -no-browser -home="/home/<USERNAME>/.config/syncthing"
environment = STNORESTART="1", HOME="/home/<USERNAME>"
标签:replace 官网 ensure use comm file lease 全球 ocs
原文地址:https://www.cnblogs.com/tamatama/p/13042886.html