标签:服务 清华大学 status perm curl ofo emctl 时间 查看
一、安装依赖包sudo yum install -y curl policycoreutils-python openssh-server postfix#启动sshd并配置开机启动
sudo systemctl enable sshd
sudo systemctl start sshd
#启动postfix并配置开机启动
sudo systemctl enable postfix
sudo systemctl start postfix
#防火墙放行http、https
sudo firewall-cmd --permanent --add-service=http
sudo firewall-cmd --permanent --add-service=https
#重新加载防火墙
sudo systemctl reload firewalld
清华大学源地址:https://mirrors.tuna.tsinghua.edu.cn/

直接在服务器上下载
cd /tmp && wget https://mirrors.tuna.tsinghua.edu.cn/gitlab-ce/yum/el7/gitlab-ce-12.3.5-ce.0.el7.x86_64.rpm或者下载到本地的wondows机器再上传到服务器
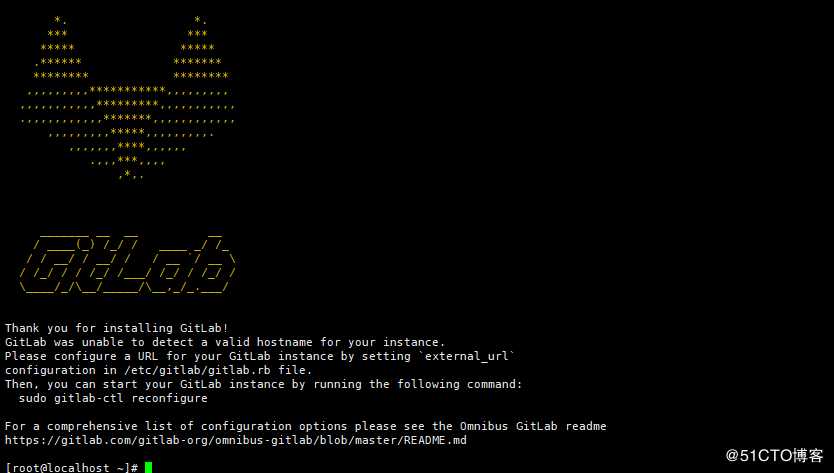
1、安装gitlab
rpm -ivh gitlab-ce-12.3.5-ce.0.el7.x86_64.rpm
2、修改配置文件 /etc/gitlab/gitlab.rb
vim /etc/gitlab/gitlab.rb
把图中的域名改成自己的域名或者ip
sed -i "/^external_url/c external_url ‘http://192.168.0.107:168‘ " /etc/gitlab/gitlab.rb
配置邮箱账号
配置邮箱smtp
3、重新加载gitlab 的配置文件
gitlab-ctl reconfigure首次加载配置文件时间有点长
4、gitlab 命令
#gitlab 启动
gitlab-ctl  start
#gitlab 停止
gitlab-ctl  stop
#查看gitlab 状态
gitlab-ctl  status
5、访问 http://192.168.0.107:168 设置管理员密码,登录gitlab
标签:服务 清华大学 status perm curl ofo emctl 时间 查看
原文地址:https://blog.51cto.com/13667909/2505124