标签:you image The serve tin waiting mamicode none page
本章介绍使用Metricbeat 收集Nginx指标数据使用,关于Metricbeat使用参考:【Beats】 Metricbeat快速入门(二十二)
搭建Nginx,搭建参考:【Web】Nginx下载与安装
1、安装nginx,需要加入http_stub_status_module 模块。命令如下:
1 #重新编译nginx
2 ./configure --prefix=/usr/local/nginx --with-http_stub_status_module
3 make
4 make install
2、查看nginx版本
命令:./nginx -v
![]()
3、配置nginx,加入一下location
命令:vim conf/nginx.conf
1 #配置nginx
2 location /nginx-status {
3     stub_status on;
4     access_log off;
5 }
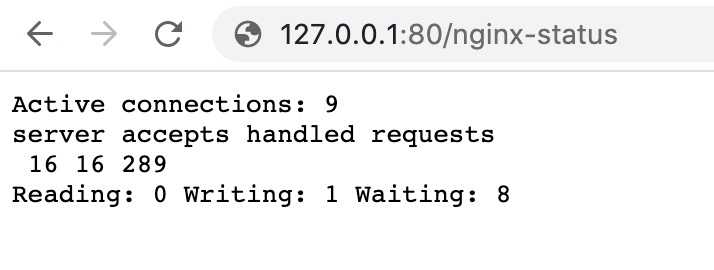
4、重启nginx进行访问,查看nginx状态
访问地址:http://127.0.0.1:80/nginx-status

结果说明:
1、启用nginx module
命令:./metricbeat modules enable nginx
2、修改nginx module配置,内容如下:
命令:vim modules.d/nginx.yml
 1 # Module: nginx
 2 # Docs: https://www.elastic.co/guide/en/beats/metricbeat/7.6/metricbeat-module-nginx.html
 3
 4 - module: nginx
 5   #metricsets:
 6   #  - stubstatus
 7   period: 10s
 8
 9   # Nginx hosts
10   hosts: ["http://127.0.0.1"]
11
12   # Path to server status. Default server-status
13   #server_status_path: "server-status"
14   server_status_path: "nginx-status"
15
16   #username: "user"
17   #password: "secret"
3、编辑metricbeat.yml配置文件
命令:vim metricbeat.yml
1 output.elasticsearch:
2   # Array of hosts to connect to.
3   hosts: ["127.0.0.1:9200"]
4
5   # Authentication credentials - either API key or username/password.
6   #api_key: "id:api_key"
7   username: "elastic"
8   password: "123456"
4、启动metricbeat
命令:./metricbeat -e
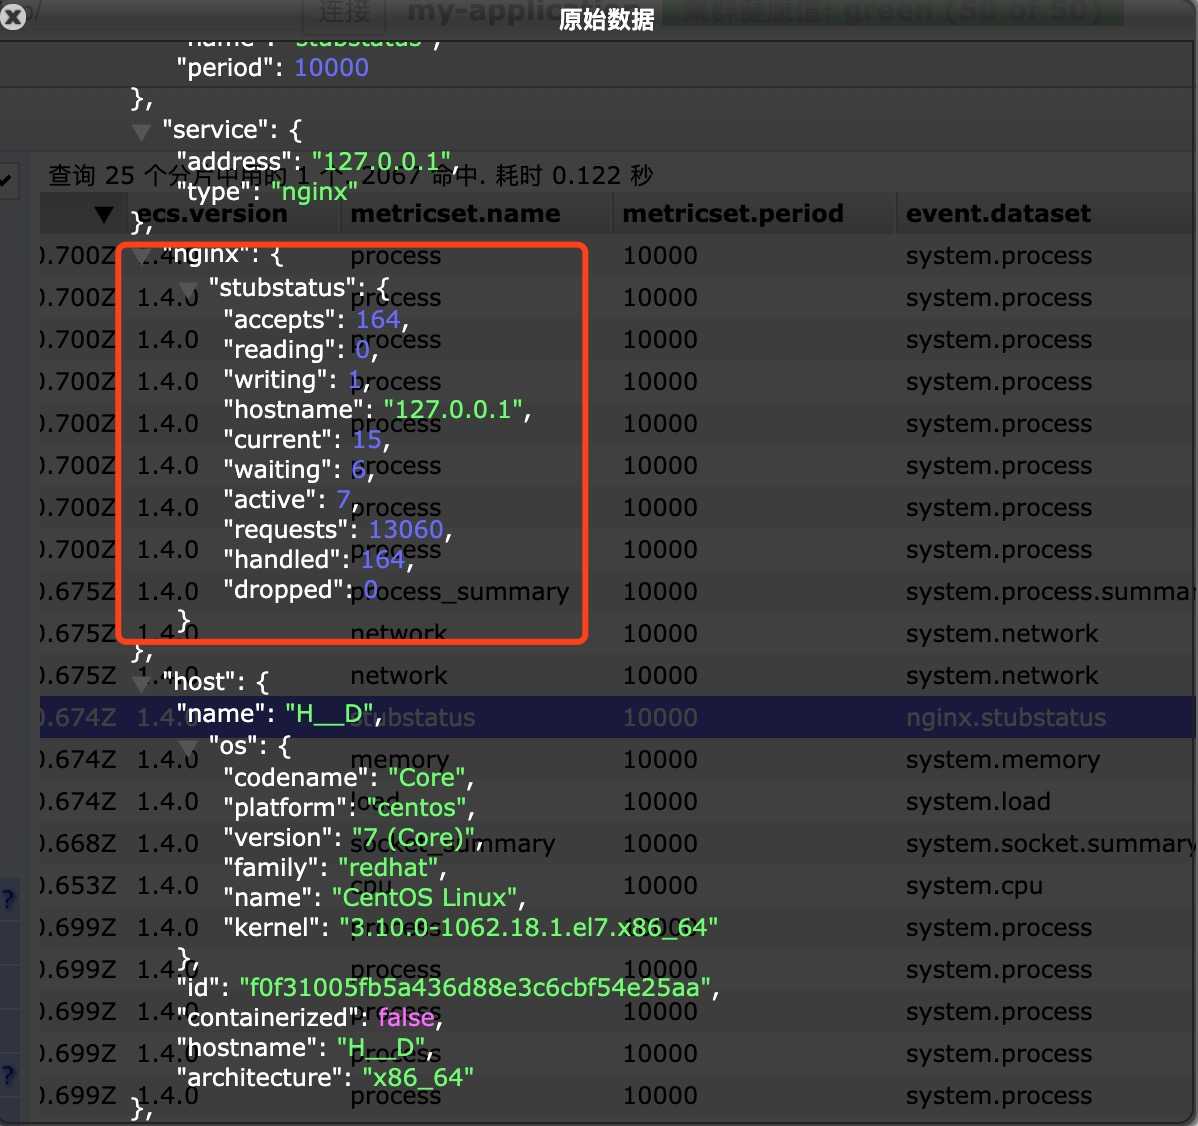
查看ES数据
查看索引:metricbeat-7.6.1-* 的数据

在ES中已能查到nginx状态数据
【Beats】Metricbeat 收集Nginx指标数据(二十三)
标签:you image The serve tin waiting mamicode none page
原文地址:https://www.cnblogs.com/h--d/p/13191477.html