标签:loading res 提交 remote iss 初始化 bash 文档 for
Git是目前世界上最先进的分布式版本控制系统。
版本控制系统:记录文档在什么时候被谁改了,改了什么东西。


右键 Git Bash Here
$ git config --global user.name "Jkeep1"
git config --global user.name "alidata"
$ git config --global user.email "邮箱地址"
git config --global user.email "2269982328@qq.com"
创建文件夹时,目录名不要出现中文
- 创建空目录
mkdir pro_git
- 进入
cd  pro_git
- Git初始化
git init
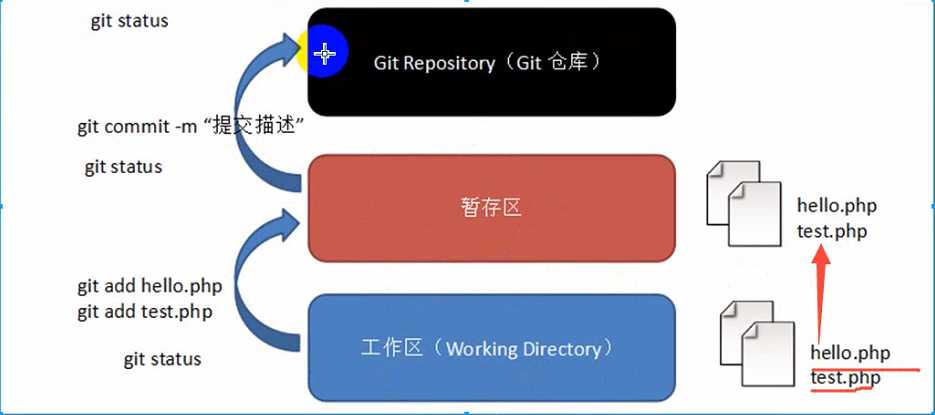
# 查看当前状态
git status
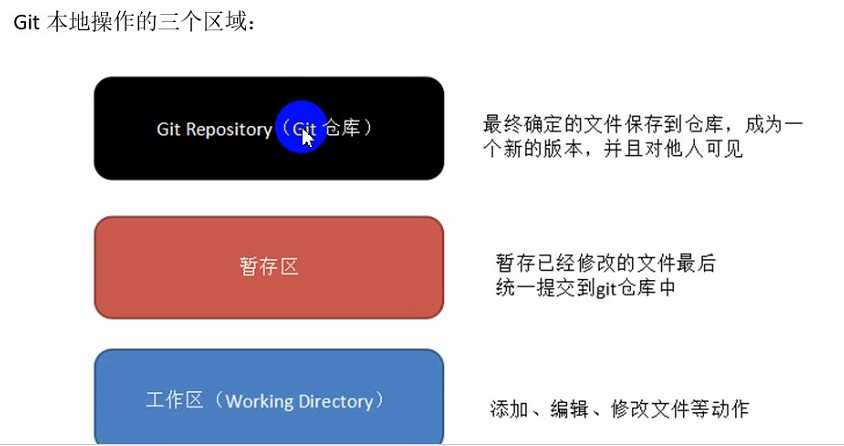
# 添加到缓存区
git add filename
# 提交至版本库
git commit -m"注释内容"
借助 github 托管项目代码
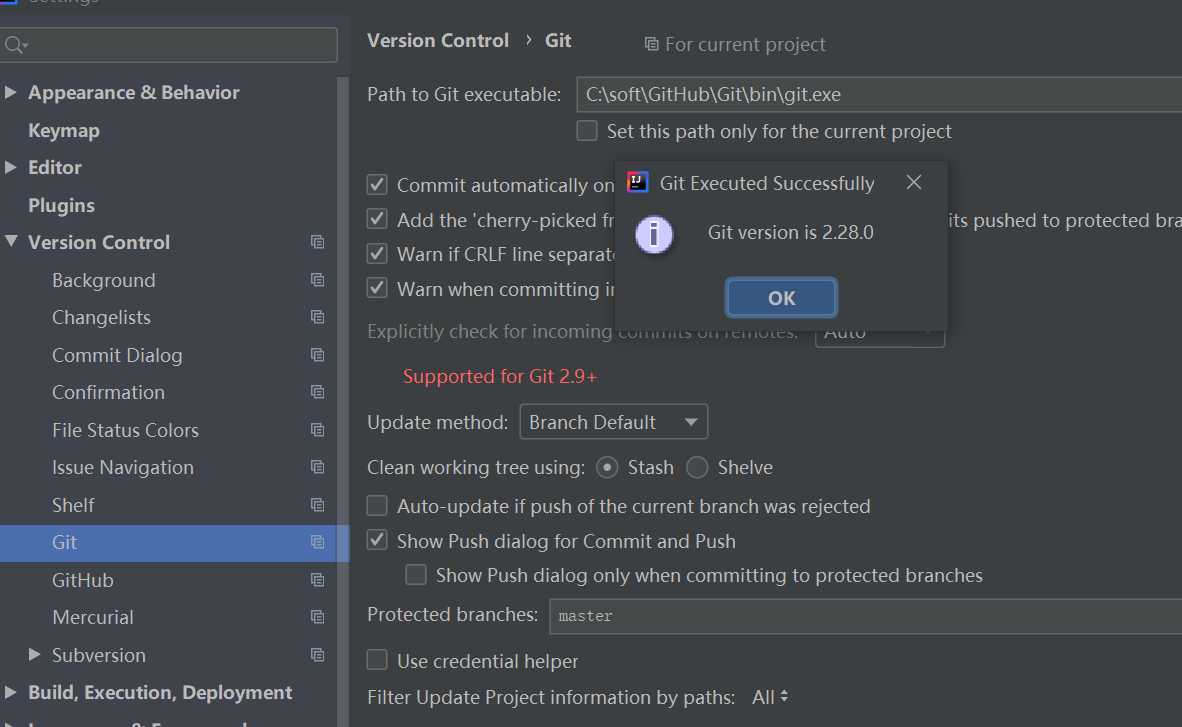
在File-->Setting->Version Control-->Git-->Path to Git executable选择你的git安装后的git.exe文件,然后点击Test,测试是否设置成功

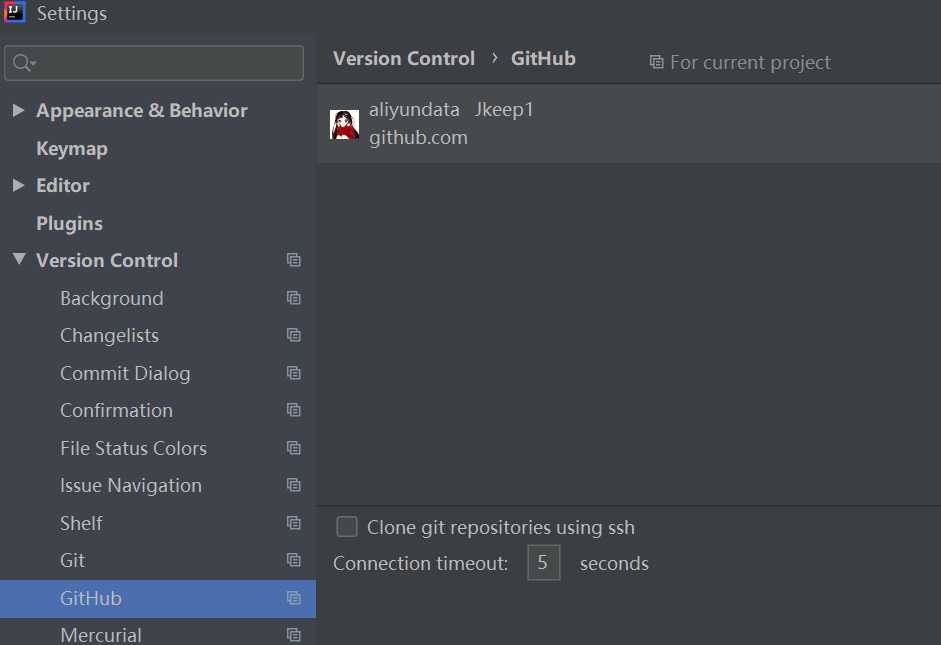
File-->Setting->Version Control-->GibHub

# 创建本地仓库
第一次提交到 Github 有个在 Github 建立仓库的过程:
1. 添加 IDEA 顶部菜单 VCS > Import into Verstion Control > Share Project on Github
New respository name: 在 github 上的名字,这个名字必须是 github 上还没有的
private 如果是私有的不公开的,就打钩
Remote name :这个默认 origin 不用动
Description 初次的描述就是 github 上的项目描述
填写好后点击 share 按钮
github 依赖于 git,必须先安装 git 环境
提交到 github 仓库顺序是,从 项目文件 -> add 到 项目 git 仓库文件中 ->提交到本地git仓库 -> 从 git 仓库提交大 github 仓库
# 打开 C:\Windows\System32\drivers\etc\hosts
添加如下映射
# GitHub Start
199.232.28.133 assets-cdn.github.com
199.232.28.133 raw.githubusercontent.com
199.232.28.133 gist.githubusercontent.com
199.232.28.133 cloud.githubusercontent.com
199.232.28.133 camo.githubusercontent.com
199.232.28.133 avatars0.githubusercontent.com
199.232.28.133 avatars1.githubusercontent.com
199.232.28.133 avatars2.githubusercontent.com
199.232.28.133 avatars3.githubusercontent.com
199.232.28.133 avatars4.githubusercontent.com
199.232.28.133 avatars5.githubusercontent.com
199.232.28.133 avatars6.githubusercontent.com
199.232.28.133 avatars7.githubusercontent.com
199.232.28.133 avatars8.githubusercontent.com
 # GitHub End
标签:loading res 提交 remote iss 初始化 bash 文档 for
原文地址:https://www.cnblogs.com/alidata/p/13445318.html