标签:https conf database red localhost 账号 info rap img
参考:https://www.cnblogs.com/shhnwangjian/p/14680679.html

https://docs.konghq.com/install/centos/
1、添加RPM
https://bintray.com/kong/kong-rpm/download_file?file_path=centos/7/kong-2.3.3.el7.amd64.rpm
2、yum安装
yum install kong-2.3.3.el7.amd64.rpm --nogpgcheck
3、pg添加Kong账号
# 创建postgres数据库账号
su postgres
psql
CREATE USER kong; CREATE DATABASE kong OWNER kong;
ALTER USER kong WITH PASSWORD ‘123456‘;
\q
4、配置Kong DataSource
创建配置 cd /etc/kong;cp kong.conf.default kong.conf

vim /etc/kong/kong.conf
# 修改数据库配置
database = postgres             # Determines which of PostgreSQL or Cassandra

pg_host = 127.0.0.1             # The PostgreSQL host to connect to.
pg_port = 5432                  # The port to connect to.
pg_user = kong                  # The username to authenticate if required.
pg_password = 123456            # The password to authenticate if required.
pg_database = kong              # The database name to connect to.
5、迁移Kong (在数据库Kong中创建需要的表)
kong migrations bootstrap -c /etc/kong/kong.conf
6、启动kong
kong start -c /etc/kong/kong.conf
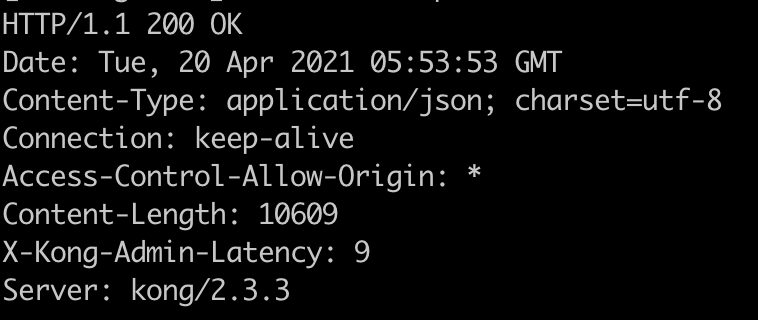
7、验证
curl -i http://localhost:8001/

标签:https conf database red localhost 账号 info rap img
原文地址:https://www.cnblogs.com/shhnwangjian/p/14680693.html