2.配置
安装完毕后,进入安装目录配置文件,默认情况下目录里是没有.cfg配置文件的,可以回到安装文件目录下将examples下的haproxy.cfg拷贝到usr/local/haproxy下。
haproxy.cfg的内容如下:
# cd /usr/local/haproxy
# vi haproxy.cfg
global
maxconn 51200
chroot /usr/local/haproxy
uid 99
gid 99
daemon
#quiet
nbproc 1
pidfile /usr/local/haproxy/logs/haproxy.pid
defaults
mode http
#retries 2
option redispatch
option abortonclose
timeout connect 5000ms
timeout client 30000ms
timeout server 30000ms
#timeout check 2000
log 127.0.0.1 local0 err #[err warning info debug]
balance roundrobin
# option httplog
# option httpclose
# option dontlognull
# option forwardfor
listen admin_stats
bind 0.0.0.0:8888
option httplog
stats refresh 30s
stats uri /stats
stats realm Haproxy Manager
stats auth admin:admin
#stats hide-version
listen test1
bind :12345
mode tcp
server t1 127.0.0.1:8881
server t2 192.168.1.102:8881
listen test2 :80
option httpclose
option forwardfor
server s1 127.0.0.1:8081 check weight 1 minconn 1 maxconn 3 check inter 40000
server s2 127.0.0.1:8082 check weight 1 minconn 1 maxconn 3 check inter 40000
3.启动Haproxy
[root@node3 haproxy]# /usr/local/haproxy/sbin/haproxy -f /usr/local/haproxy/haproxy.cfg
[root@node3 app]# ps -ef |grep haproxy |grep -v grep
root      6950     1  0 19:35 ?        00:00:00 /usr/local/haproxy/sbin/haproxy -f /usr/local/haproxy/haproxy.cfg
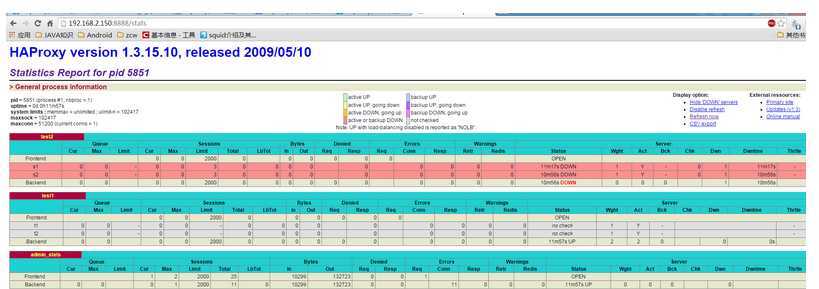
访问:http://192.168.2.150:8888/stats
4.测试:
由于我们把环回接口绑定127.0.0.1:8081端口到本机127.0.0.1:80端口上,
我们上次安装的httpd,绑定的是127.0.0.1:8081
http://www.cnblogs.com/super-d2/p/4134467.html
访问http://192.168.2.137:8081/可看到这个
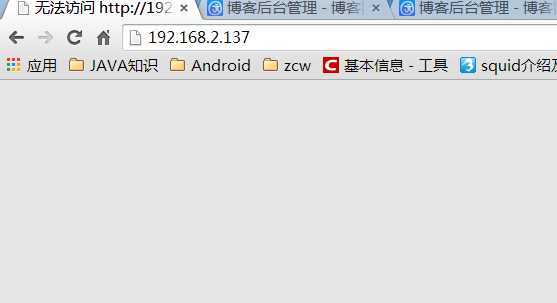
而没配置haproxy之前,我们访问http://192.168.2.137:80/是访问不到的,因为这个端口80上没有这项服务;
如果现在我们启动haproxy的话,
再次访问:
可以通过通过haproxy我们实现了代理访问
http://192.168.2.137:80/


