标签:style blog http io ar color 使用 sp for
MagicPie

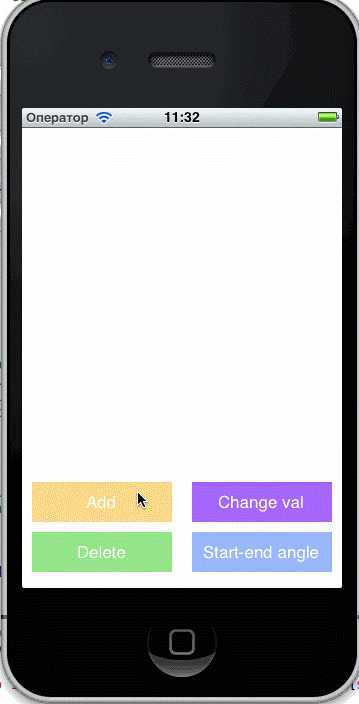
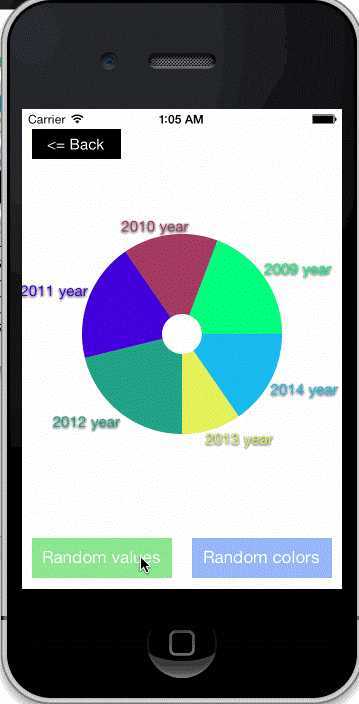
Powerful pie layer for creating your own pie view. PieLayer provide great animation with simple usage.
PieLayer是一个非常强大的layer,非常易用,效果很炫。
The main advantage of that control that there is no worry about displaying of animation. Animation will display correctly even if you will add new elements during execution of another slice deleting animation. That‘s amazing! And here is no delegates. I like delegates, but in this case I think they are excess.
这个动画的主要特点是,你不需要担心在添加控件的同时影响删除的动画,而且也没有烦人的代理。我很喜欢代理,但是,我觉得,在这里使用的话就太没有节操了。


Be creative =)

Installation - 安装
Edit your PodFile to include the following line:
编辑你的PodFile,添加以下一行:
pod ‘MagicPie‘
Then import the main header.
然后,导入头文件:
#import <MagicPieLayer.h>
Have a fun!
^_^!
Create pie: 创建pie
PieLayer* pieLayer = [[PieLayer alloc] init];
pieLayer.frame = CGRectMake(0, 0, 200, 200);
[self.view.layer addSublayer:pieLayer];
Add slices: 添加切片
[pieLayer addValues:@[[PieElement pieElementWithValue:5.0 color:[UIColor redColor]],
                      [PieElement pieElementWithValue:4.0 color:[UIColor blueColor]],
                      [PieElement pieElementWithValue:7.0 color:[UIColor greenColor]]] animated:YES];
Change value with animation: 修改值来执行动画
PieElement* pieElem = pieLayer.values[0];
[PieElement animateChanges:^{
    pieElem.val = 13.0;
    pieElem.color = [UIColor yellowColor];
}];
Delete slices: 删除切片
[pieLayer deleteValues:@[pieLayer.values[0], pieLayer.values[1]] animated:YES];
标签:style blog http io ar color 使用 sp for
原文地址:http://www.cnblogs.com/YouXianMing/p/4145360.html