标签:android style blog class c code
libgdx底层采用opengl渲染,对图片进行了优化处理,与android原生态的bitmap不太一样。
相比而言,效率要高一些,不过只支持png,jpg,bmp三种格式。
显示中,一般将图片放在assets文件下,表示是Gdx的内部文件。
gl1.x使用的图片的宽高必须是2的整次幂,而在gl2.0以后的版本则没有此限制。
使用的版本为libgx 0.9.9。
代码如下:
package com.fxb.bird;

import com.badlogic.gdx.ApplicationAdapter;
import com.badlogic.gdx.Gdx;
import com.badlogic.gdx.graphics.GL20;
import com.badlogic.gdx.graphics.Texture;
import com.badlogic.gdx.graphics.g2d.SpriteBatch;
import com.badlogic.gdx.graphics.g2d.TextureRegion;

public class FlappyBird extends ApplicationAdapter{

    Texture texture;
    SpriteBatch batch;

    TextureRegion region1;
    TextureRegion region2;

    @Override
    public void create() {
        // TODO Auto-generated method stub
        texture = new Texture( Gdx.files.internal("data/badlogic.jpg") );
        batch = new SpriteBatch();

        region1 = new TextureRegion( texture );
        region2 = new TextureRegion( region1, 0, 0, region1.getRegionWidth()/2, region1.getRegionHeight()/2 );

    }
    @Override
    public void render() {
        // TODO Auto-generated method stub
        Gdx.gl.glClearColor(1, 1, 1, 1);
        Gdx.gl.glClear(GL20.GL_COLOR_BUFFER_BIT);

        batch.begin();
        batch.draw( texture, 50, 50 );
        batch.draw( region1, 400, 50, region1.getRegionWidth()/2, region1.getRegionHeight()/2 );
        batch.draw( region2, 600, 50 );
        batch.end();
    }
    @Override
    public void dispose() {
        // TODO Auto-generated method stub
        super.dispose();
    }

}
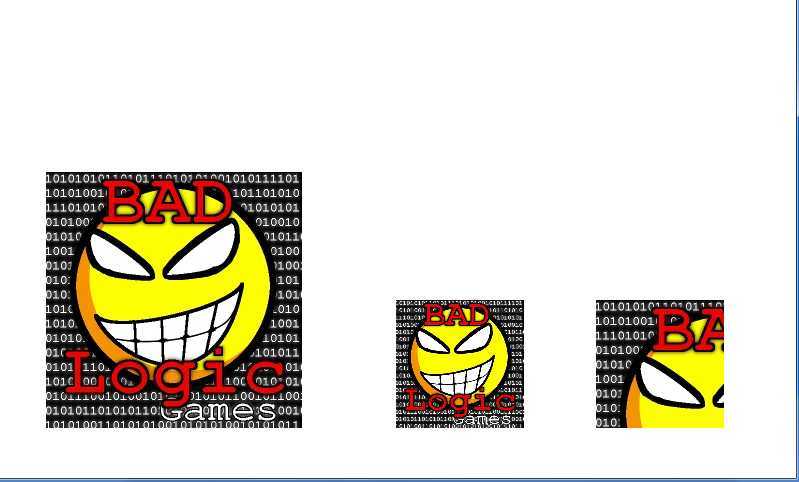
显示效果如下:

很基本,很简单,也是入门,呵呵。。。
libgdx学习记录1——图片显示,布布扣,bubuko.com
标签:android style blog class c code
原文地址:http://www.cnblogs.com/MiniHouse/p/3738574.html