标签:des style blog http ar io color 使用 sp
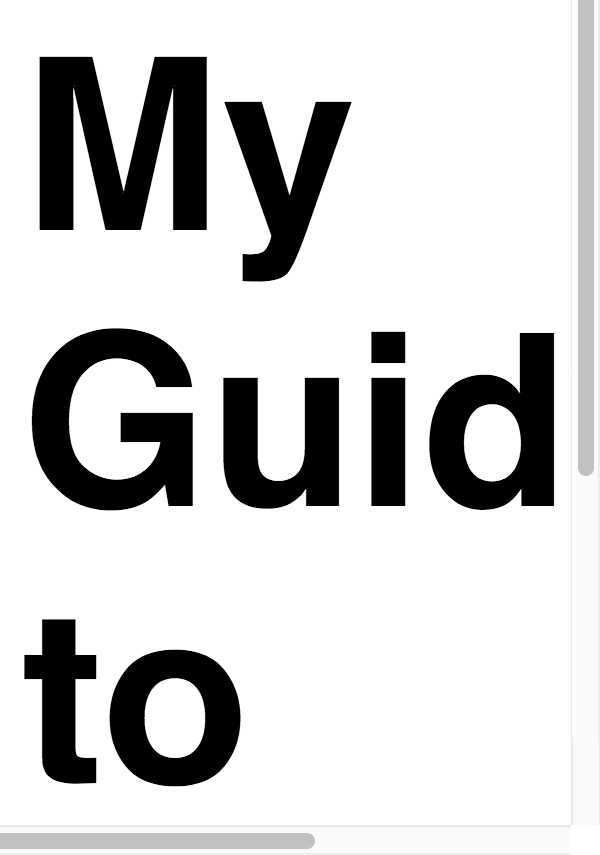
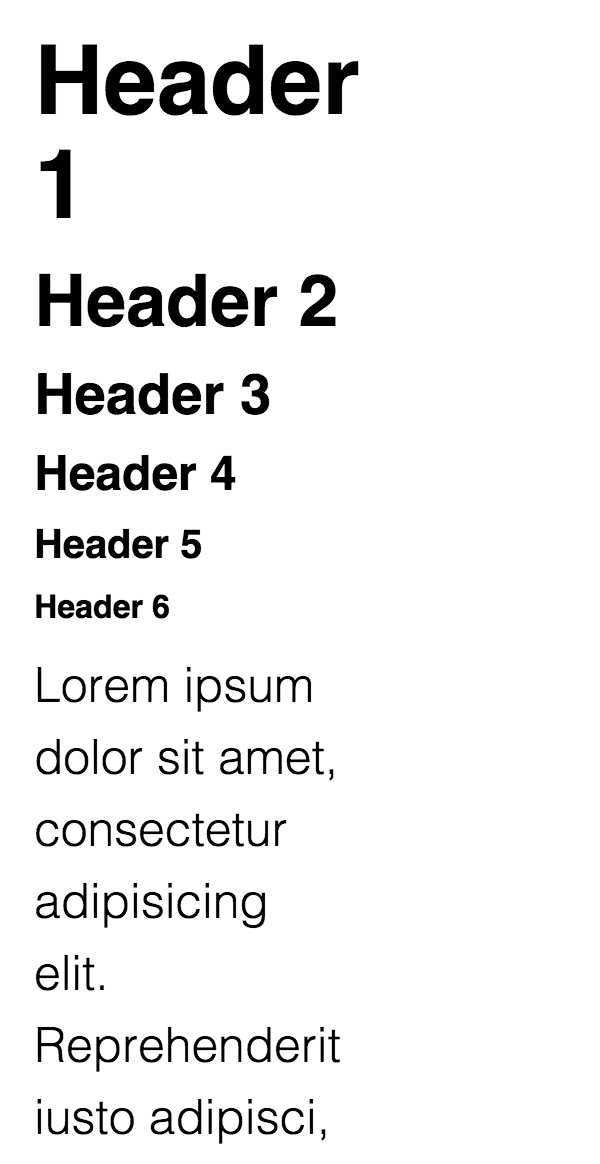
html选择器以致于它的子节点会继承一些较小的尺寸。1 <h1>Header 1</h1> 2 <h2>Header 2</h2> 3 <h3>Header 3</h3> 4 <h4>Header 4</h4> 5 <h5>Header 5</h5> 6 <h6>Header 6</h6> 7 8 <p> 9 Lorem ipsum dolor sit amet, consectetur adipisicing elit. Reprehenderit iusto adipisci, cupiditate animi, itaque qui aspernatur vel corrupti labore minima, excepturi ab, fuga rem dolores. Ratione sunt autem iusto aliquid. 10 </p> 11 12 <ul> 13 <li>List Item 1</li> 14 <li>List Item 2</li> 15 <li>List Item 3</li> 16 </ul> 17 18 <ol> 19 <li>List Item 1</li> 20 <li>List Item 2</li> 21 <li>List Item 3</li> 22 </ol>
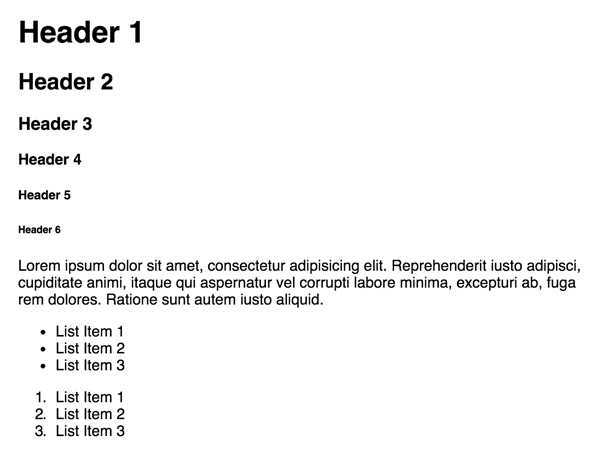
margin-top 去调整我们的元素,不然当一个h1 标签离一张原本应该紧挨着的图片有一英寸的距离,那会让人相当郁闷。其他元素则会保留浏览器默认的样式。在这里使用了Stylus,因为我很喜欢Stylus 简洁的语法1 html 2 padding: 2rem 3 4 h1, h2, h3, h4, h5, h6, p, ul, ol 5 margin-top: 0
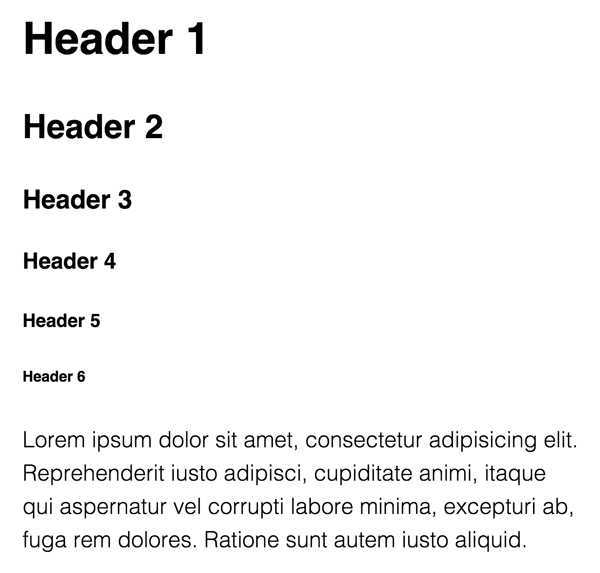
line-height 让段落看起来漂亮一点。1 html 2 padding: 2rem 3 font-size: 24px 4 font-weight: 100 5 line-height: 1.5 6 7 h1, h2, h3, h4, h5, h6, p, ul, ol 8 margin-top: 0
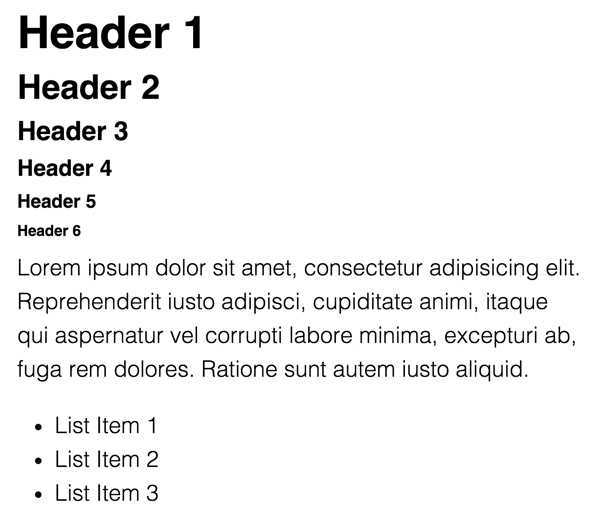
But now our elements have a huge margin-bottom on them and our headers have a hugeline-height as well. Luckily this is a quick fix:但是现在我们的元素有一个较大的底部距离并且我们的头部也有一个较大的行距。幸运的是这点很容易就可以修复:
1 html 2 padding: 2rem 3 font-size: 24px 4 font-weight: 100 5 line-height: 1.5 6 7 h1, h2, h3, h4, h5, h6, p, ul, ol 8 margin-top: 0 9 margin-bottom: 1rem 10 11 h1, h2, h3, h4, h5, h6 12 margin-bottom: .5rem 13 line-height: 1.1
 1 html
 2   padding: 2rem
 3   font-size: 24px
 4   font-weight: 100
 5   line-height: 1.5
 6   @media (max-width: 900px)
 7     font-size: 20px
 8   @media (max-width: 500px)
 9     font-size: 14px
10
11 h1, h2, h3, h4, h5, h6, p, ul, ol
12   margin-top: 0
13   margin-bottom: 1rem
14
15 h1, h2, h3, h4, h5, h6
16   margin-bottom: .5rem
17   line-height: 1.1
标签:des style blog http ar io color 使用 sp
原文地址:http://www.cnblogs.com/deryck/p/4170537.html