标签:
此篇开始正式对套件进行评测,先拿官方提供的参考设计练练手,在上一篇博文中给出了参考设计链接:https://cloud.altera.com/devstore/board/max-10-fpga-evaluation-kit/
在此页面中,有如下几个设计▼
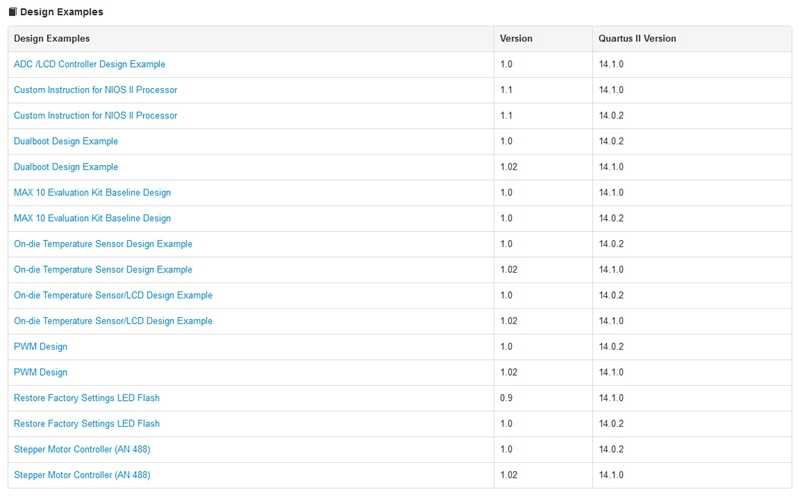
适用于QuartusII 14.1版本的设计如下:
l ADC /LCD Controller Design Example :ADC/LCD控制器设计
l Custom Instruction for NIOS II Processor :NIOS II处理器自定义指令设计
l Dualboot Design Example :双启动设计
l MAX 10 Evaluation Kit Baseline Design :基本参考设计
l On-die Temperature Sensor Design Example :温度传感器设计
l On-die Temperature Sensor/LCD Design Example :温度传感器/LCD设计
l PWM Design :脉冲调制设计
l Restore Factory Settings LED Flash :出厂自带的LED闪烁设计
l Stepper Motor Controller (AN 488) :步进电机控制器
打开其中一个设计,如Restore Factory Settings LED Flash ▼
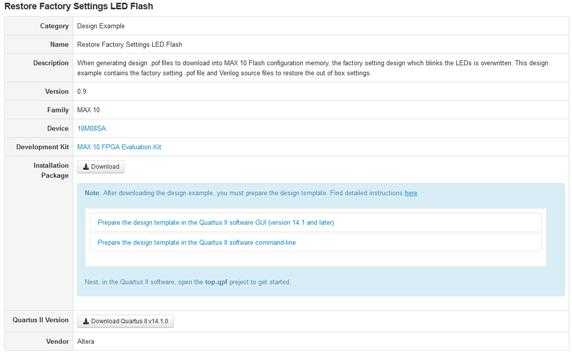
点击Download可下载此参考设计,下载得到LED_Flash.par文件,此文件为设计模板,可导入QuartusII 14.1中:
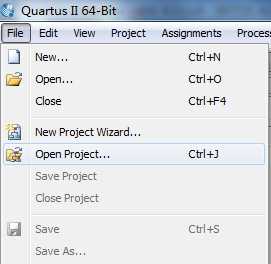
▼打开QuartusII,点击菜单栏File中Open Project选项
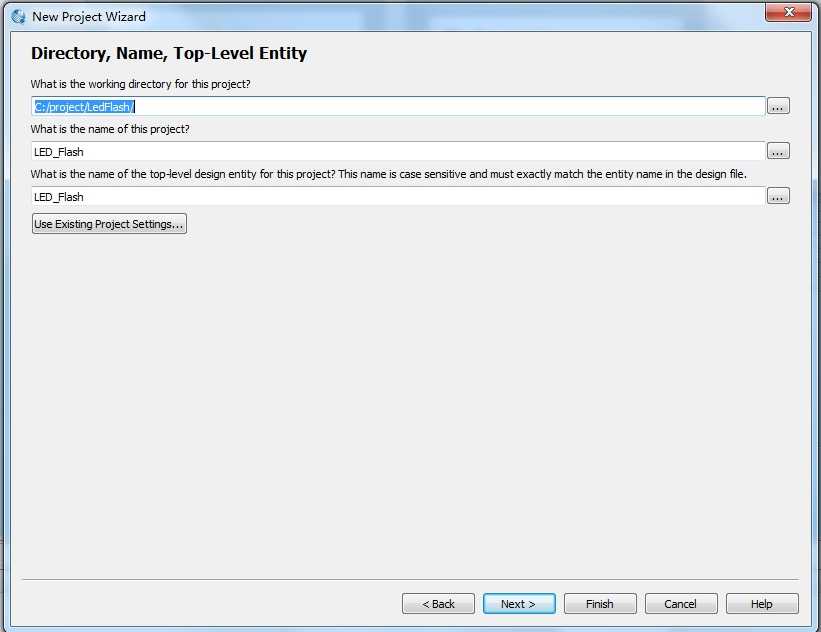
▼进入新建工程向导,设置工程路径
▼在工程类型中,选择工程模板 Project Template
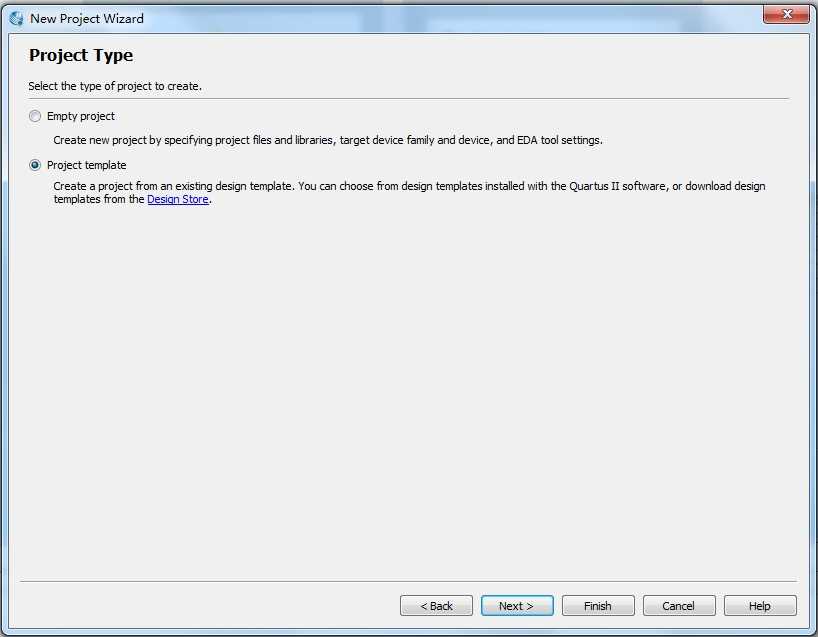
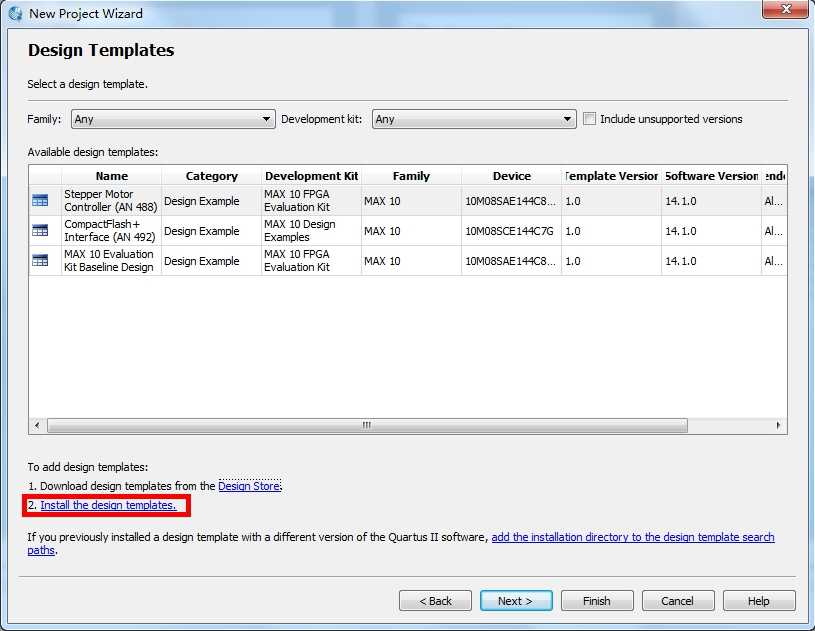
▼在可用设计模板列表中并没有下载的LED_FALSH参考设计,需要先添加,点击红框中Install the design templates
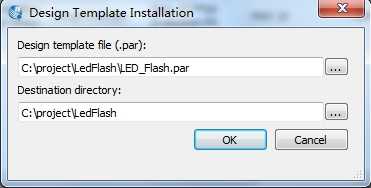
▼选择LED_FALSH.par文件,并设置工程路径
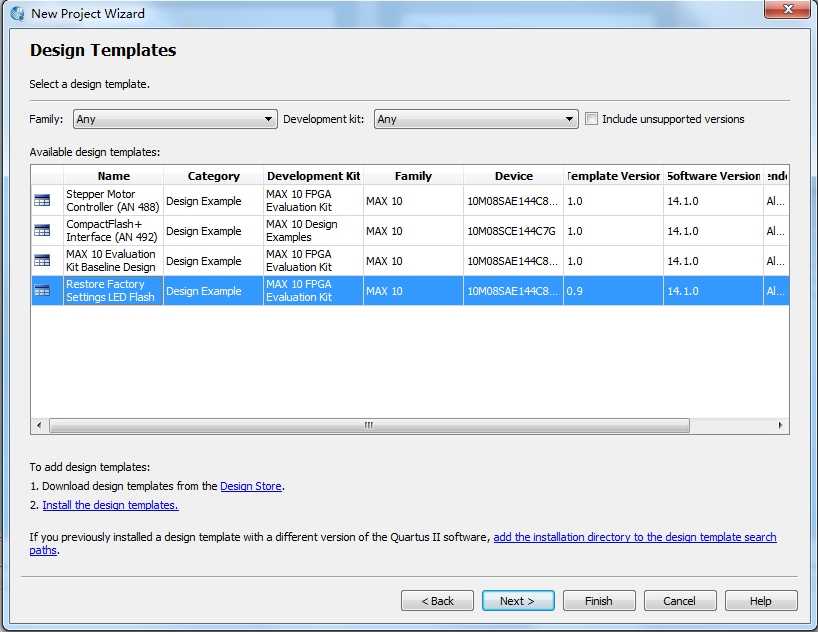
▼添加完成后,Restore Factory Settings LED Flash就出现在可用设计模板列表中了。
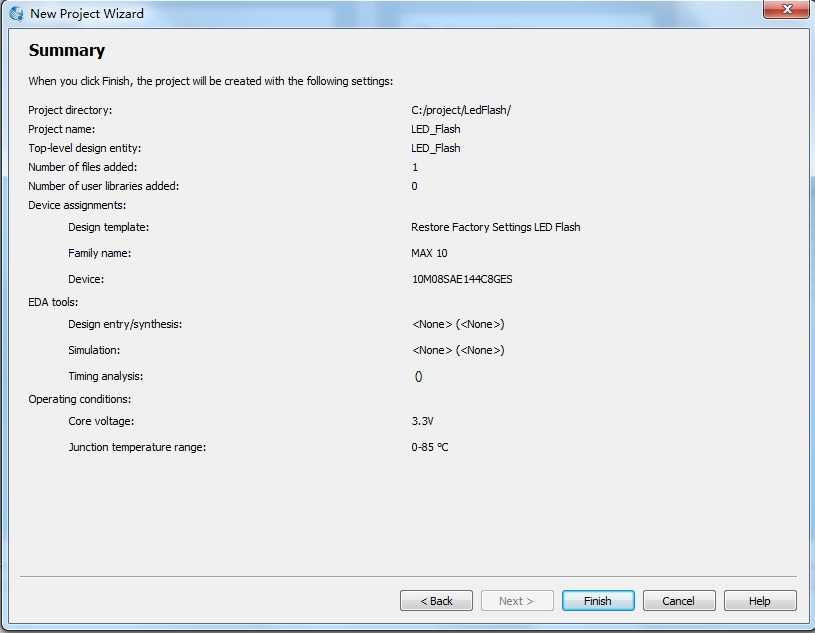
▼点击Finish,导入LED_FLASH设计完成
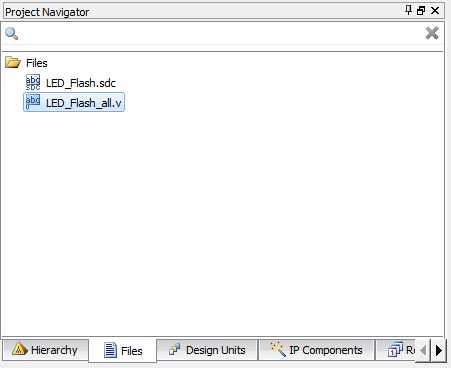
▼参考设计中包含的源代码,LED_Flash_all.v包含功能代码,LED_Flash.sdc包含时序约束
▼打开LED_Flash_all.v,分析代码,简单的时钟分频,功能是LED1~LED5每秒亮、灭一次
 1 `timescale 1ns / 1ps
 2 //////////////////////////////////////////////////////////////////////////////////
 3 // Company: Axelsys
 4 // Engineer: Greg Miller
 5 //
 6 // Create Date:    11:21:08 08/21/2014
 7 // Design Name:    LED
 8 // Module Name:    LED_Verilog
 9 // Project Name:   Altera MAX10 Breakout Board
10 // Target Devices: 10M08SAE144C7G
11 // Tool versions: 14.0
12 // Description:
13 // LEDs, D1 through D5 will blink on for 1/2 second and off for 1/2 second.
14 // Clock is operating at 50MHz.
15 //
16 // Dependencies:
17 //
18 // Revision:
19 // Revision 0.01 - File Created
20 // Additional Comments:
21 //
22 //////////////////////////////////////////////////////////////////////////////////
23 module LED_Flash_all(
24     input clk,
25     output LED1,
26     output LED2,
27     output LED3,
28     output LED4,
29     output LED5
30     );
31
32     reg[15:0] div_cntr1;
33     reg[9:0] div_cntr2;
34     reg dec_cntr;
35     reg half_sec_pulse;
36
37     initial begin
38         div_cntr1 = 0;
39         div_cntr2 = 0;
40         dec_cntr  = 0;
41         end
42
43     always@(posedge clk)
44         begin
45         div_cntr1 <= div_cntr1 + 1;
46         if (div_cntr1 == 0)
47             if (div_cntr2 == 762)
48                 begin
49                 div_cntr2 <= 0;
50                 half_sec_pulse <= 1;
51                 end
52             else
53                 div_cntr2 <= div_cntr2 + 1;
54         else
55             half_sec_pulse <= 0;
56
57         if (half_sec_pulse == 1)
58             dec_cntr <= !dec_cntr;
59
60         end
61
62     assign LED1 = dec_cntr ;
63     assign LED2 = dec_cntr ;
64     assign LED3 = dec_cntr ;
65     assign LED4 = dec_cntr;
66     assign LED5 = dec_cntr ;
67
68 endmodule
▼工程中已包含引脚分配

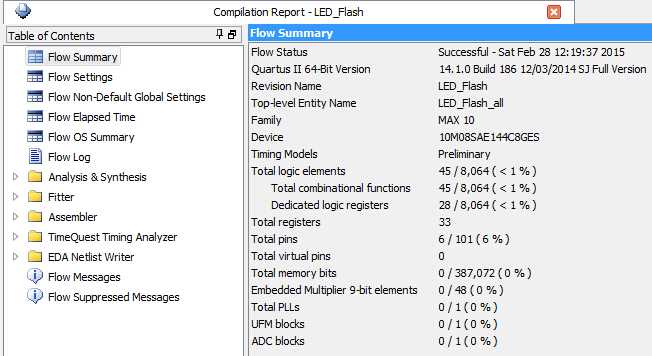
▼工程编译后报告,无报错
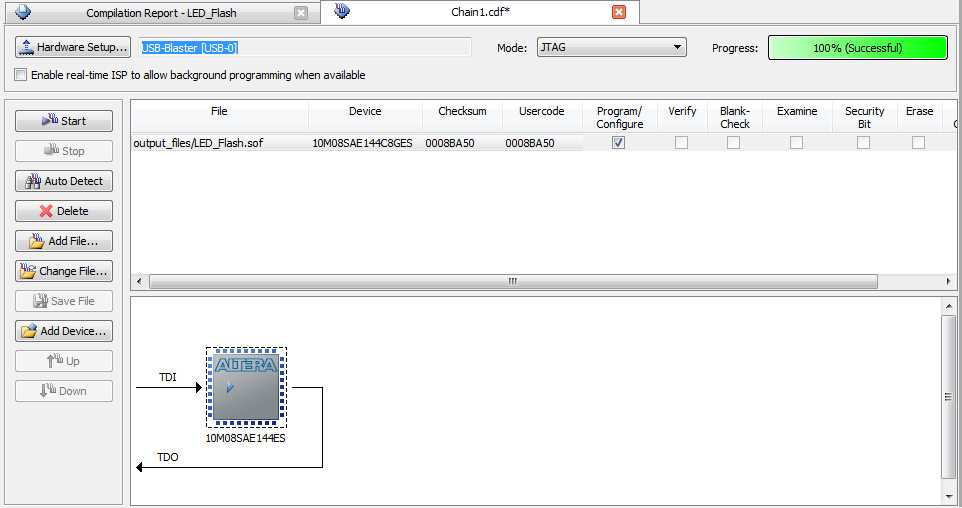
▼MAX10评估板与USB Blaster下载线正确连接后并上电,打开Programmer,点击Auto Detect自动识别JTAG链上的器件,然后添加LED_FLASH.sof文件,点击Start开始下载,下载成功后会在进度条中显示100%(Successful)。
以上以LED_FALSH参考设计为例,对MAX10评估板整套开发系统做了演示。
标签:
原文地址:http://www.cnblogs.com/hoki-bky/p/4320637.html