标签:
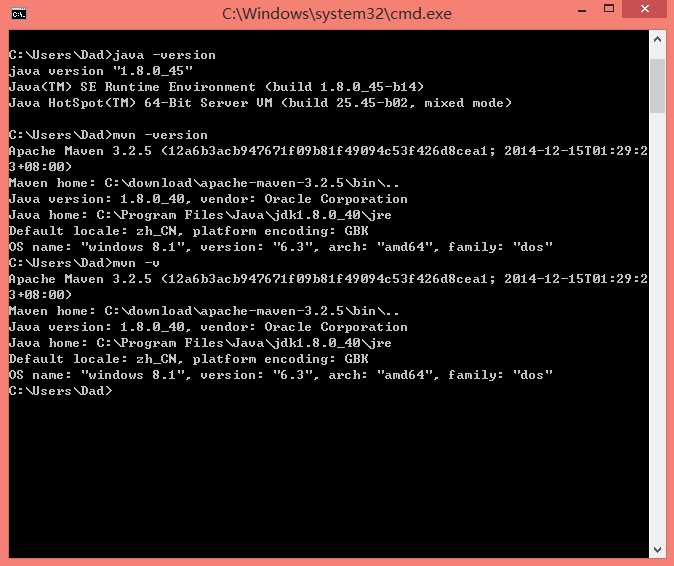
1.首先正确安装并且配置好环境变量等;
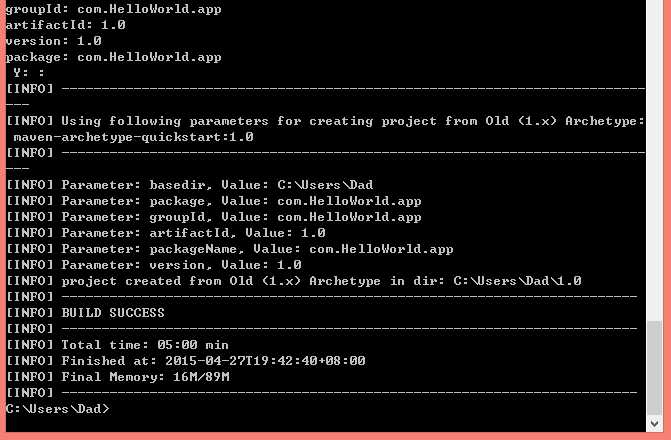
2. 然后创建自己的HelloWorld,在这里我将它命名为1.0;

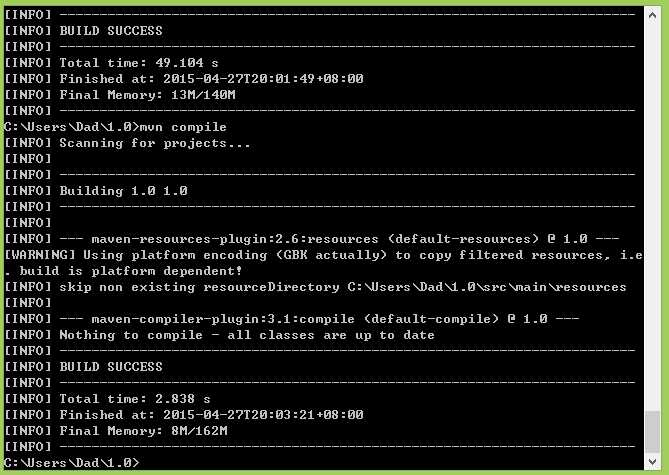
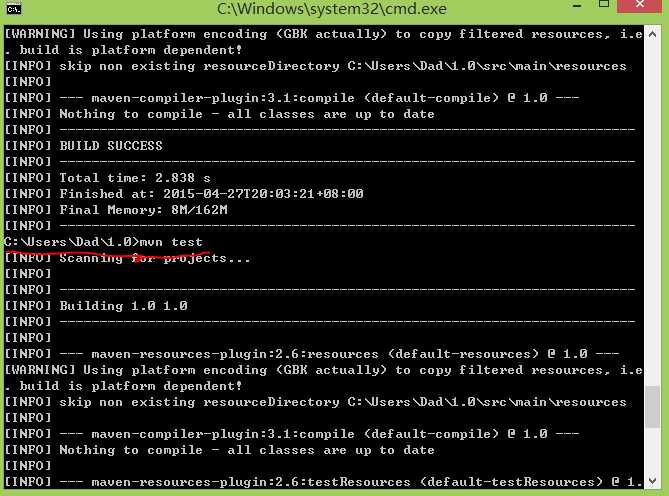
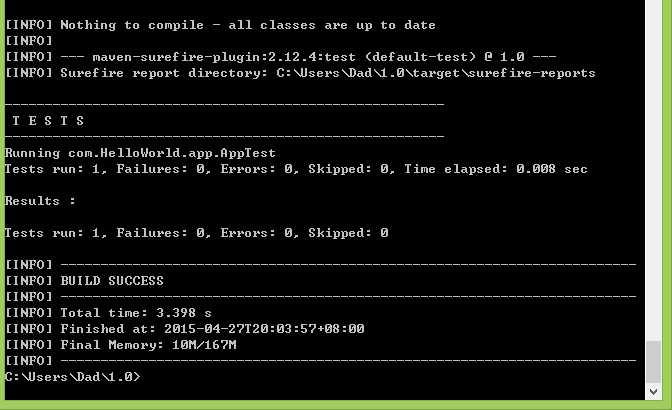
3. 运行该Project,并且进行测试;
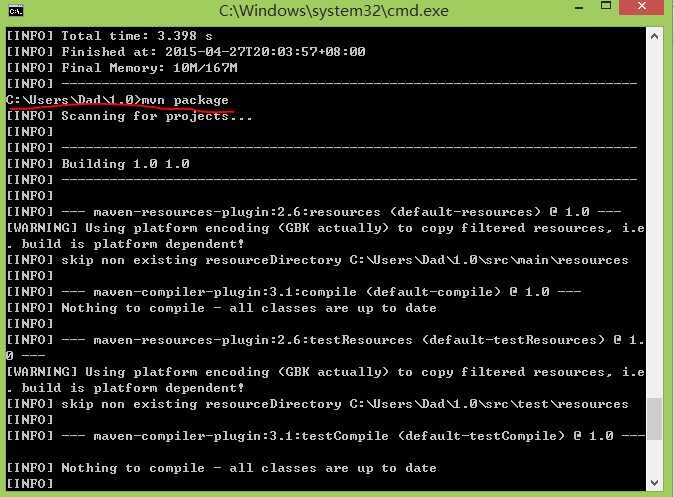
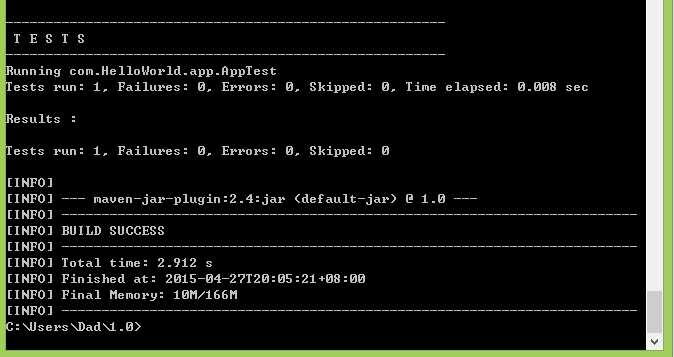
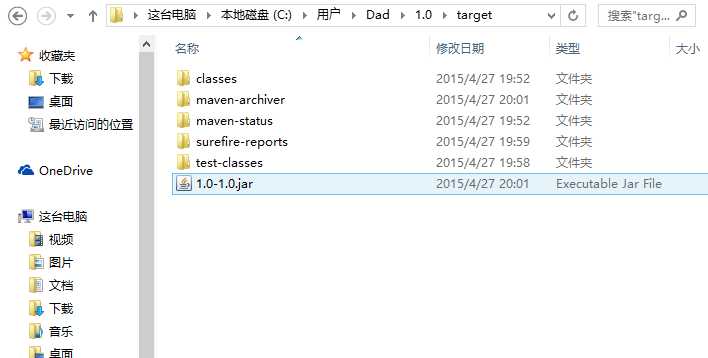
4. 将HelloWorld打包,在目录中可以查看;
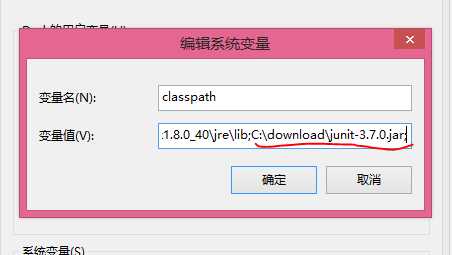
5. 下载junit.jar,在环境变量中添加新的路径;
6.修改源代码之后进行测试;
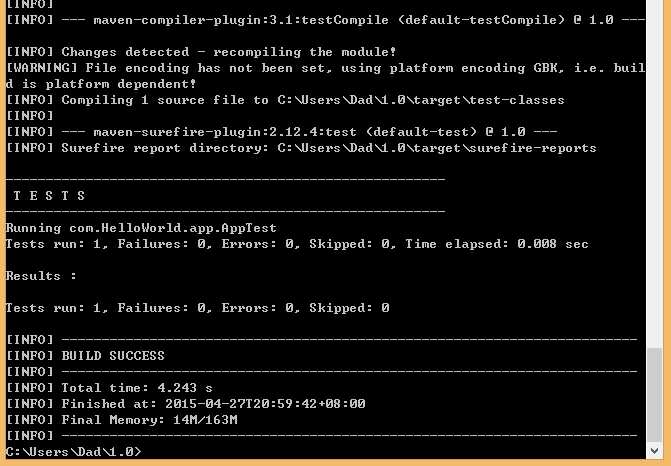
可以看出测试成功!
附上源代码:
main:
package com.HelloWorld.app;

/**
 * Hello world!
 *
 */
public class App
{
    public static void main( String[] args )
    {
        App app = new App();
        System.out.println( "Hello Tan!" );
    }

    public String sayApp(){
    	return "Hello Tan!";
    }
}
test:
package com.HelloWorld.app;

import junit.framework.Test;
import junit.framework.*;
import junit.framework.TestSuite;
import java.io.*;

/**
 * Unit test for simple App.
 */
public class AppTest
    extends TestCase
{
    /**
     * Create the test case
     *
     * @param testName name of the test case
     */
    public AppTest( String testName )
    {
        super( testName );
    }

    /**
     * @return the suite of tests being tested
     */
    public static Test suite()
    {
        return new TestSuite( AppTest.class );
    }

    /**
     * Rigourous Test :-)
     */
    public void testApp()
    {
        App app = new com.HelloWorld.app.App();
        assertEquals("Hello Tan!", app.sayApp());
    }
}
标签:
原文地址:http://www.cnblogs.com/tan1994/p/4461384.html