标签:

[{"id":1,"text":"My Documents","children":[{"id":11,"text":"Photos","state":"closed","children":[{"id":111,"text":"Friend"},{"id":112,"text":"Wife"},{"id":113,"text":"Company"}]},{"id":12,"text":"Program Files","children":[{"id":121,"text":"Intel"},{"id":122,"text":"Java","attributes":{"p1":"Custom Attribute1","p2":"Custom Attribute2"}},{"id":123,"text":"Microsoft Office"},{"id":124,"text":"Games","checked":true}]},{"id":13,"text":"index.html"},{"id":14,"text":"about.html"},{"id":15,"text":"welcome.html"}]}]
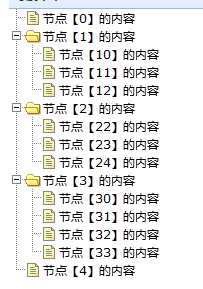
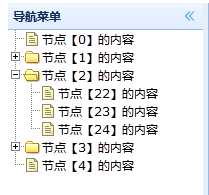
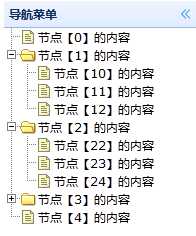

<%@ page language="java" pageEncoding="UTF-8"%><%@ taglib uri="http://java.sun.com/jsp/jstl/core" prefix="c"%><%String path = request.getContextPath();String basePath = request.getScheme() + "://"+ request.getServerName() + ":" + request.getServerPort()+ path + "/";response.setHeader("Pragma", "no-cache");response.setHeader("Cache-Control", "no-cache");response.setDateHeader("Expires", 0);%><!DOCTYPE html PUBLIC "-//W3C//DTD XHTML 1.0 Transitional//EN" "http://www.w3.org/TR/xhtml1/DTD/xhtml1-transitional.dtd"><html><head><title>测试系统</title><script type="text/javascript">var basePath = "<%=basePath%>";</script><link rel="stylesheet" type="text/css" href="<%=basePath%>js/easyui/themes/default/easyui.css"><link rel="stylesheet" type="text/css" href="<%=basePath%>js/easyui/themes/icon.css"><link rel="stylesheet" type="text/css" href="<%=basePath%>js/easyui/demo.css"><script type="text/javascript" src="<%=basePath%>js/easyui/jquery.min.js"></script><script type="text/javascript" src="<%=basePath%>js/easyui/jquery.easyui.min.js"></script><script type="text/javascript" src="<%=basePath%>js/mytreeTest.js"></script></head><body><h2>easyui tree</h2><div class="easyui-layout" style="width:1300px;height:550px;"><div data-options="region:‘west‘,split:true,border:false" title="导航菜单" style="width:200px"><ul id="myTree" class="easyui-tree"></ul></div><div data-options="region:‘center‘"></div></div></body></html>

$(function() {$(‘#myTree‘).tree({// checkbox: true,animate : true,lines : true,url : basePath + "loadTreeJson.action", //默认会将节点的id传递到后台loadFilter : function(data) { //必须有这个函数,否则出不来,不知道为什么return data.treeJson;},onClick : function(node) {alert("自己添加的属性: 【URL】"+node.attributes.url+", 【info】"+node.attributes.info);}});});

package com.ll.domain;import java.util.List;import java.util.Map;public class TreeNodeInfo {private String id; //要显示的子节点的IDprivate String text; //要显示的子节点的 Textprivate String state;private String iconCls; //节点的图标private String parentId; //父节点的IDprivate List<TreeNodeInfo> children; //孩子节点的Listprivate boolean checked = false;// private Map<String, Object> attributes = new HashMap<String, Object>();private Map<String, Object> attributes;public TreeNodeInfo() {super();}public TreeNodeInfo(String id, String text, String state, String iconCls,String parentId, List<TreeNodeInfo> children, boolean checked,Map<String, Object> attributes) {super();this.id = id;this.text = text;this.state = state;this.iconCls = iconCls;this.parentId = parentId;this.children = children;this.checked = checked;this.attributes = attributes;}public String getId() {return id;}public void setId(String id) {this.id = id;}public String getText() {return text;}public void setText(String text) {this.text = text;}public String getState() {return state;}public void setState(String state) {this.state = state;}public String getIconCls() {return iconCls;}public void setIconCls(String iconCls) {this.iconCls = iconCls;}public String getParentId() {return parentId;}public void setParentId(String parentId) {this.parentId = parentId;}public List<TreeNodeInfo> getChildren() {return children;}public void setChildren(List<TreeNodeInfo> children) {this.children = children;}public boolean isChecked() {return checked;}public void setChecked(boolean checked) {this.checked = checked;}public Map<String, Object> getAttributes() {return attributes;}public void setAttributes(Map<String, Object> attributes) {this.attributes = attributes;}}
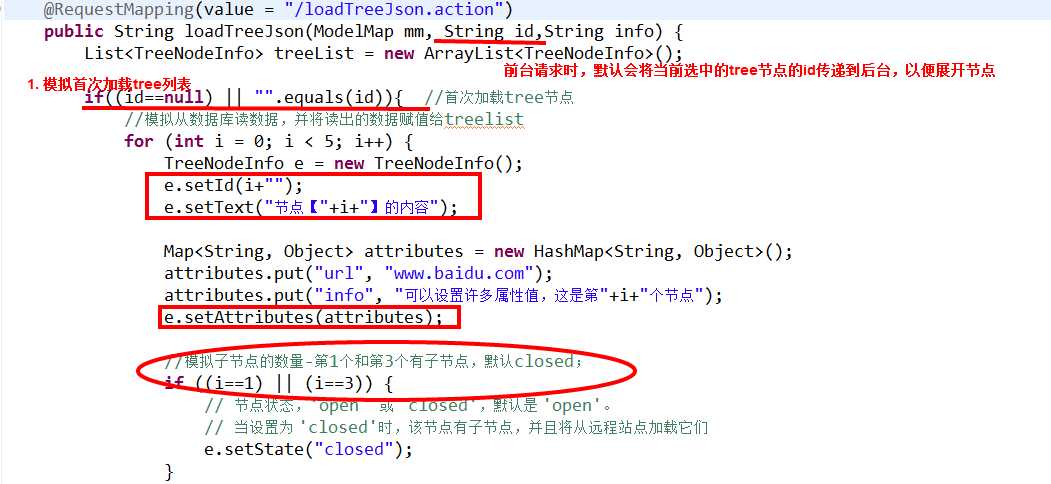
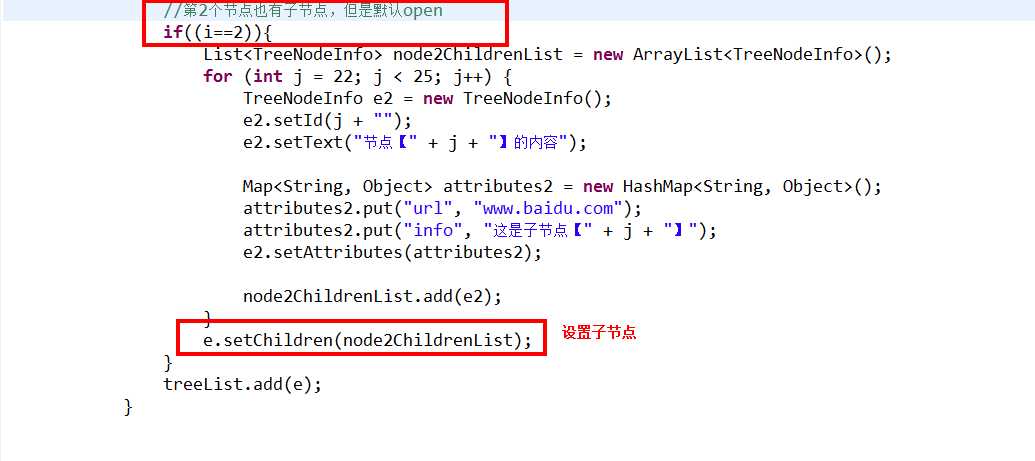

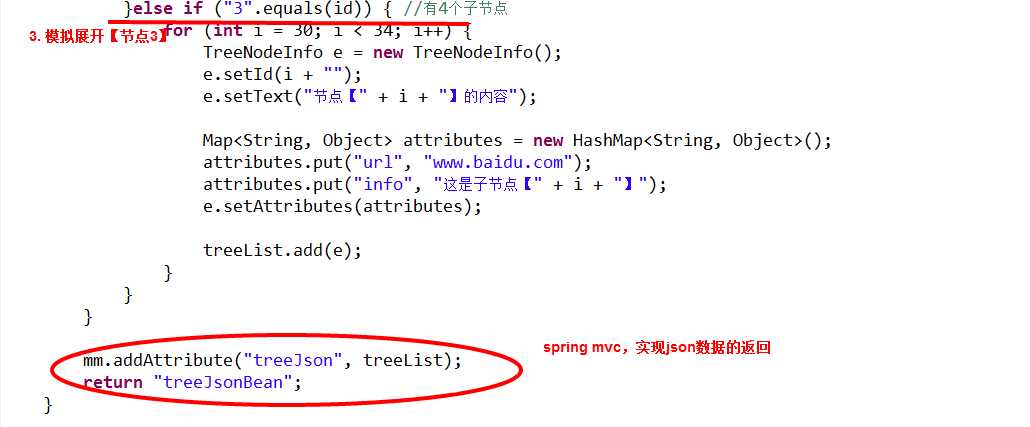
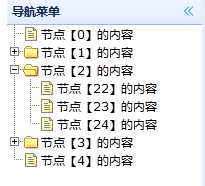
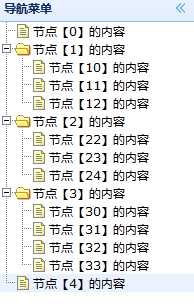
package com.ll.web;import java.util.ArrayList;import java.util.HashMap;import java.util.List;import java.util.Map;import javax.servlet.http.HttpServletRequest;import org.springframework.beans.factory.annotation.Autowired;import org.springframework.stereotype.Controller;import org.springframework.ui.ModelMap;import org.springframework.web.bind.annotation.RequestMapping;import com.ll.domain.TreeNodeInfo;import com.ll.domain.User;import com.ll.service.IUserService;@Controllerpublic class LoginController {@Autowiredprivate IUserService userService;@RequestMapping(value = "/index.action")public String loginPage() {// return "login";return "myEasyuiTree";}@RequestMapping(value = "/loadTreeJson.action")public String loadTreeJson(ModelMap mm, String id,String info) {List<TreeNodeInfo> treeList = new ArrayList<TreeNodeInfo>();if((id==null) || "".equals(id)){ //首次加载tree节点//模拟从数据库读数据,并将读出的数据赋值给treelistfor (int i = 0; i < 5; i++) {TreeNodeInfo e = new TreeNodeInfo();e.setId(i+"");e.setText("节点【"+i+"】的内容");Map<String, Object> attributes = new HashMap<String, Object>();attributes.put("url", "www.baidu.com");attributes.put("info", "可以设置许多属性值,这是第"+i+"个节点");e.setAttributes(attributes);//模拟子节点的数量-第1个和第3个有子节点,默认closed;if ((i==1) || (i==3)) {// 节点状态,‘open‘ 或 ‘closed‘,默认是 ‘open‘。// 当设置为 ‘closed‘时,该节点有子节点,并且将从远程站点加载它们e.setState("closed");}//第2个节点也有子节点,但是默认openif((i==2)){List<TreeNodeInfo> node2ChildrenList = new ArrayList<TreeNodeInfo>();for (int j = 22; j < 25; j++) {TreeNodeInfo e2 = new TreeNodeInfo();e2.setId(j + "");e2.setText("节点【" + j + "】的内容");Map<String, Object> attributes2 = new HashMap<String, Object>();attributes2.put("url", "www.baidu.com");attributes2.put("info", "这是子节点【" + j + "】");e2.setAttributes(attributes2);node2ChildrenList.add(e2);}e.setChildren(node2ChildrenList);}treeList.add(e);}}else{ //展开节点//判断节点的id号if("1".equals(id)){ //有3个子节点for (int i = 10; i < 13; i++) {TreeNodeInfo e = new TreeNodeInfo();e.setId(i + "");e.setText("节点【" + i + "】的内容");Map<String, Object> attributes = new HashMap<String, Object>();attributes.put("url", "www.baidu.com");attributes.put("info", "这是子节点【" + i + "】");e.setAttributes(attributes);treeList.add(e);}}else if ("3".equals(id)) { //有4个子节点for (int i = 30; i < 34; i++) {TreeNodeInfo e = new TreeNodeInfo();e.setId(i + "");e.setText("节点【" + i + "】的内容");Map<String, Object> attributes = new HashMap<String, Object>();attributes.put("url", "www.baidu.com");attributes.put("info", "这是子节点【" + i + "】");e.setAttributes(attributes);treeList.add(e);}}}mm.addAttribute("treeJson", treeList);return "treeJsonBean";}@RequestMapping(value = "/test.action")public String test(HttpServletRequest request, LoginCommand loginCommand) {System.out.println("用户名:" + loginCommand.getUserName() + "--密码:"+ loginCommand.getPassword());User user = new User();user.setUserName(loginCommand.getUserName());user.setPassword(loginCommand.getPassword());userService.save(user);request.getSession().setAttribute("user", user);return "main";}}


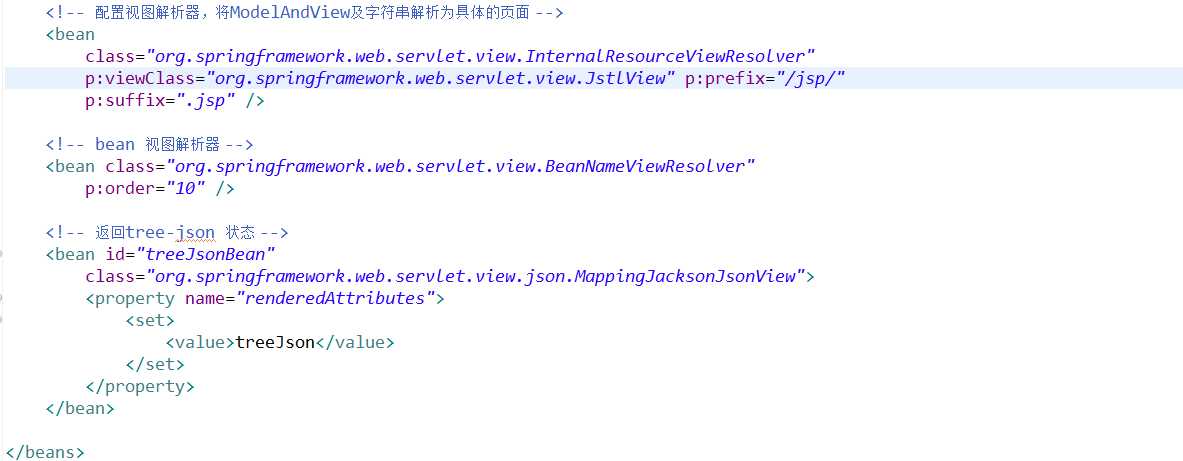
<?xml version="1.0" encoding="UTF-8" ?><beans xmlns="http://www.springframework.org/schema/beans"xmlns:xsi="http://www.w3.org/2001/XMLSchema-instance" xmlns:p="http://www.springframework.org/schema/p"xmlns:context="http://www.springframework.org/schema/context"xmlns:mvc="http://www.springframework.org/schema/mvc"xsi:schemaLocation="http://www.springframework.org/schema/beanshttp://www.springframework.org/schema/beans/spring-beans-3.0.xsdhttp://www.springframework.org/schema/contexthttp://www.springframework.org/schema/context/spring-context-3.0.xsdhttp://www.springframework.org/schema/mvchttp://www.springframework.org/schema/mvc/spring-mvc-3.0.xsd"><!-- 扫描web包,应用Spring的注解 --><context:component-scan base-package="com.ll.web" /><mvc:annotation-driven /><!-- 配置视图解析器,将ModelAndView及字符串解析为具体的页面 --><beanclass="org.springframework.web.servlet.view.InternalResourceViewResolver"p:viewClass="org.springframework.web.servlet.view.JstlView" p:prefix="/jsp/"p:suffix=".jsp" /><!-- bean 视图解析器 --><bean class="org.springframework.web.servlet.view.BeanNameViewResolver"p:order="10" /><!-- 返回tree-json 状态 --><bean id="treeJsonBean"class="org.springframework.web.servlet.view.json.MappingJacksonJsonView"><property name="renderedAttributes"><set><value>treeJson</value></set></property></bean></beans>
标签:
原文地址:http://www.cnblogs.com/ssslinppp/p/4568196.html