标签:
本人新手,看书和别的大神代码总结出一点点使用方法,和大家分享下。
1.Fragment用法简介
Android3.0引入了Fragment,引入Fragment的初衷是为了适应大屏幕的平板电脑,由于平板电脑屏幕更大,因此能够容纳更多的UI组件,而这些UI组件存在这交互关系。Fragment简化了对大屏幕UI的设计,它不需要开发者管理组件包含关系的复杂变化。Fragment必须嵌入Activity中使用,因此Fragment也有自己的生命周期,而且受它所在的Activity影响。
与创建Activity类似,开发者实现Fragment必须继承Fragment基类。通常来说,创建Fragment需要实现如下三个方法:
onCreate():系统创建Fragement对象后回调该方法。
onCreateView():当Fragment绘制界面的时候调用该方法。
onPause():当用户离开该Fragment是会调用该方法。
下面通过Fragment实现一个图片浏览器。
三张图片,那么我们建三个Fragment来更新Activity界面:
第一个:
import android.app.Fragment;
import android.os.Bundle;
import android.view.LayoutInflater;
import android.view.View;
import android.view.ViewGroup;
import android.widget.ImageView;
public class FragmentOne extends Fragment{
public View onCreateView(LayoutInflater inflater,ViewGroup container,Bundle savedInstanceState){
View rootView=inflater.inflate(R.layout.one, container, false);
((ImageView)rootView.findViewById(R.id.one)).setImageResource(R.drawable.tiger);
return rootView;
}
}
第二个:
import android.app.Fragment;
import android.os.Bundle;
import android.view.LayoutInflater;
import android.view.View;
import android.view.ViewGroup;
import android.widget.ImageView;
public class FragementTwo extends Fragment{
public View onCreateView(LayoutInflater inflater,ViewGroup container,Bundle savedInstanceState){
View rootView=inflater.inflate(R.layout.one, container, false);
((ImageView)rootView.findViewById(R.id.two)).setImageResource(R.drawable.cat);
return rootView;
}
}
第三个:
import android.app.Fragment;
import android.os.Bundle;
import android.view.LayoutInflater;
import android.view.View;
import android.view.ViewGroup;
import android.widget.ImageView;
public class FragmentThree extends Fragment{
public View onCreateView(LayoutInflater inflater,ViewGroup container,Bundle savedInstanceState){
View rootView=inflater.inflate(R.layout.one, container, false);
((ImageView)rootView.findViewById(R.id.three)).setImageResource(R.drawable.wolf);
return rootView;
}
}
每个Fragment的布局是一样的:
<?xml version="1.0" encoding="utf-8"?>
<LinearLayout xmlns:android="http://schemas.android.com/apk/res/android"
android:layout_width="match_parent"
android:layout_height="match_parent"
android:orientation="vertical" >
<ImageView
android:id="@+id/one"
android:layout_width="wrap_content"
android:layout_height="wrap_content"
android:layout_gravity="center_horizontal"/>
</LinearLayout>
然后就是MainActicity的代码:
import android.app.Activity;
import android.app.Fragment;
import android.os.Bundle;
import android.view.Menu;
import android.view.MenuItem;
import android.view.View;
import android.view.View.OnClickListener;
import android.widget.Button;
public class MainActivity extends Activity {
int i=0;
@Override
protected void onCreate(Bundle savedInstanceState) {
super.onCreate(savedInstanceState);
setContentView(R.layout.activity_main);
Button shownext=(Button) findViewById(R.id.shownext);
FragmentOne one=new FragmentOne();
FragementTwo two=new FragementTwo();
FragmentThree three=new FragmentThree();
final Fragment[] fragment=new Fragment[]{
one,two,three
};
shownext.setOnClickListener(new OnClickListener(){
@Override
public void onClick(View v) {
// TODO Auto-generated method stub
getFragmentManager().beginTransaction().replace(R.id.fragment_show, fragment[(i++)%3]).commit();
}
});
}
}
通过监听这个按钮,来更换Fragment。当然这种方法很直白,但是有一个问题,如果图片很多怎么办,那么我们就讨论下一个问题了。
Fragment与Activity的通信
要实现Fragment与Activity的通信,步骤如下:
1.Fragment获取它所在的Activity,调用getActivity()方法即返回当前Activity。
2.Activity获取它所包含的Fragment,调用Activity的FragmentManager的findFragment(int id)或者findFragmentByTag(String tag)方法即可。
然而,有可能Fragment要和Activity交换信息,所以有:
1.Activity向Fragment发送数据:在Activity中创建Bundle数据包,并调用Fragment的setArguments(Bundle bundle)方法即可将数据传递给Fragment。
2.Fragment向Activity发送数据或Activity需要在Fragment内部实现时事通信,需要在Fragment中定义一个内部回调接口,再让Fragment的Activity实现该接口即可。
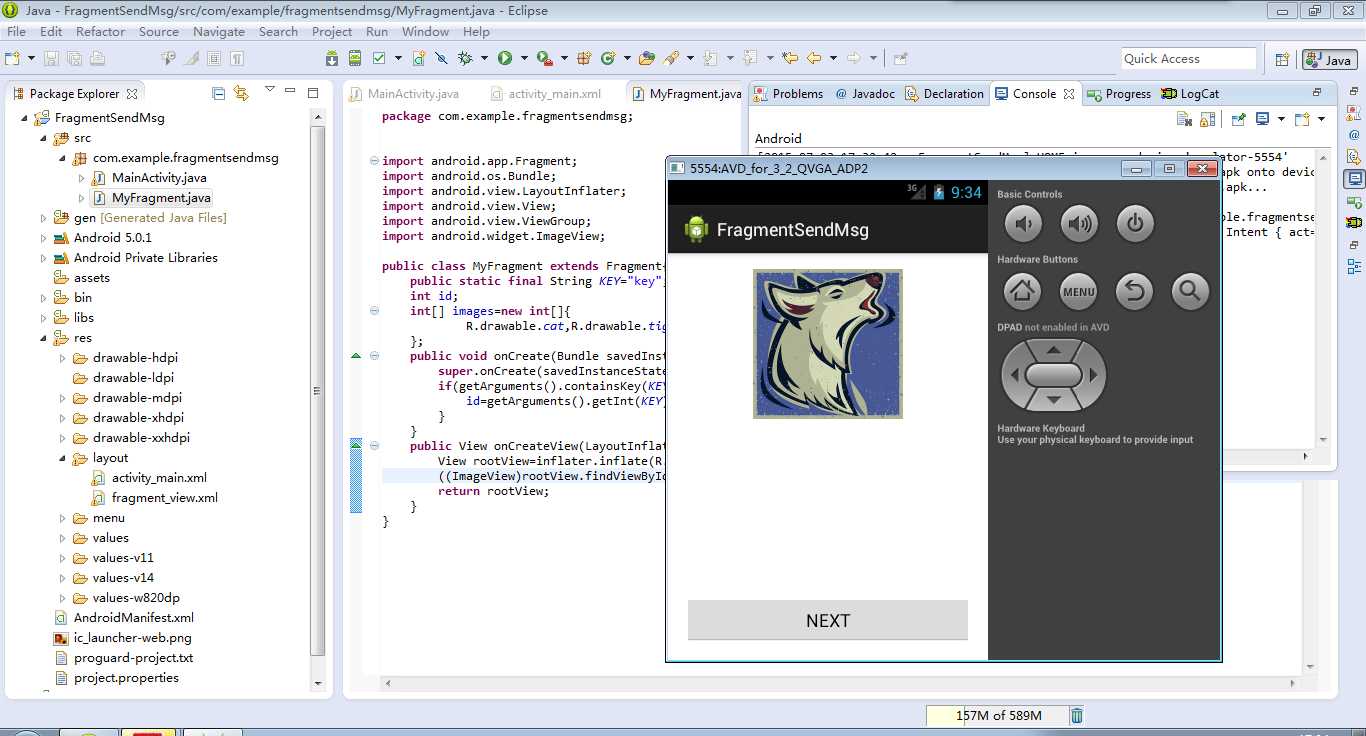
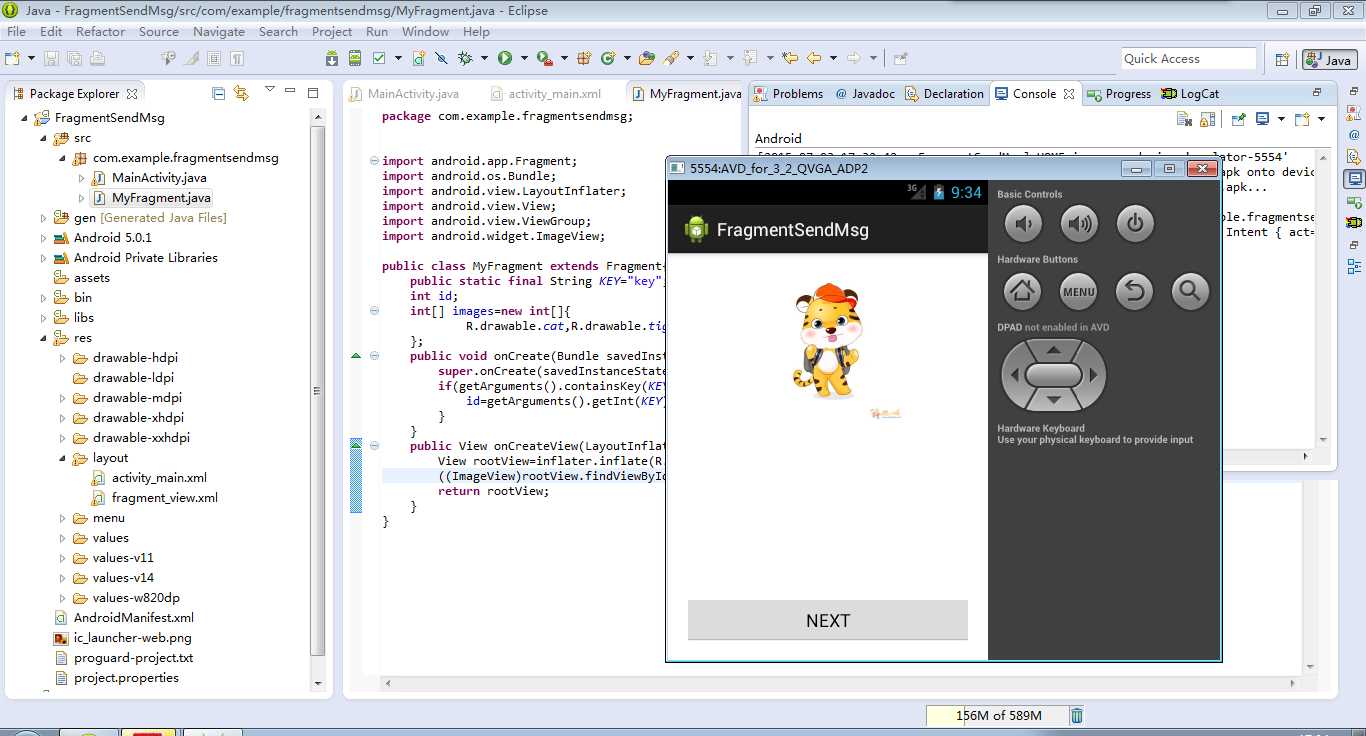
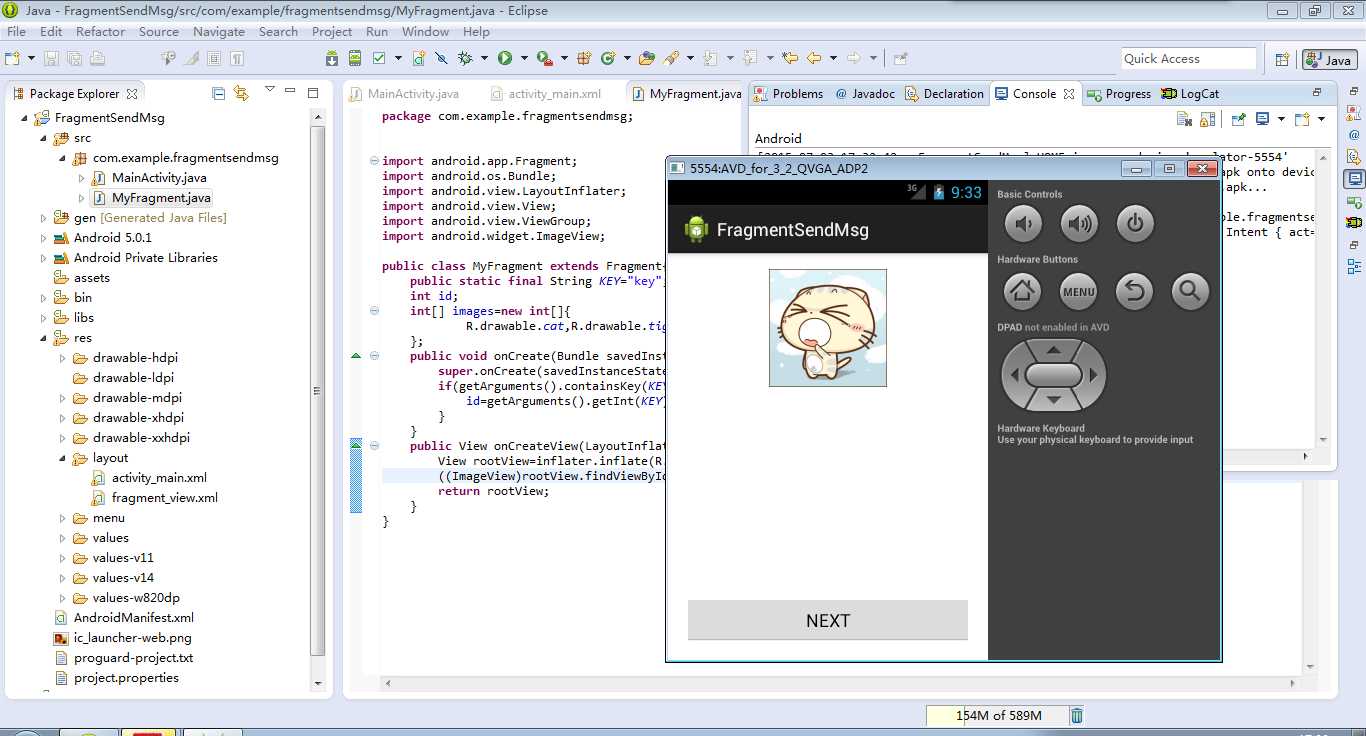
下面我们用更简洁的方法来实现:
import android.app.Fragment;
import android.os.Bundle;
import android.view.LayoutInflater;
import android.view.View;
import android.view.ViewGroup;
import android.widget.ImageView;
public class MyFragment extends Fragment{
public static final String KEY="key";
int id;
int[] images=new int[]{
R.drawable.cat,R.drawable.tiger,R.drawable.wolf
};
public void onCreate(Bundle savedInstanceState){
super.onCreate(savedInstanceState);
if(getArguments().containsKey(KEY)){
id=getArguments().getInt(KEY);
}
}
public View onCreateView(LayoutInflater inflater,ViewGroup container,Bundle savedInstanceState){
View rootView=inflater.inflate(R.layout.fragment_view, container, false);
((ImageView)rootView.findViewById(R.id.show)).setImageResource(images[id]);
return rootView;
}
}
这次我们只需要一个Fragment,通过Activity发来的信息改变Fragment上的组件。
这个是Fragment的布局界面:
<?xml version="1.0" encoding="utf-8"?>
<LinearLayout xmlns:android="http://schemas.android.com/apk/res/android"
android:layout_width="match_parent"
android:layout_height="match_parent"
android:orientation="vertical" >
<ImageView
android:id="@+id/show"
android:layout_width="wrap_content"
android:layout_height="wrap_content"
android:layout_gravity="center_horizontal"/>"
</LinearLayout>
下边是MainActivity的代码:
import android.app.Activity;
import android.os.Bundle;
import android.view.Menu;
import android.view.MenuItem;
import android.view.View;
import android.view.View.OnClickListener;
import android.widget.Button;
public class MainActivity extends Activity {
int i=0;
@Override
protected void onCreate(Bundle savedInstanceState) {
super.onCreate(savedInstanceState);
setContentView(R.layout.activity_main);
Button next=(Button) findViewById(R.id.next);
next.setOnClickListener(new OnClickListener(){
@Override
public void onClick(View v) {
// TODO Auto-generated method stub
Bundle bundle=new Bundle();
bundle.putInt(MyFragment.KEY, (i++)%3);
MyFragment fragment=new MyFragment();
fragment.setArguments(bundle);
getFragmentManager().beginTransaction().replace(R.id.showfragment, fragment).commit();
}
});
}
}
然后就是MainActivity的布局界面代码,比较简单:
<RelativeLayout xmlns:android="http://schemas.android.com/apk/res/android"
xmlns:tools="http://schemas.android.com/tools"
android:layout_width="match_parent"
android:layout_height="match_parent"
android:paddingBottom="@dimen/activity_vertical_margin"
android:paddingLeft="@dimen/activity_horizontal_margin"
android:paddingRight="@dimen/activity_horizontal_margin"
android:paddingTop="@dimen/activity_vertical_margin"
tools:context="com.example.fragmentsendmsg.MainActivity" >
<FrameLayout
android:id="@+id/showfragment"
android:layout_width="match_parent"
android:layout_height="wrap_content"
/>
<Button
android:id="@+id/next"
android:layout_alignParentBottom="true"
android:layout_width="match_parent"
android:layout_height="wrap_content"
android:text="NEXT"/>"
</RelativeLayout>
两段代码实现了完全相同的功能,明显第二种方法更加简单,以后我们可视情况选择。
标签:
原文地址:http://www.cnblogs.com/amx-superStar/p/4619478.html