标签:
须知,要达到分页效果,所以会用到UIScrollView的ContentOffset属性,设置其UIScrollView分页移动位置,要有页码就用到了UIPageControl控件显示页码条,而且不要开始不要忘记了设置UIScrollView的属性ContentSize来设置其展示内容范围,要让UIScrollView达到分页效果,还要设置其属性pagingEnabled为YES。
1> 在storyboard上拖拽一个UIScrollView和UIPageControl控件,然后将其连线到控制器扩展中,作为其属性使用。如下图所示:
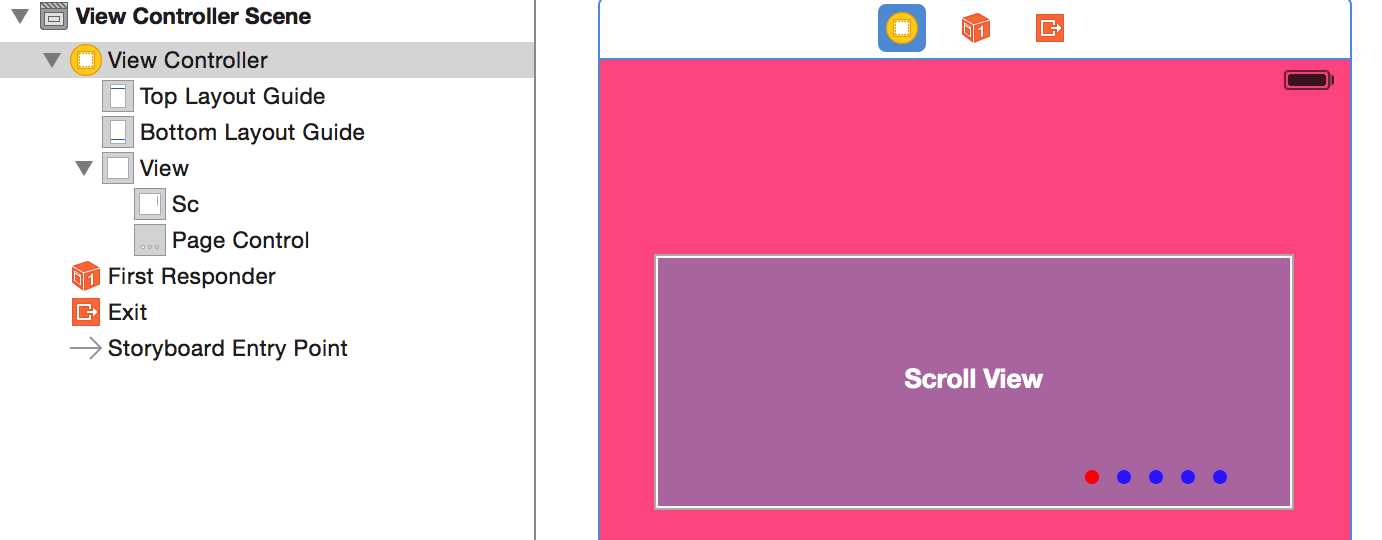
2> 参照viewController.m代码实现
 1 #import "ViewController.h"
 2
 3 //#define kImageCount 5
 4 #define IMAGE_COUNT 5
 5 @interface ViewController ()<UIScrollViewDelegate>
 6 @property (weak, nonatomic) IBOutlet UIScrollView *sc;
 7 @property (weak, nonatomic) IBOutlet UIPageControl *pageControl;
 8
 9 // 监听UIPageControl页码的变化
10 //- (IBAction)pageControlClick:(UIPageControl *)sender;
11
12 @end
13
14 @implementation ViewController
15
16 - (void)viewDidLoad {
17     [super viewDidLoad];
18
19     self.sc.showsHorizontalScrollIndicator = NO;
20     self.sc.showsVerticalScrollIndicator = NO;
21
22     // Do any additional setup after loading the view, typically from a nib.
23     CGFloat width = self.sc.frame.size.width;
24     CGFloat height = self.sc.frame.size.height;
25
26     // 1.初始化子控件, 添加图片
27     for (int i = 0; i < IMAGE_COUNT; i++) {
28         // 1.创建UIImageView
29         UIImageView *iv = [[UIImageView alloc] init];
30         // 2.创建图片
31         UIImage *image = [UIImage imageNamed:[NSString stringWithFormat:@"img_%02i", i + 1]];
32         // 3.设置每个UIImageView的frame
33         iv.frame = CGRectMake(i * width, 0, width, height); // 按照宽度分页
34         iv.image = image;
35         // 4.添加到父控件
36         [self.sc addSubview:iv];
37     }
38
39     // 2.设置滚动范围
40     self.sc.contentSize = CGSizeMake(IMAGE_COUNT * width, height);
41     self.sc.bounces = NO;
42     self.sc.pagingEnabled = YES;
43
44     // 3.监听PageControl的点击事件
45     [self.pageControl addTarget:self action:@selector(pageControlClick:) forControlEvents:UIControlEventValueChanged];
46     self.pageControl.numberOfPages = IMAGE_COUNT;
47
48     /*
49     // 设置未显示的页码颜色
50     self.pageControl.pageIndicatorTintColor = [UIColor blackColor];
51     // 设置当前显示的页码颜色
52     self.pageControl.currentPageIndicatorTintColor = [UIColor purpleColor];
53      */
54
55     // 通过KVC给UIPageControl的私有属性赋值, 设置自定义图片
56     [self.pageControl setValue:[UIImage imageNamed:@"current"] forKeyPath:@"_currentPageImage"];
57     [self.pageControl setValue:[UIImage imageNamed:@"other"] forKeyPath:@"_pageImage"];
58 }
59
60 #pragma mark - UIScrollViewDelegate
61 // 只要滚动就会调用
62 - (void)scrollViewDidScroll:(nonnull UIScrollView *)scrollView
63 {
64     // 1.计算页码
65     // 当前页码 = 偏移位 / UIScrollView的宽度
66     CGFloat page = scrollView.contentOffset.x / scrollView.frame.size.width;
67     int currnetPage = page + 0.5;
68
69     // 2.修改页码
70     self.pageControl.currentPage = currnetPage;
71 }
72
73 #pragma mark - 内部监听
74 - (IBAction)pageControlClick:(UIPageControl *)sender {
75     NSLog(@"%lu", sender.currentPage);
76     self.sc.contentOffset = CGPointMake(sender.currentPage * self.sc.frame.size.width , 0);
77 }
78 @end
下一章节,讲解使用UIScrollView实现图片轮播器,待续。^_^
UIScrollView —— 分页控件详解(三)——(第一讲)
标签:
原文地址:http://www.cnblogs.com/cjpBlog/p/4657789.html