标签:
1. 下载 notepad-plus-plus-6.8.1.zip (here/here)、boost_1_55_0.zip (here/here) 至本地
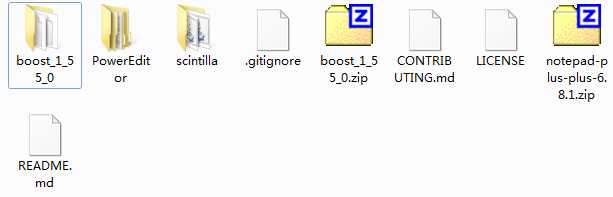
2. 解压 notepad-plus-plus-6.8.1.zip 和 boost_1_55_0.zip 至一目录,如下图所示
3. 参照 README.md,打开 PowerEditor\visual.net\notepadPlus.vcxproj,编译,
显示” error C2220: warning treated as error - no ‘object‘ file generated”,
在 Solution Explorer 中右击Notepad++ -> 属性 -> C++,将 "Treat Warnings As Errors" 设置为No
重新编译,成功。关闭项目时,VS提示保存 sln 解决方案文件,保存在与 vcxproj 文件相同的目录下
4. 参照 README.md,进入scintilla\boostregex\,用文本编辑器打开BuildBoost.bat,
将 "SET BOOSTPATH" 行等号后加入 "%~dp0..\..\ boost_1_55_0",
将 "SET WORKPATH" 行末尾的%删除,保存。
打开 "开始" -> Visual Studio 2013 -> Developer Command Prompt for VS2013.lnk,
cd 到 scintilla\boostregex\ 下,运行 BuildBoost.bat,经过几分钟的等待,我们在命令提示符中
看到 "Boost::regex built" 的信息,显示 Boost 中的 regex 已成功编译

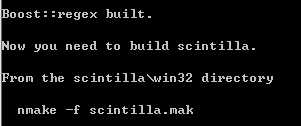
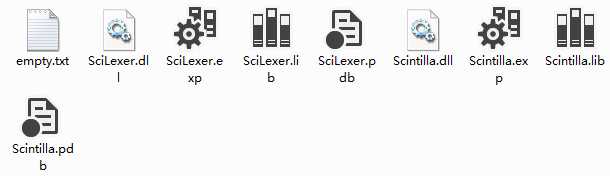
5. 按照命令提示符的信息,切换到 scintilla\win32目录,运行 "nmake -f scintilla.mak",
经过短暂的等待,编译结束,我们发现 scintilla\bin 目录下生成了 SciLexer.dll 和 Scintilla.dll 等文件
6. 将 PowerEditor\visual.net\Unicode Debug 目录下的 notepad++.exe 与
scintilla\bin 目录下的 SciLexer.dll 放入同一目录,Unicode Debug无插件版的Notepad++就可以运行了

完整可编译包here
使用 VS2013 Update 4 编译 Notead++ 6.8.1
标签:
原文地址:http://www.cnblogs.com/walkingsk/p/4709512.html