一直不是很喜欢citrix的原因还是配置很复杂。不过XMS 10相比9,有了不少的进步。在自己的lab做了一个测试。记录了些设置的流程。基本还是涵盖的大部分配置过程中的难点。与大家分享及共勉!
Xenmobile Setup
Deploy the XMS.
Prepare APNS certificate.
Prepare google play account and use an android phone to get the device ID.
Prepare domain root certificate and wildcard certificate
Install the SQL DB
Boot the vm and launch the setup. Configure the network settings
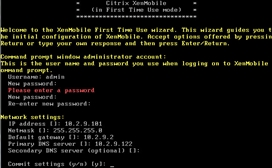
If you would like to enable FIPS, you have to copy and paste the domain wildcard certificate. If you would like to keep it simple, just disable it first

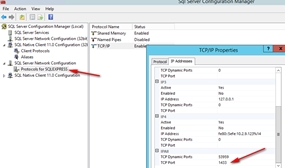
Double check you database server, make sure the port is open and the service is running
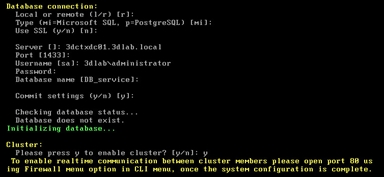
Enter DB connection. I am using MS SQL here.
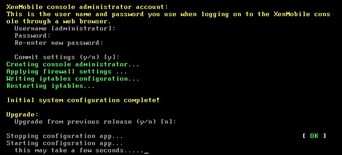
Enter hostname FQDN and make sure you create a DNS entry in your DNS server

Use default and enter

Finish the configuration
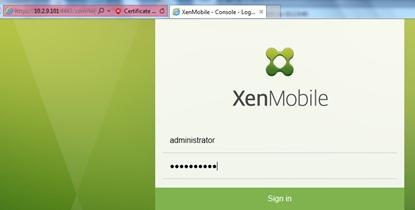
Login xenmobile console
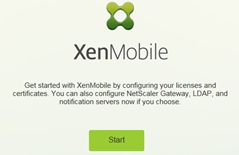
Click Start
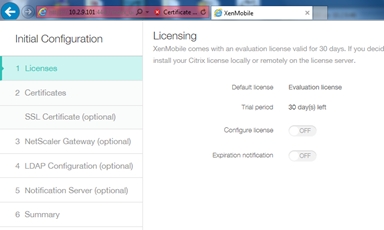
Use Evaluation license
Generate APNS cert
Go to any IIS web server and generate a CSR
Go to link below
https://xenmobiletools.citrix.com/XenMobileCloudTools-3.0/home/
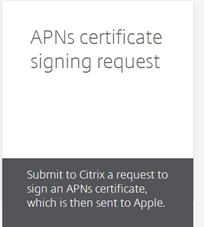
Sign the CSR
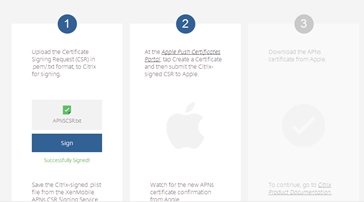
Go to https://identity.apple.com/pushcert/
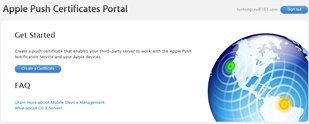
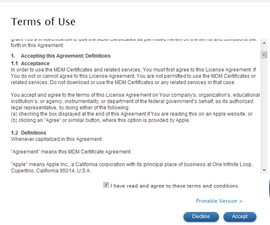
Download the Push Certificate
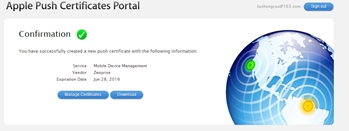
The certificate is valid for one year
Download the .pem certificate and copy to IIS server
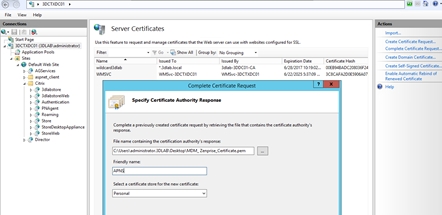
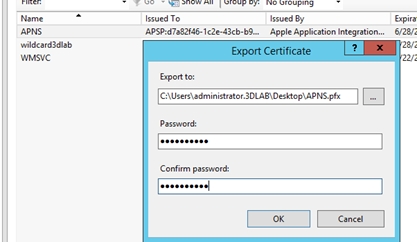
Export the APNS cert to .pfx format
Import SSL certificate

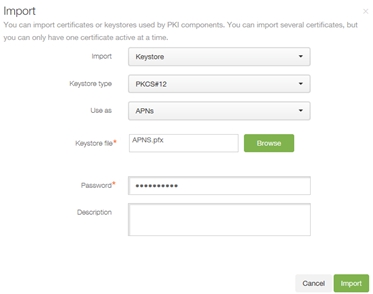
Import APNS cert
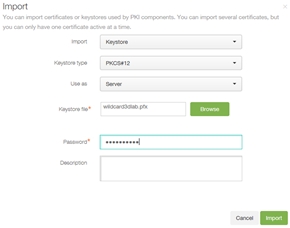
Import domain wildcard cert
Import again for listener
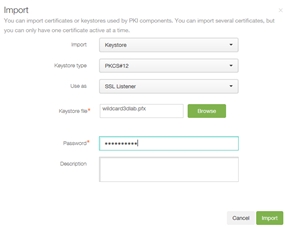
Import the root cert if it is not there
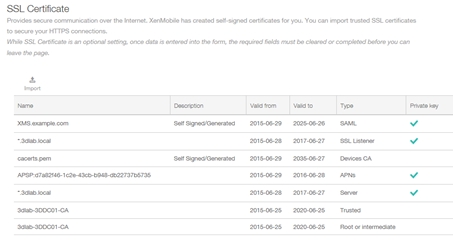
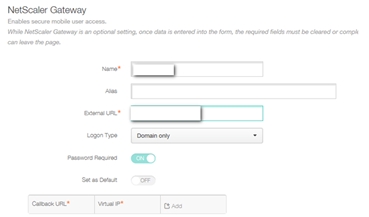
NS Gateway configuration
Don‘t configure NS Gateway first. Do it after NS has been configured for Xenmobile. The External URL will be the URL mapped to NS Gateway VIP
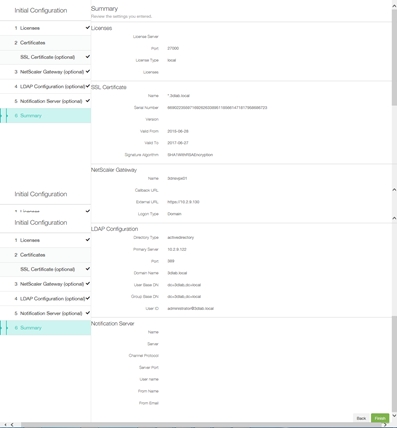
Configure LDAP. Requires ladp account to query AD database
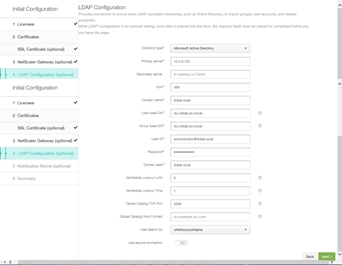
Done.
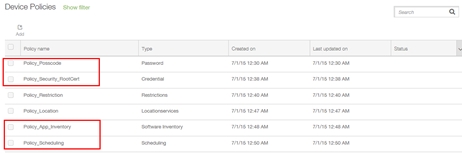
Initial Policy configuration
Configure policy below

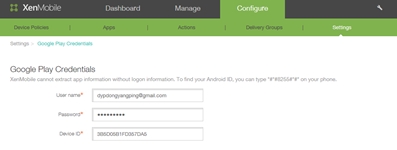
Create Google play credential. Suggest customer to have a company google account and login to one of android phone
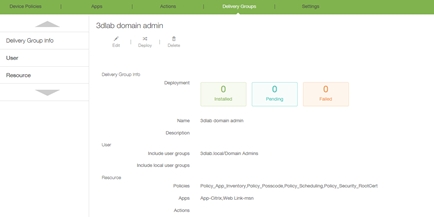
Create Delivery Group if you would like to assign specific policies to specific group of users
本文出自 “flater” 博客,谢绝转载!
原文地址:http://dongyangping.blog.51cto.com/1299774/1684103