标签:
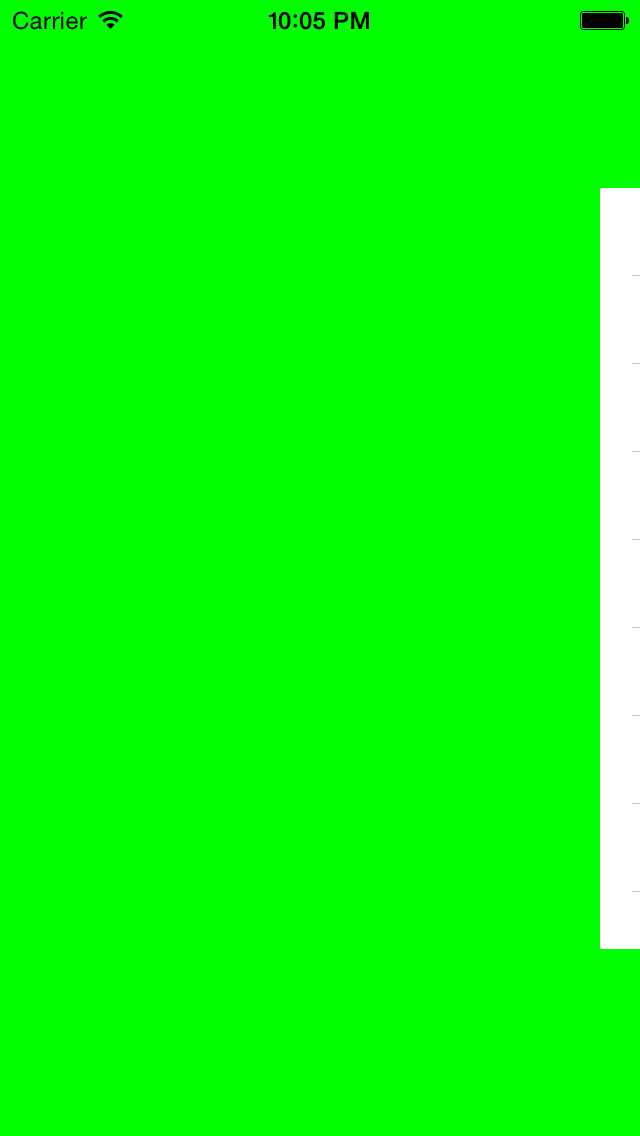
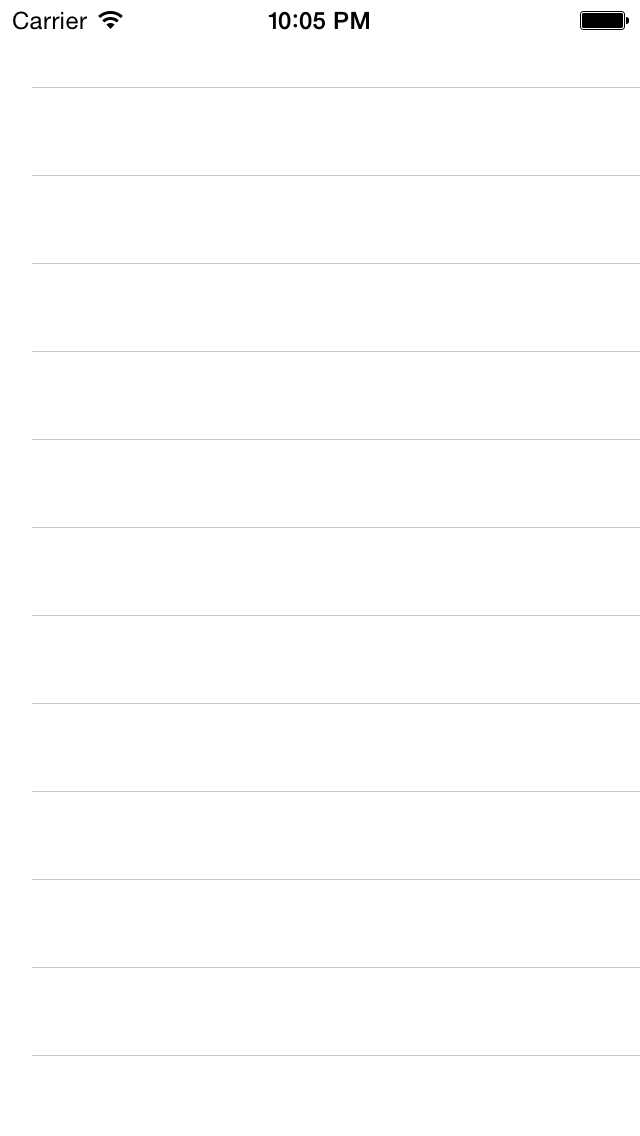
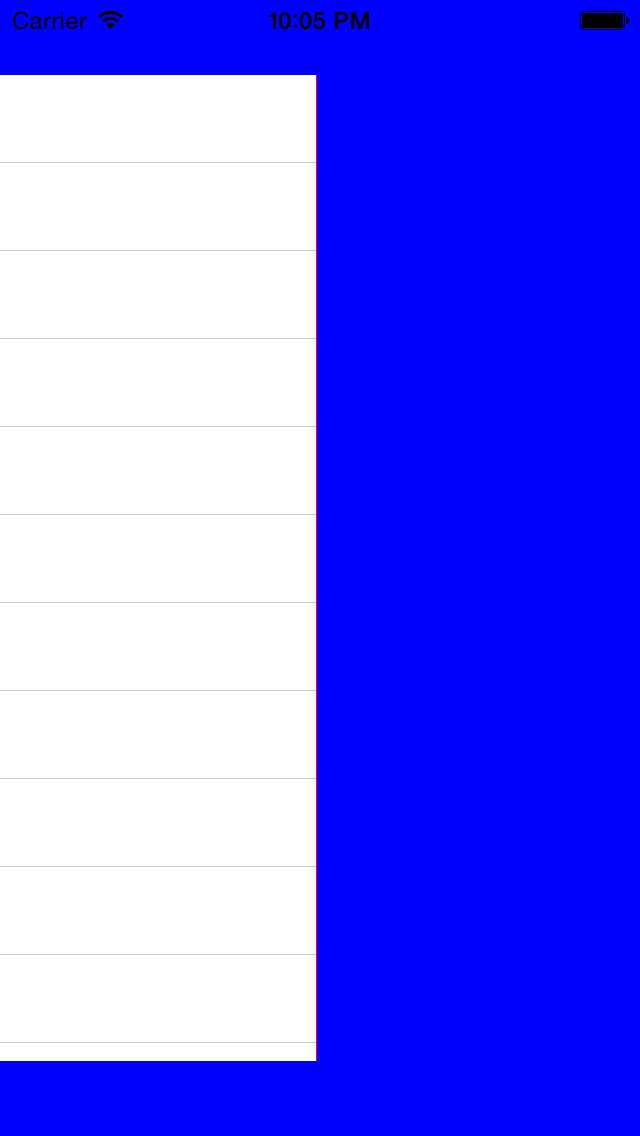
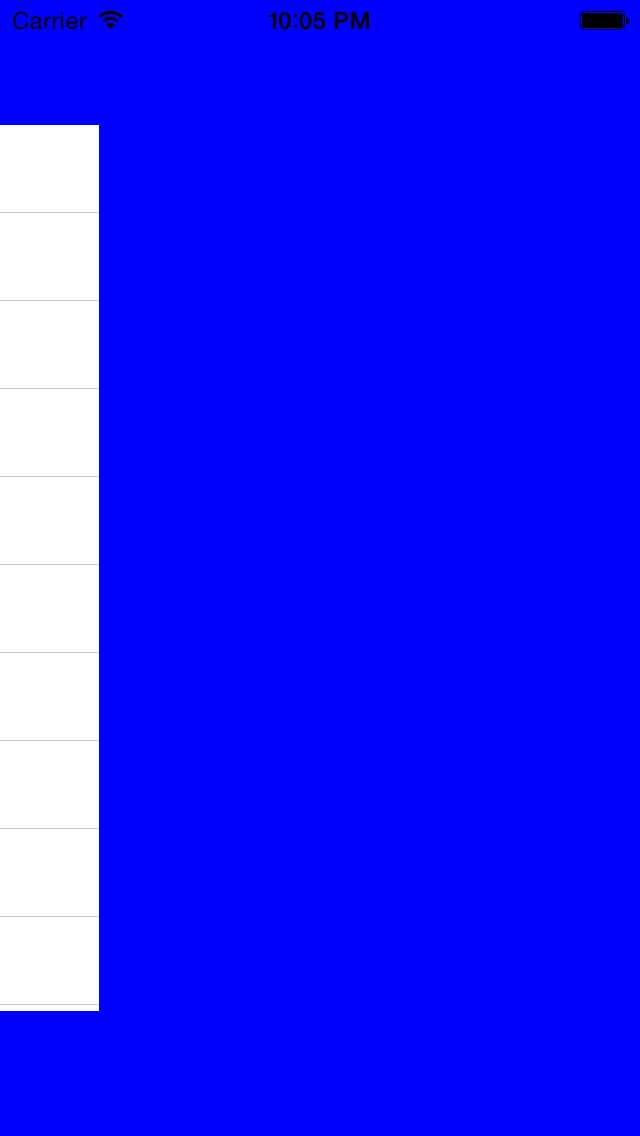
简单的抽屉效果是由3 个View 组成,顶层默认显示的mainV,左边的leftV以及右边的rightV ,当mainV 监听到滑动时,计算滑动的偏移量,控制显示leftV或者rightV.
废话不多说,上代码.
一:所以,首先我们需要在头文件中定义三个View的属性,来给外界调用,实现设置对应的属性和效果:
1 @property (nonatomic, weak, readonly) UIView *mainV;
2
3 @property (nonatomic, weak, readonly) UIView *leftV;
4
5 @property (nonatomic, weak, readonly) UIView *rightV;
二:然后在实现文件中定义对应的宏,后面要用到:

 1 // @"frame"
 2 //自动提示宏
 3 #define XMGkeyPath(objc, keyPath) @(((void)objc.keyPath, #keyPath))
 4
 5 // 在宏里面如果在参数前添加了#,就会把参数变成C语言字符串
 6
 7 // 获取屏幕的宽度
 8 #define screenW [UIScreen mainScreen].bounds.size.width
 9
10 // 获取屏幕的高度
11 #define screenH [UIScreen mainScreen].bounds.size.height
三:在ViewDidLoad中调用下面这个方法实现三个View的创建:
 1 // 添加所有的子控件
 2 - (void)setUpAllChildView
 3 {
 4     // left
 5     UIView *leftV = [[UIView alloc] initWithFrame:self.view.bounds];
 6     leftV.backgroundColor = [UIColor greenColor];
 7     [self.view addSubview:leftV];
 8     _leftV = leftV;
 9
10     // right
11     UIView *rightV = [[UIView alloc] initWithFrame:self.view.bounds];
12     rightV.backgroundColor = [UIColor blueColor];
13     [self.view addSubview:rightV];
14     _rightV = rightV;
15
16     // main
17     UIView *mainV = [[UIView alloc] initWithFrame:self.view.bounds];
18     mainV.backgroundColor = [UIColor redColor];
19     [self.view addSubview:mainV];
20     _mainV = mainV;
21 }
四:在ViewDidLoad中为mainV界面添加滑动手势:
 1     // 添加拖拽手势
 2     UIPanGestureRecognizer *pan = [[UIPanGestureRecognizer alloc] initWithTarget:self action:@selector(pan:)];
 3
 4     [_mainV addGestureRecognizer:pan];
 5
使用KVO监听frame的变化:
1
2     // KVO作用:时刻监听某个对象的某个属性的改变
3     // _main frame属性的改变
4     // Observer:观察者
5     // KeyPath:监听的属性
6     // NSKeyValueObservingOptionNew:表示监听新值的改变
7     [_mainV addObserver:self forKeyPath:XMGkeyPath(_mainV, frame) options:NSKeyValueObservingOptionNew context:nil];
8
五:实现滑动手势的方法,和监听属性变化的方法:
 1 #define targetR 300
 2
 3 #define targetL -200
 4
 5 - (void)pan:(UIPanGestureRecognizer *)pan
 6 {
 7     // 获取手势的偏移量
 8     CGPoint transP = [pan translationInView:_mainV];
 9     // 获取x轴的偏移量,相对于上一次
10     CGFloat offsetX = transP.x;
11     // 修改最新的main.frame,
12     _mainV.frame = [self frameWithOffsetX:offsetX];
13     // 复位
14     [pan setTranslation:CGPointZero inView:_mainV];
15     // 判断下当前手指有没有抬起,表示手势结束
16     if (pan.state == UIGestureRecognizerStateEnded) { // 手指抬起,定位
17         // x>屏幕的一半,定位到右边某个位置
18         CGFloat target = 0;
19         if (_mainV.frame.origin.x > screenW * 0.5) {
20             target = targetR;
21         }else if (CGRectGetMaxX(_mainV.frame) < screenW * 0.5){
22             // 最大的x < 屏幕一半的时候,定义到左边某个位置
23             target = targetL;
24         }
25         // 获取x轴的偏移量
26         CGFloat offsetX = target - _mainV.frame.origin.x;
27         [UIView animateWithDuration:0.25 animations:^{
28             _mainV.frame = [self frameWithOffsetX:offsetX];
29         }];
30     }
31 }
32
33 #define XMGMaxY 100
34
35 // 给定一个x轴的偏移量计算下最新main的frame
36 - (CGRect)frameWithOffsetX:(CGFloat)offsetX
37 {
38
39
41
42     // 获取当前main的frame
43     CGRect frame = _mainV.frame;
44
45     // 计算当前的x,y,w,h
46     // 获取最新的x
47     CGFloat x = frame.origin.x + offsetX;
48
49     // 获取最新的y
50     CGFloat y = x / screenW * XMGMaxY;
51
52     // 当用户往左边移动的时候,_main.x < 0,y需要增加,为正
53     if (frame.origin.x < 0) {
54         y = -y;
55     }
56     // 获取最新的h
57     CGFloat h = screenH - 2 * y;
58     // 获取缩放比例
59     CGFloat scale = h / screenH;
60     // 获取最新的w
61     CGFloat w = screenW * scale;
62     return CGRectMake(x, y, w, h);
63 }
监听属性的变化:
1 // 只要监听的属性一改变,就会调用
2 - (void)observeValueForKeyPath:(NSString *)keyPath ofObject:(id)object change:(NSDictionary *)change context:(void *)context
3 {
4     if (_mainV.frame.origin.x > 0) { // 往右滑动,显示左边控件,隐藏右边控件
5         _rightV.hidden = YES;
6     }else if (_mainV.frame.origin.x < 0){ // 往左滑动,显示右边控件
7         _rightV.hidden = NO;
8     }
9 }
注意:KVO使用结束后一定要移除观察者
1 // 注意:当对象被销毁的时候,一定要注意移除观察者
2 - (void)dealloc
3 {
4     // 移除观察者
5     [_mainV removeObserver:self forKeyPath:XMGkeyPath(_mainV, frame)];
6 }
六:为界面添加一个单击手势,实现单击屏幕还原
1      // 给控制器的view添加一个点按
2
3      UITapGestureRecognizer *tap = [[UITapGestureRecognizer alloc] initWithTarget:self action:@selector(tap)];
4
5      [self.view addGestureRecognizer:tap];
还原方法的实现:
 1 - (void)tap
 2 {
 3     if (_mainV.frame.origin.x != 0) {
 4         // 把_mainV还原最开始的位置
 5
 6         [UIView animateWithDuration:0.25 animations:^{
 7             _mainV.frame = self.view.bounds;
 8
 9         }];
10
11     }
12 }
下面就是最终的效果:
标签:
原文地址:http://www.cnblogs.com/Apolla/p/4733394.html