标签:
抽屉菜单看起来比较高端的样子,但实现起来并不难。
简单效果图如下(为了简单,颜色部分使用的是纯色):
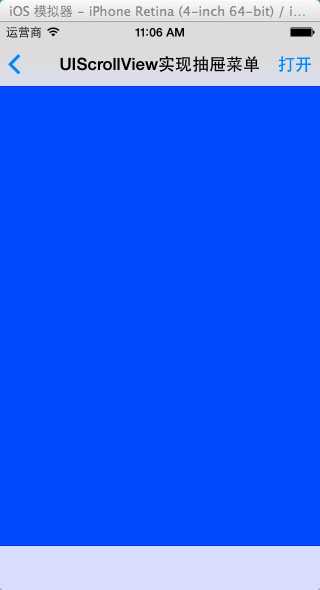
图1
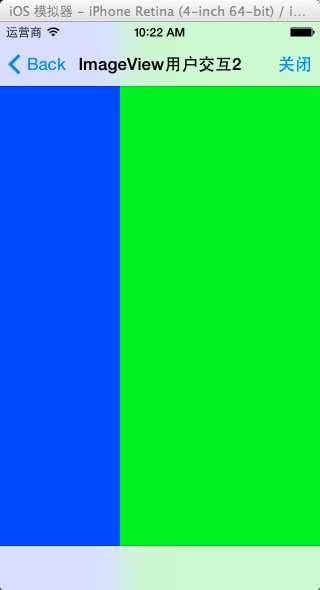
图2
实现原理(本例):
初始化一个刚好能水平容纳两个视图的UIScrollView,左侧视图为屏幕大小,右侧略窄与屏幕大小。
初始化各种事件,在处理程序中修改UIScrollView的contentOffset。
但是实际应用时一般还要在显示右侧视图时禁用左侧视图的内容以免出现误操作。
简单实现如下(只保留了关键代码):
- (void)viewDidLoad
{
[super viewDidLoad];
//右侧导航按钮
UIBarButtonItem *switchButton =[[UIBarButtonItem alloc]initWithTitle:@"打开" style:UIBarButtonItemStyleDone target:self action:@selector(switchView)];
self.navigationItem.rightBarButtonItem = switchButton;
//左侧视图(蓝色)
UIView *viewLeft = [[UIView alloc] initWithFrame:self.view.frame];
[viewLeft setBackgroundColor:[UIColor blueColor]];
//当右侧视图显示时,点击左侧视图的手势
UITapGestureRecognizer *viewLeftTapBack = [[UITapGestureRecognizer alloc] initWithTarget:self action:@selector(viewLeftBack)];
[viewLeft addGestureRecognizer:viewLeftTapBack];
//右侧视图
UIView *viewRight = [[UIView alloc] initWithFrame:CGRectMake(viewLeft.frame.size.width, 0, 200, self.view.frame.size.height)];
[viewRight setBackgroundColor:[UIColor greenColor]];
//关键部分。左右侧视图都放在这里
scrollView = [[UIScrollView alloc] initWithFrame:self.view.frame];
//设置scrollview的内容大小
[scrollView setContentSize:CGSizeMake(viewLeft.frame.size.width + viewRight.frame.size.width, self.view.frame.size.height)];
//设置为不可以滑动
[scrollView setScrollEnabled:NO];
//设置scrollview的两个滚动条为不显示,否则可能给人误解
[scrollView setShowsHorizontalScrollIndicator:NO];
[scrollView setShowsVerticalScrollIndicator:NO];
//设置为不反弹
[scrollView setBounces:NO];
//添加左右子视图
[scrollView addSubview:viewLeft];
[scrollView addSubview:viewRight];
self.view = scrollView;
//整个scrollView范围内的滑动手势,控制向左或右滑动时左右视图的滚动
UISwipeGestureRecognizer *viewSwipeLeft = [[UISwipeGestureRecognizer alloc] initWithTarget:self action:@selector(viewSwipeSwitch:)];
[viewSwipeLeft setDirection:UISwipeGestureRecognizerDirectionLeft];
UISwipeGestureRecognizer *viewSwipeRight = [[UISwipeGestureRecognizer alloc] initWithTarget:self action:@selector(viewSwipeSwitch:)];
[viewSwipeRight setDirection:UISwipeGestureRecognizerDirectionRight];
[self.view addGestureRecognizer:viewSwipeLeft];
[self.view addGestureRecognizer:viewSwipeRight];
}
//显示右视图时,左侧视图点击返回事件处理
- (void)viewLeftBack
{
float offsetX = scrollView.contentOffset.x;
if (offsetX == 200) {
[UIView animateWithDuration:0.6f animations:^{scrollView.contentOffset = CGPointMake(0, 0);}];
self.navigationItem.rightBarButtonItem.title = @"打开";
}
}
//左右滑动事件处理
- (void)viewSwipeSwitch:(UISwipeGestureRecognizer*)sender
{
if (sender.direction == UISwipeGestureRecognizerDirectionLeft)
{
[UIView animateWithDuration:0.6f animations:^{scrollView.contentOffset = CGPointMake(200, 0);}];
self.navigationItem.rightBarButtonItem.title = @"关闭";
}
else if(sender.direction == UISwipeGestureRecognizerDirectionRight)
{
[UIView animateWithDuration:0.6f animations:^{scrollView.contentOffset = CGPointMake(0, 0);}];
self.navigationItem.rightBarButtonItem.title = @"打开";
}
}
//导航栏右侧按钮的事件处理
- (void)switchView
{
float offsetX = scrollView.contentOffset.x;
if (offsetX == 0)
{
//动画,滑动显示,后同
[UIView animateWithDuration:0.6f animations:^{scrollView.contentOffset = CGPointMake(200, 0);}];
self.navigationItem.rightBarButtonItem.title = @"关闭";
}
else
{
[UIView animateWithDuration:0.6f animations:^{scrollView.contentOffset = CGPointMake(0, 0);}];
self.navigationItem.rightBarButtonItem.title = @"打开";
}
}
标签:
原文地址:http://www.cnblogs.com/HermitCarb/p/4740575.html